This section encompasses three distinct technical projects. The first demonstrates comprehensive Building Information Modeling (BIM) proficiency acquired during Revit training. The second involves exhibition design for the Bauhaus Museum, focusing on AI-driven image upscaling and generative frame transitions for a mutoscope installation. The final project details the hardware modification of an Ultimaker 3D printer into an automated tattoo machine through custom 3D printed mounts and scripted toolpaths.
01. BIM & Architectural Detailing (Revit)
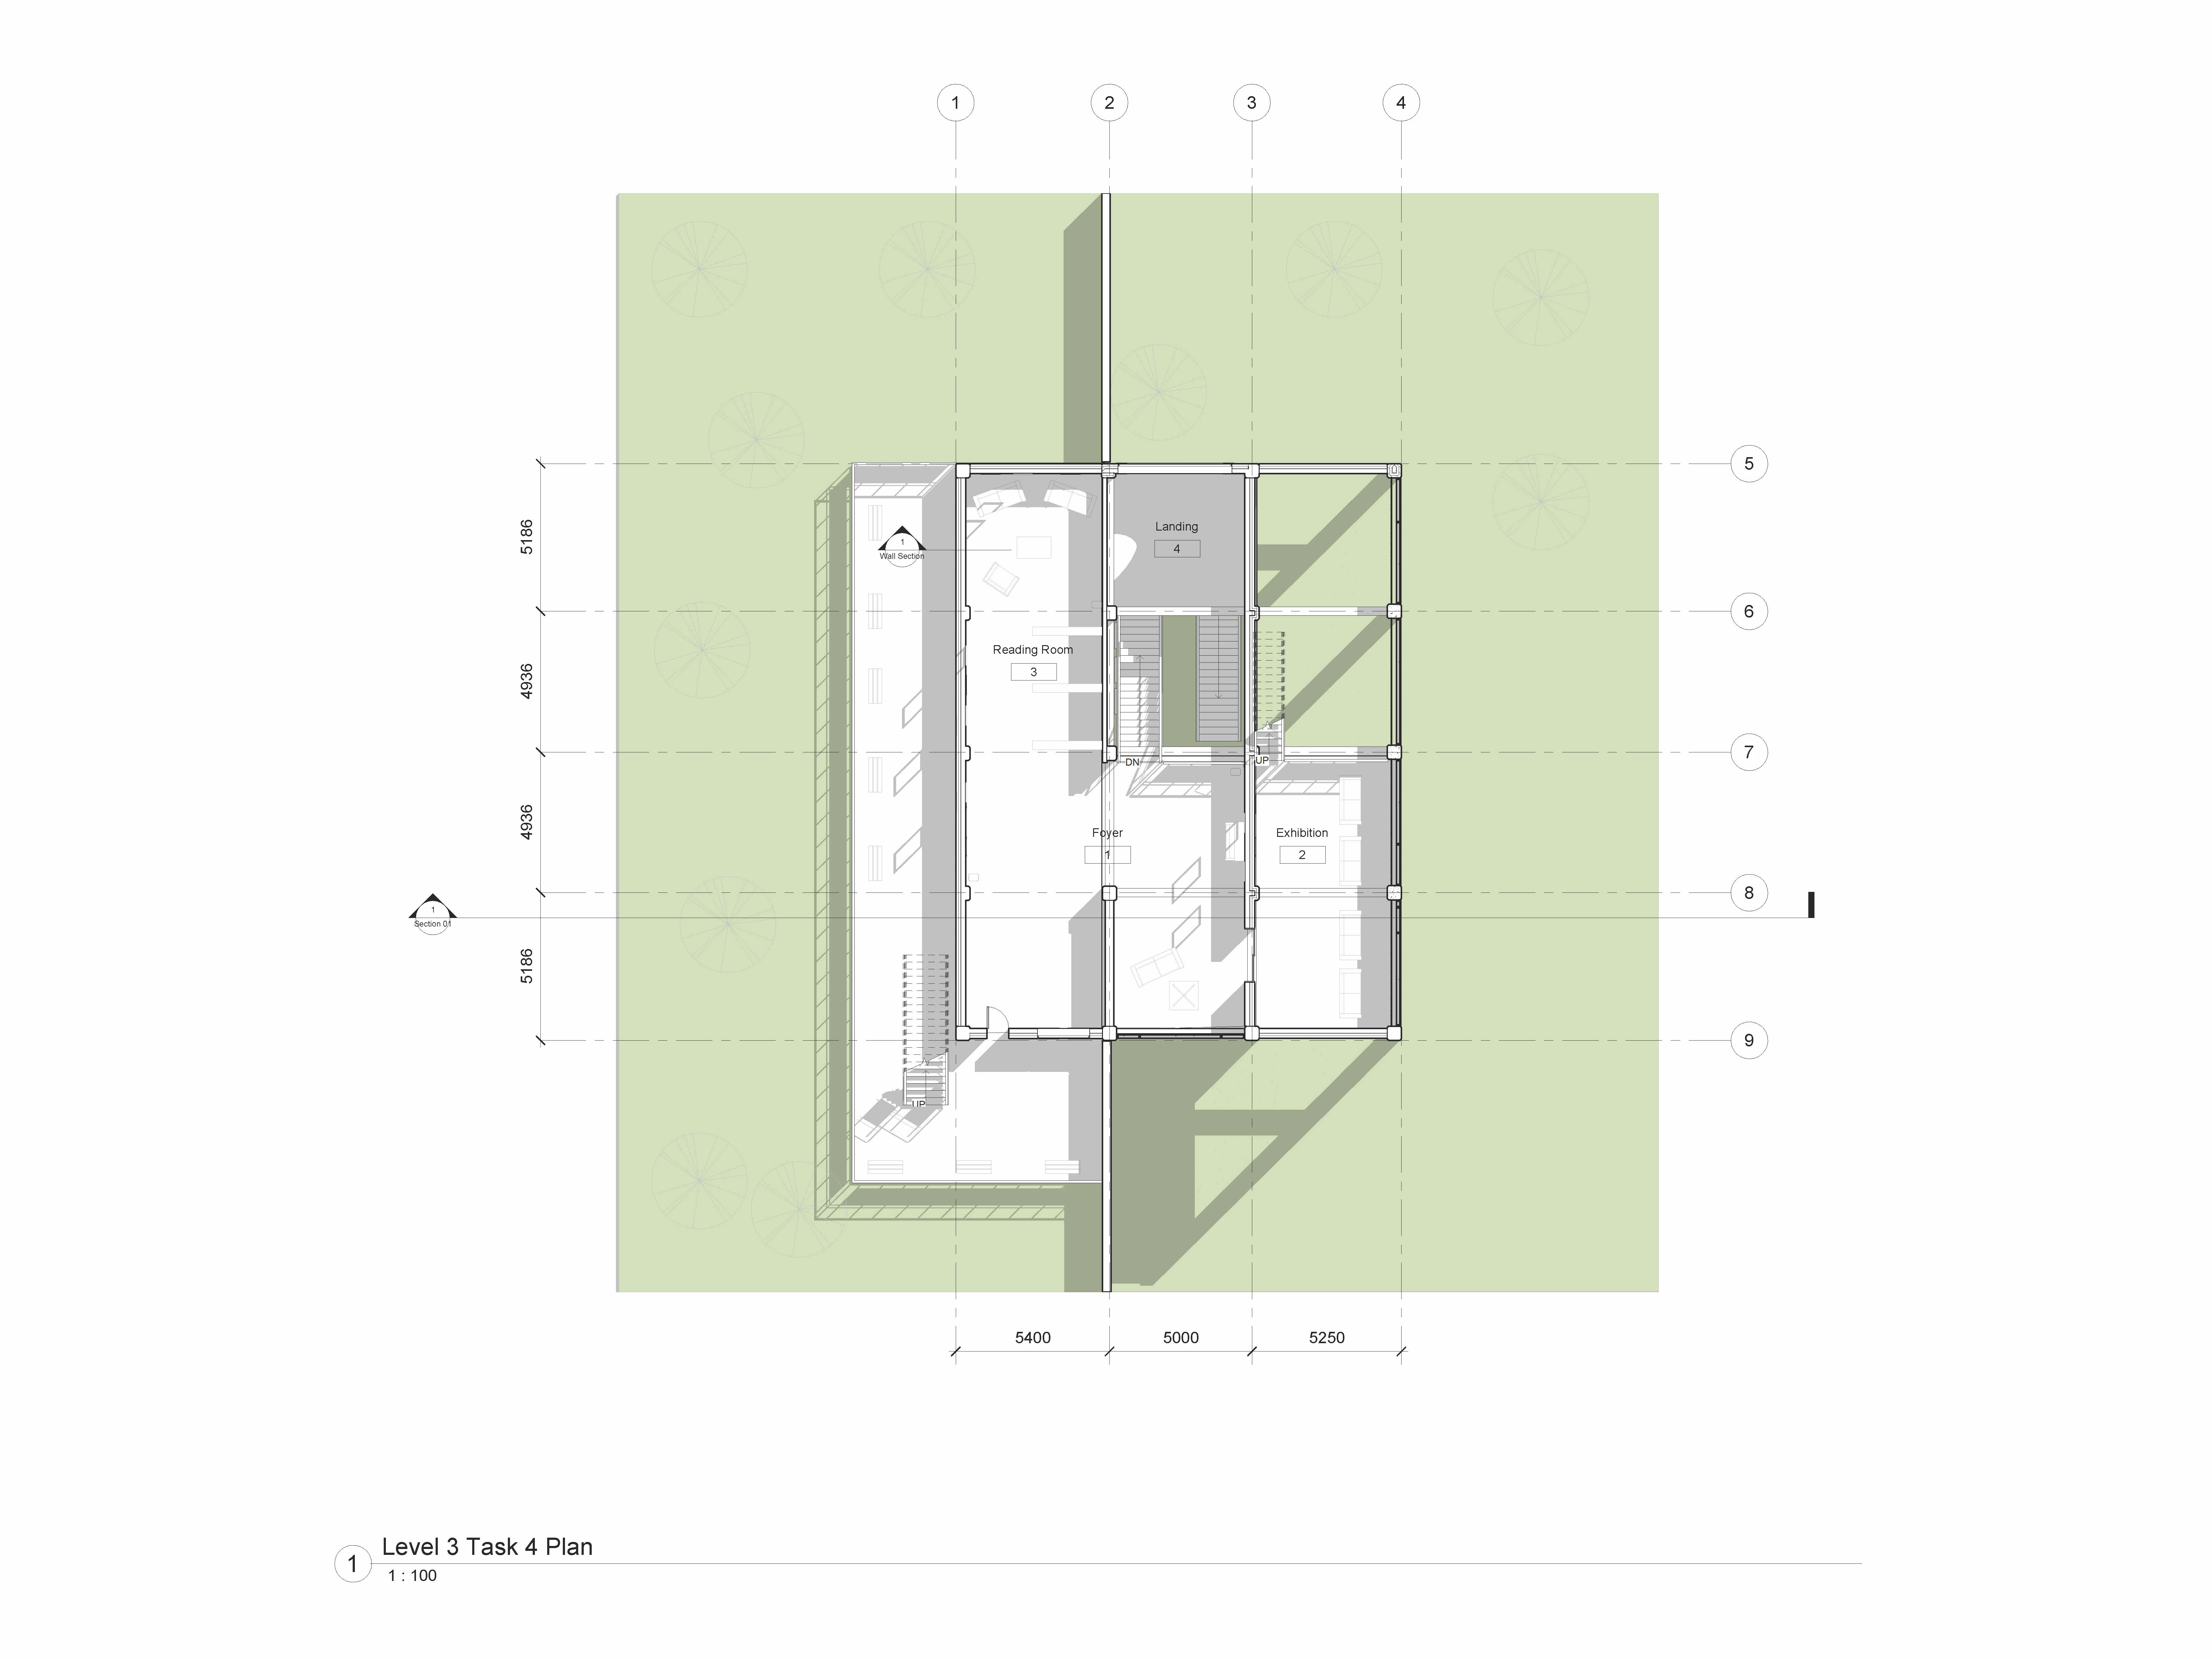
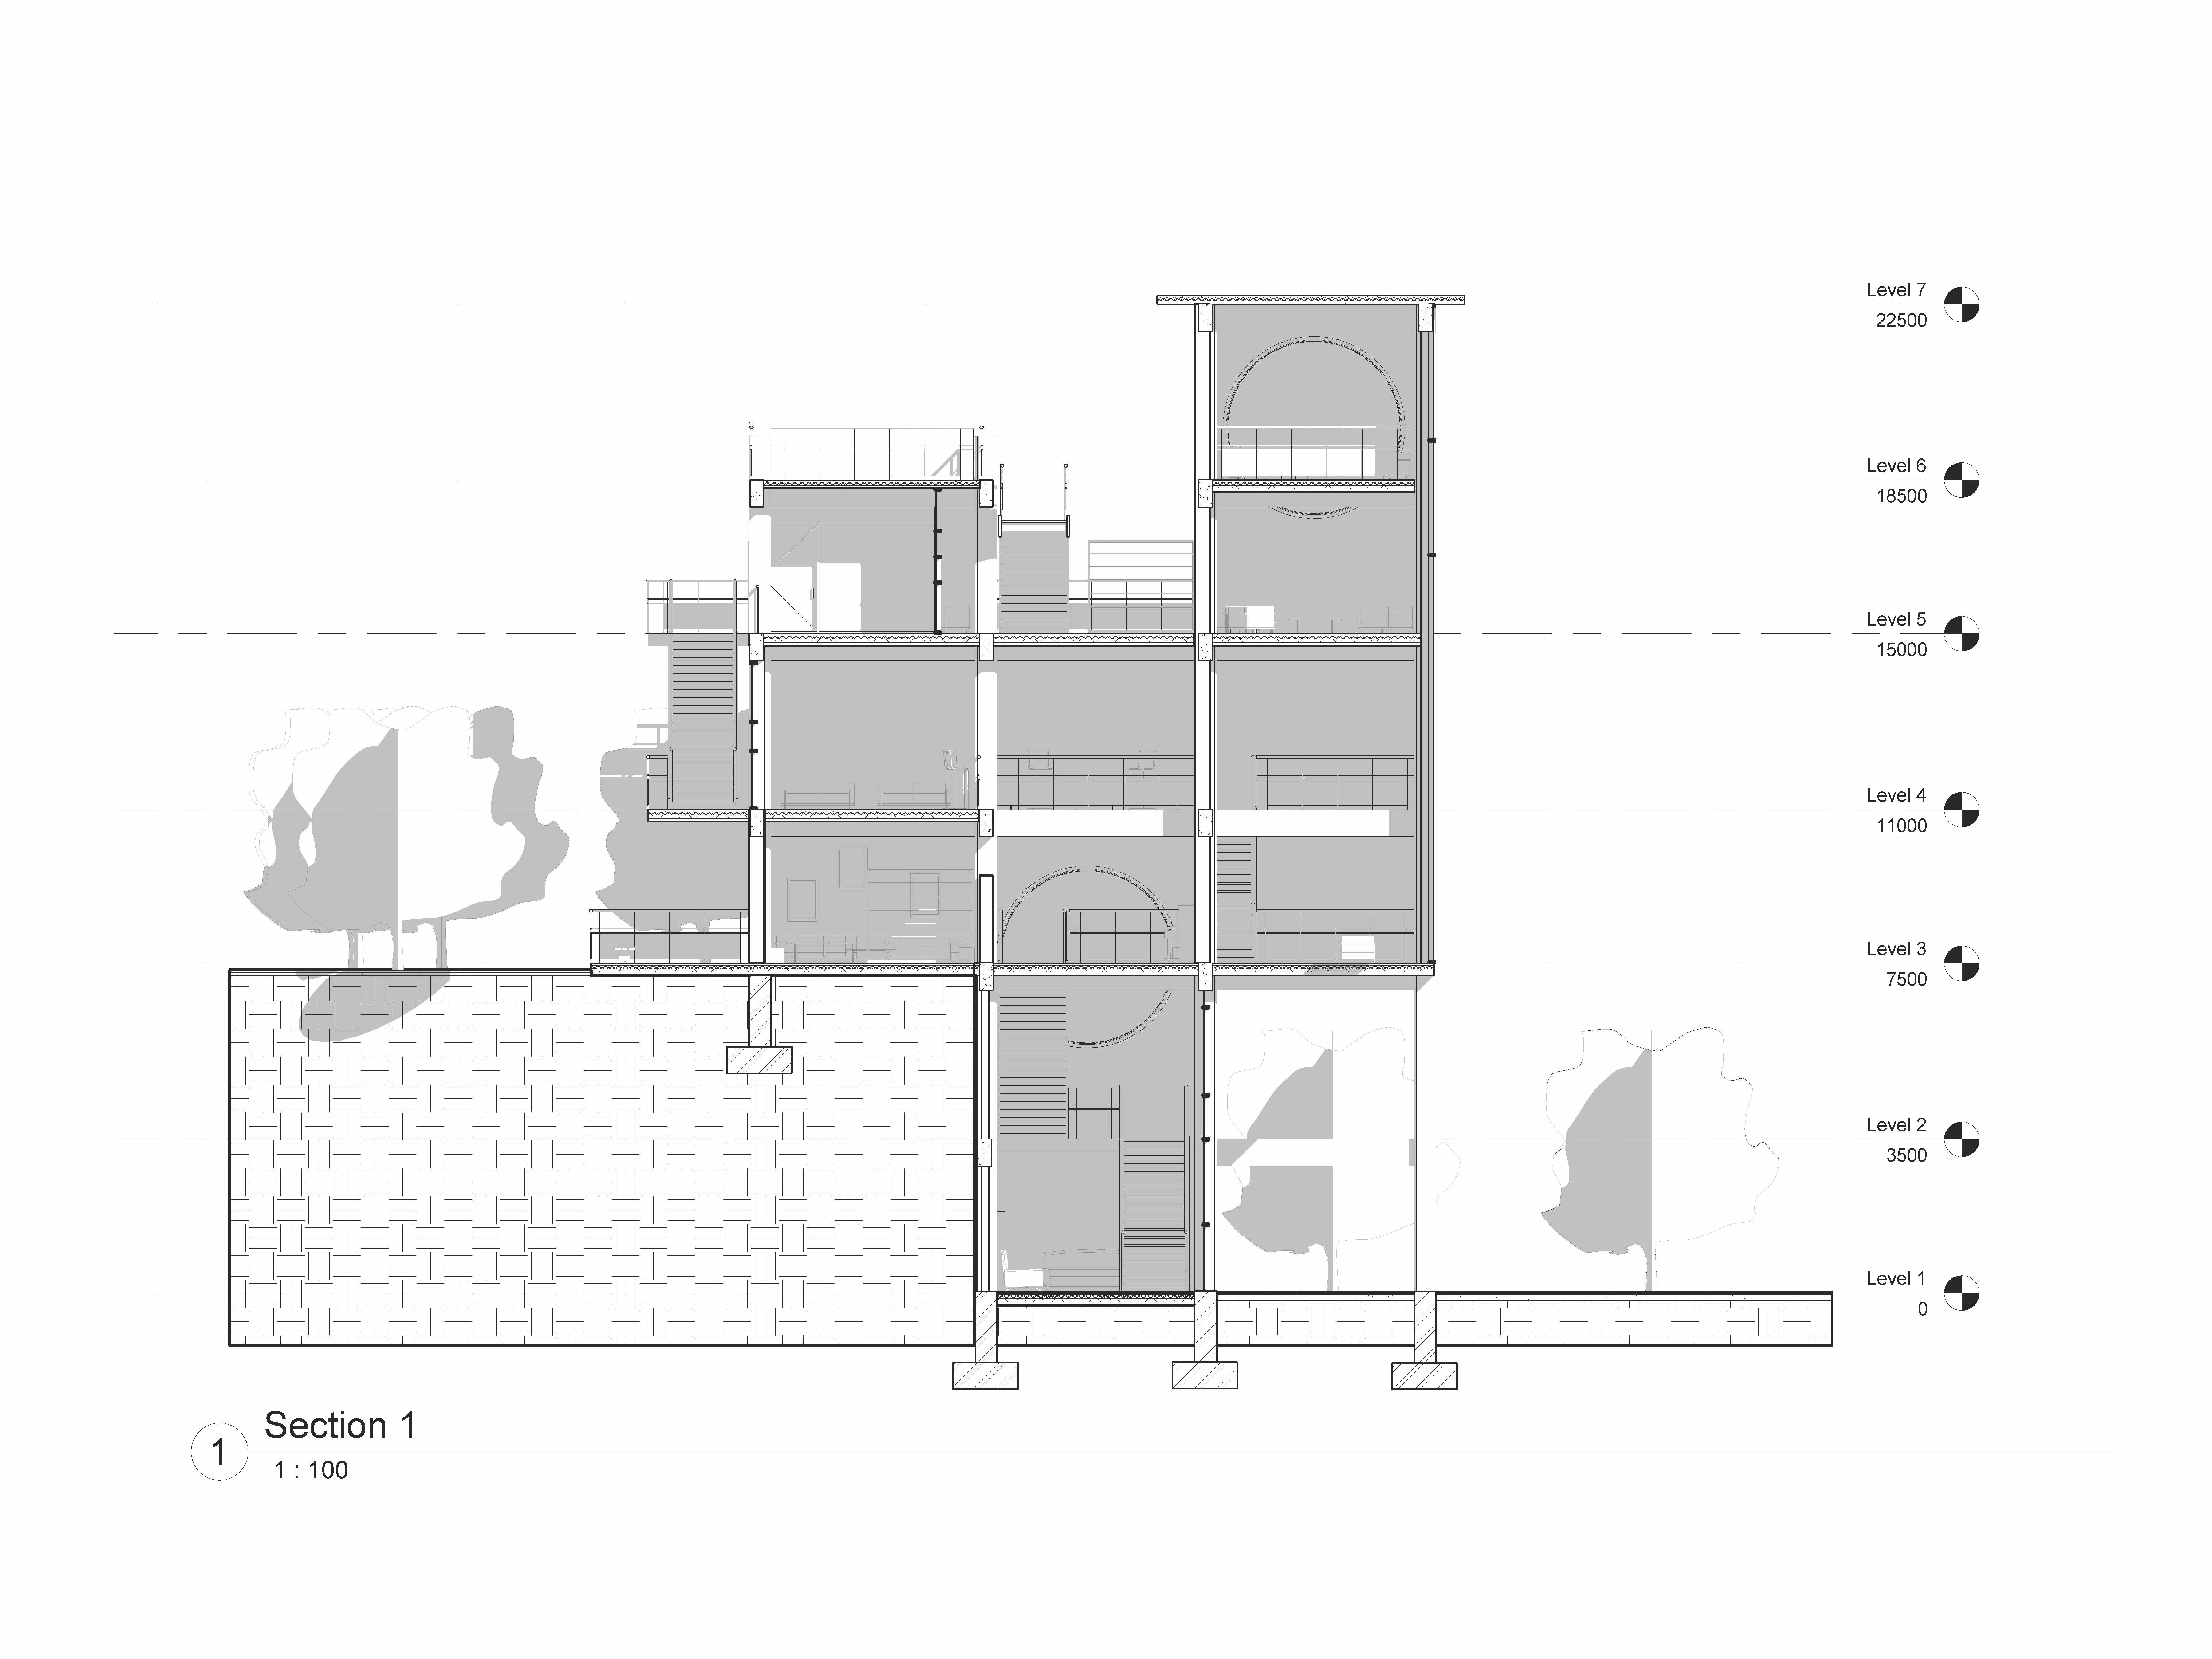
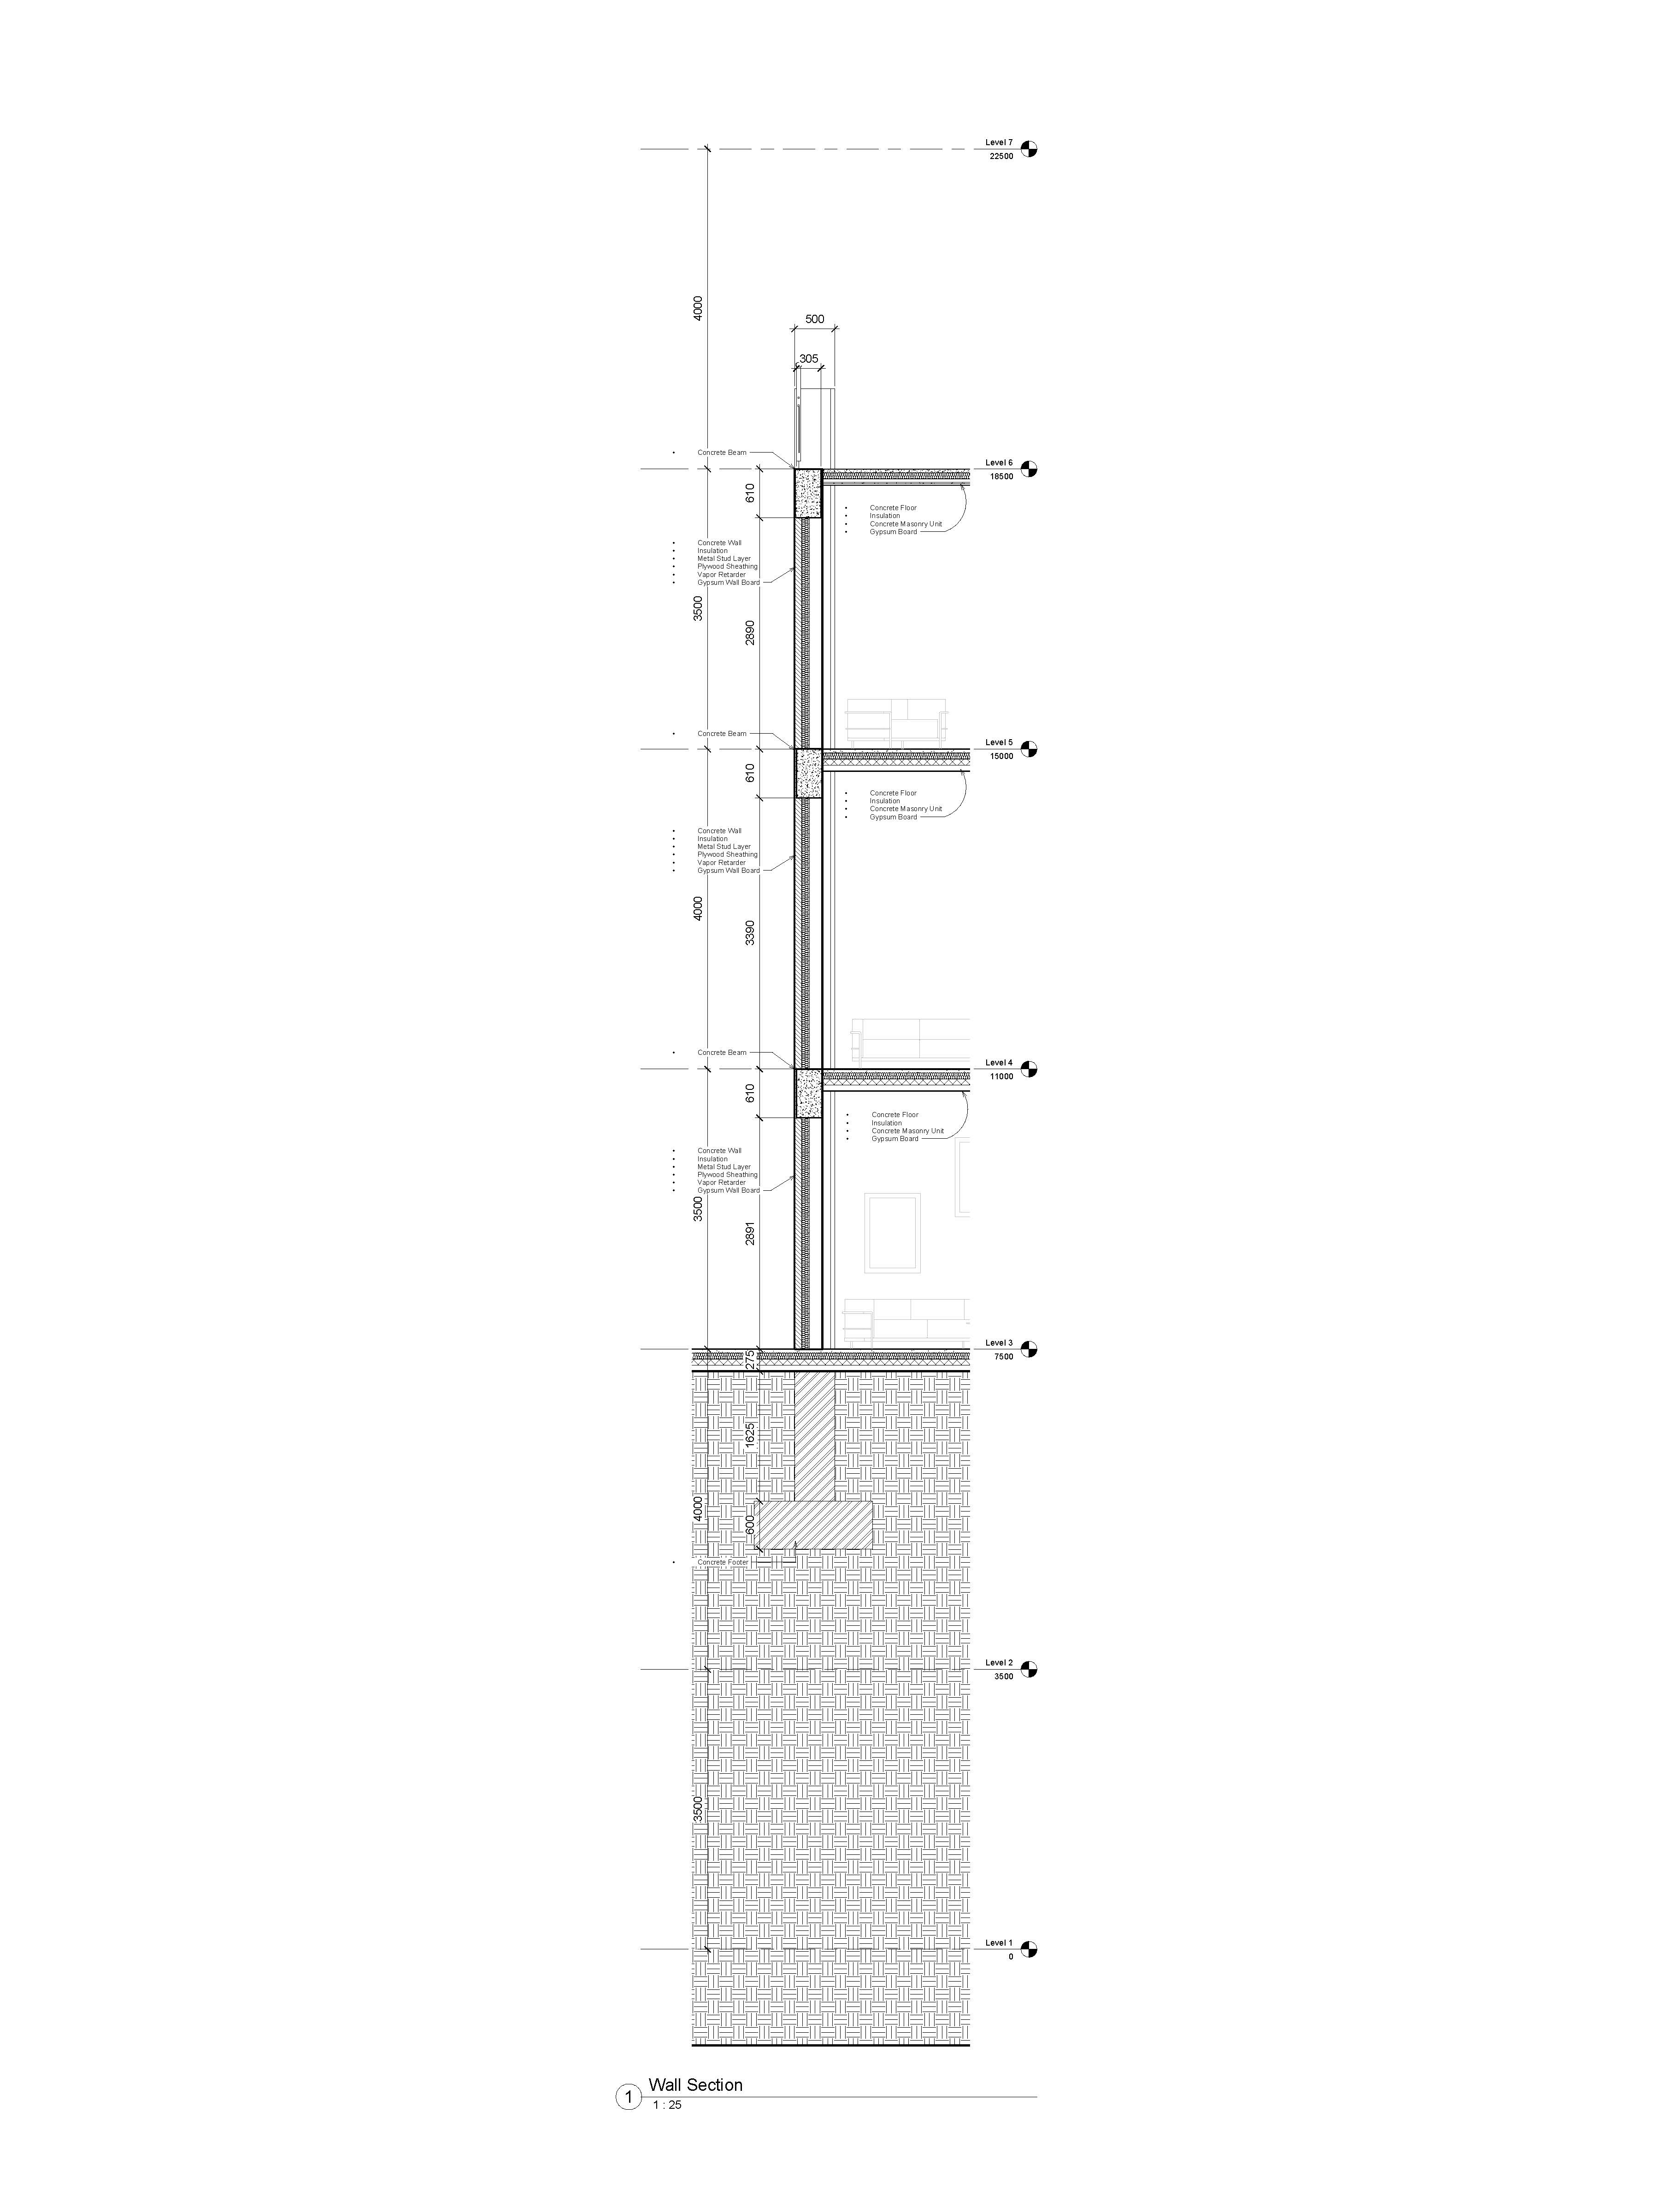
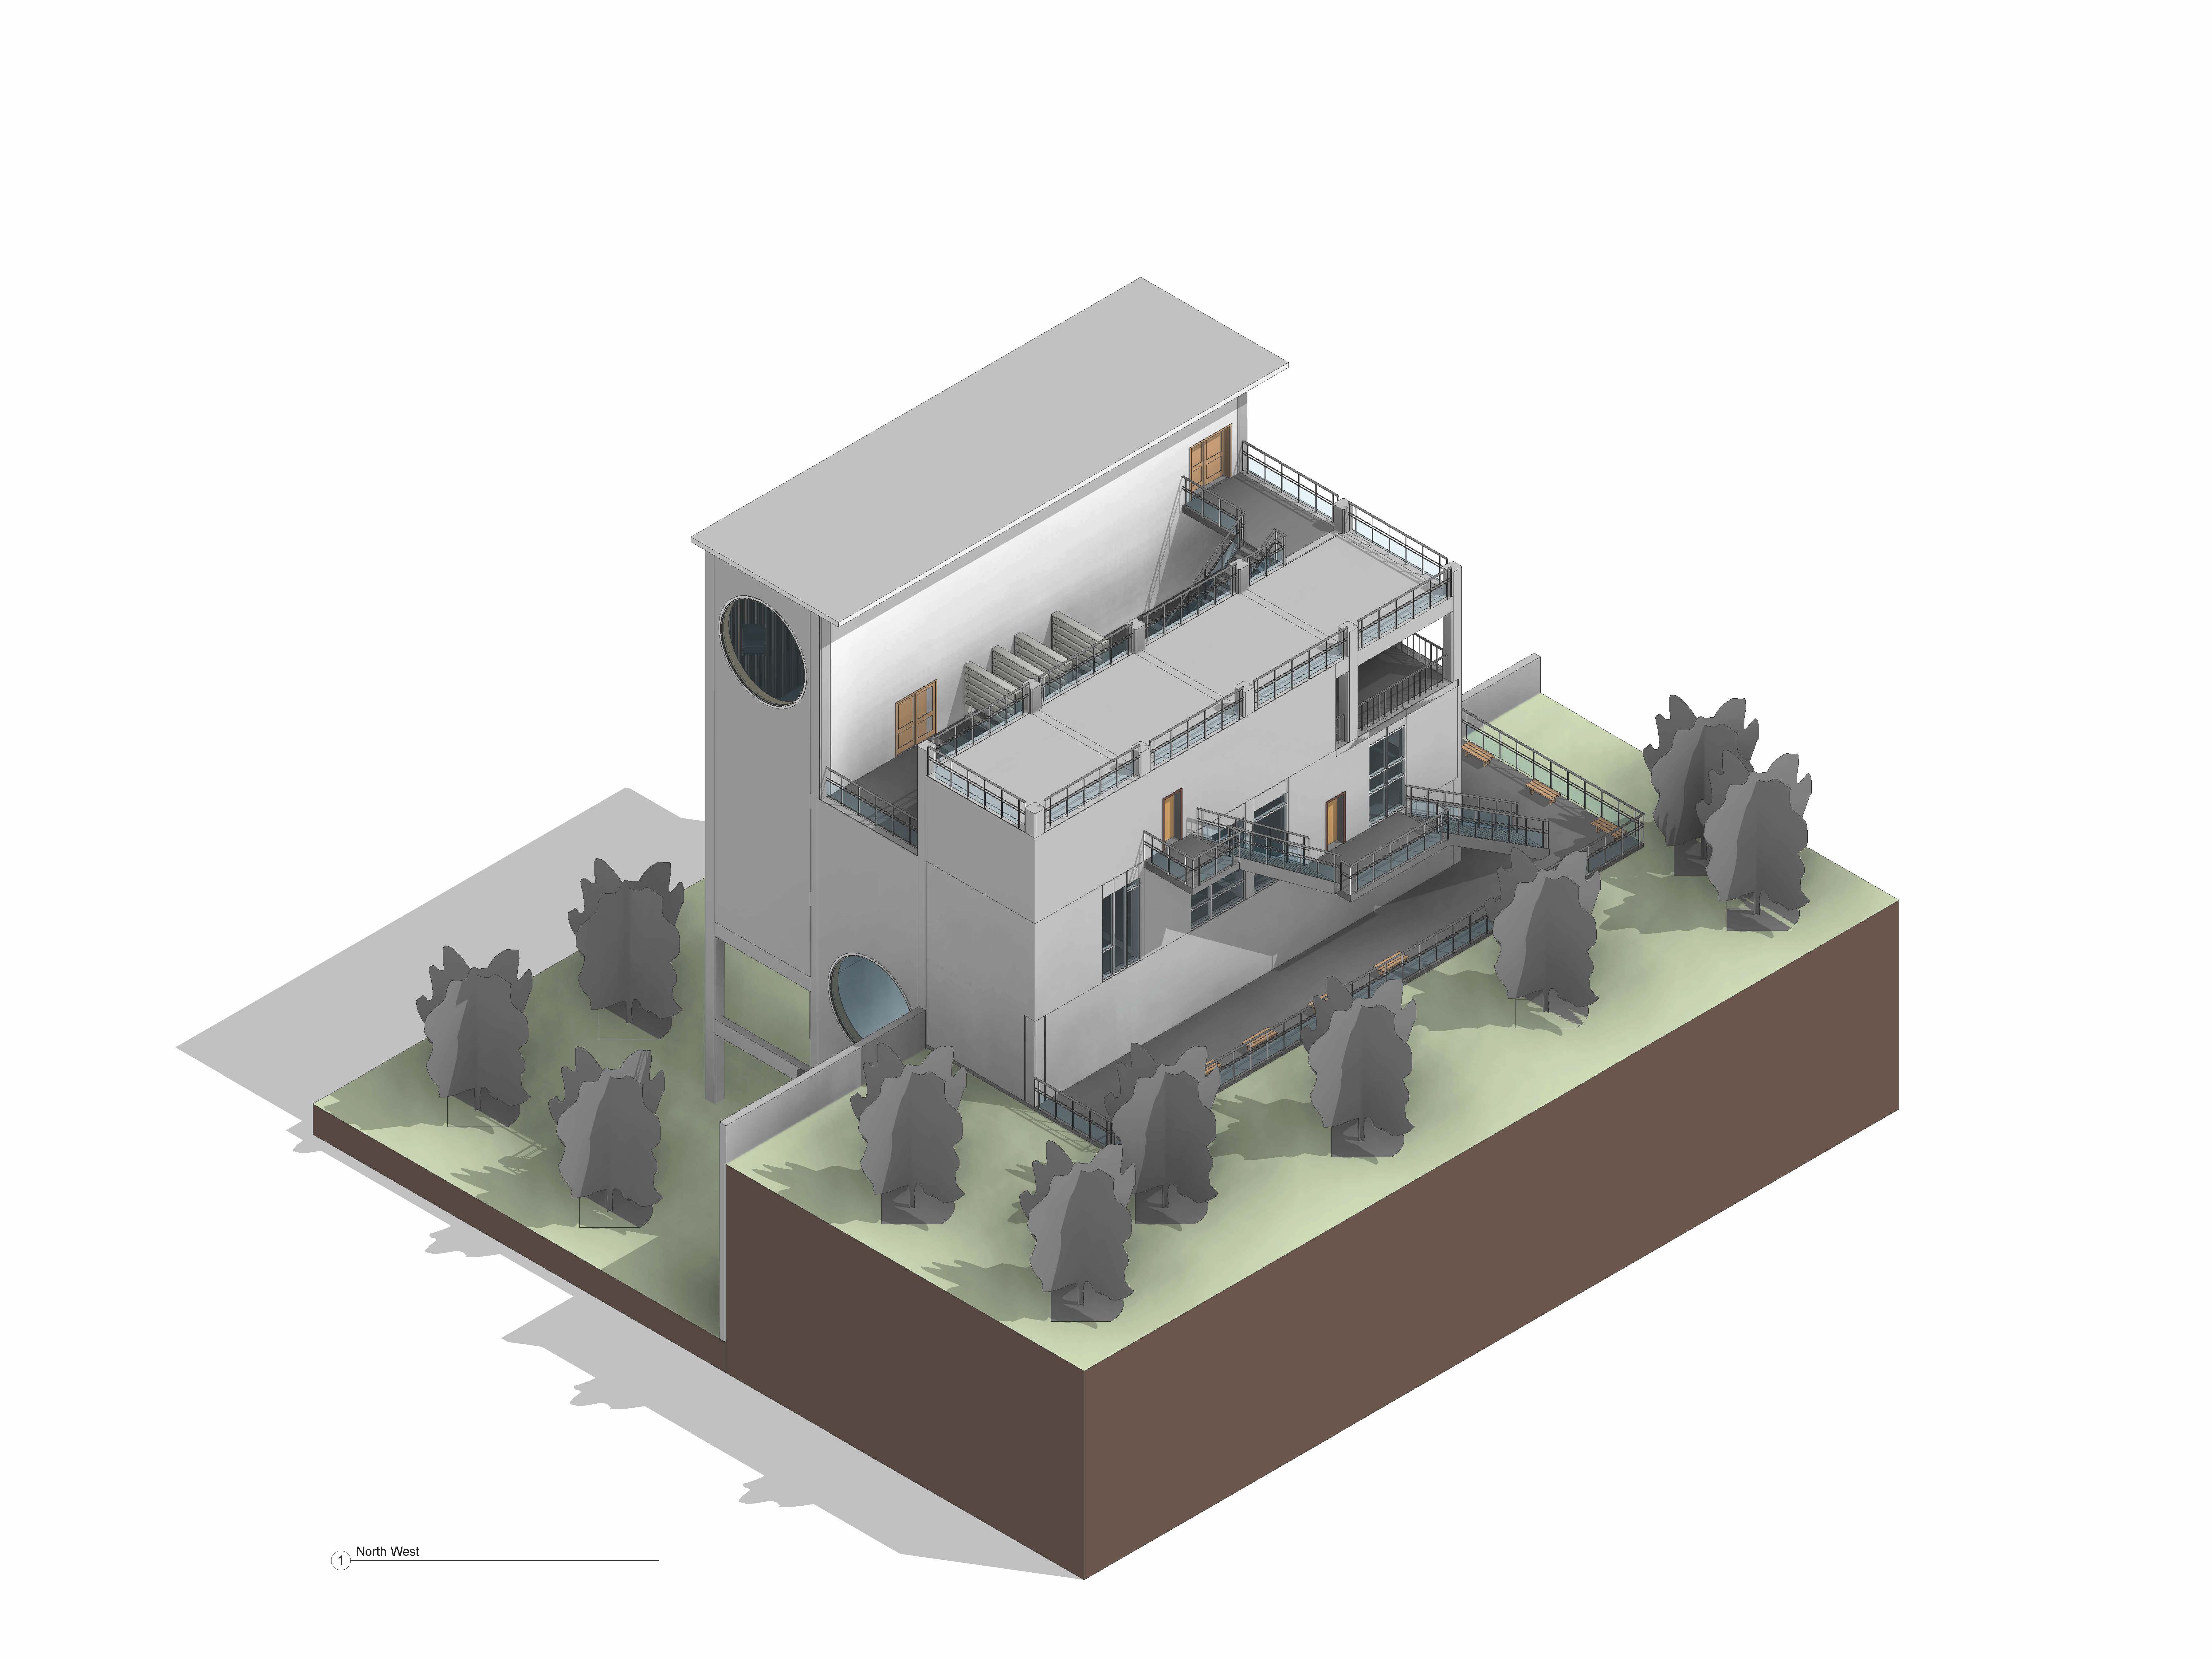
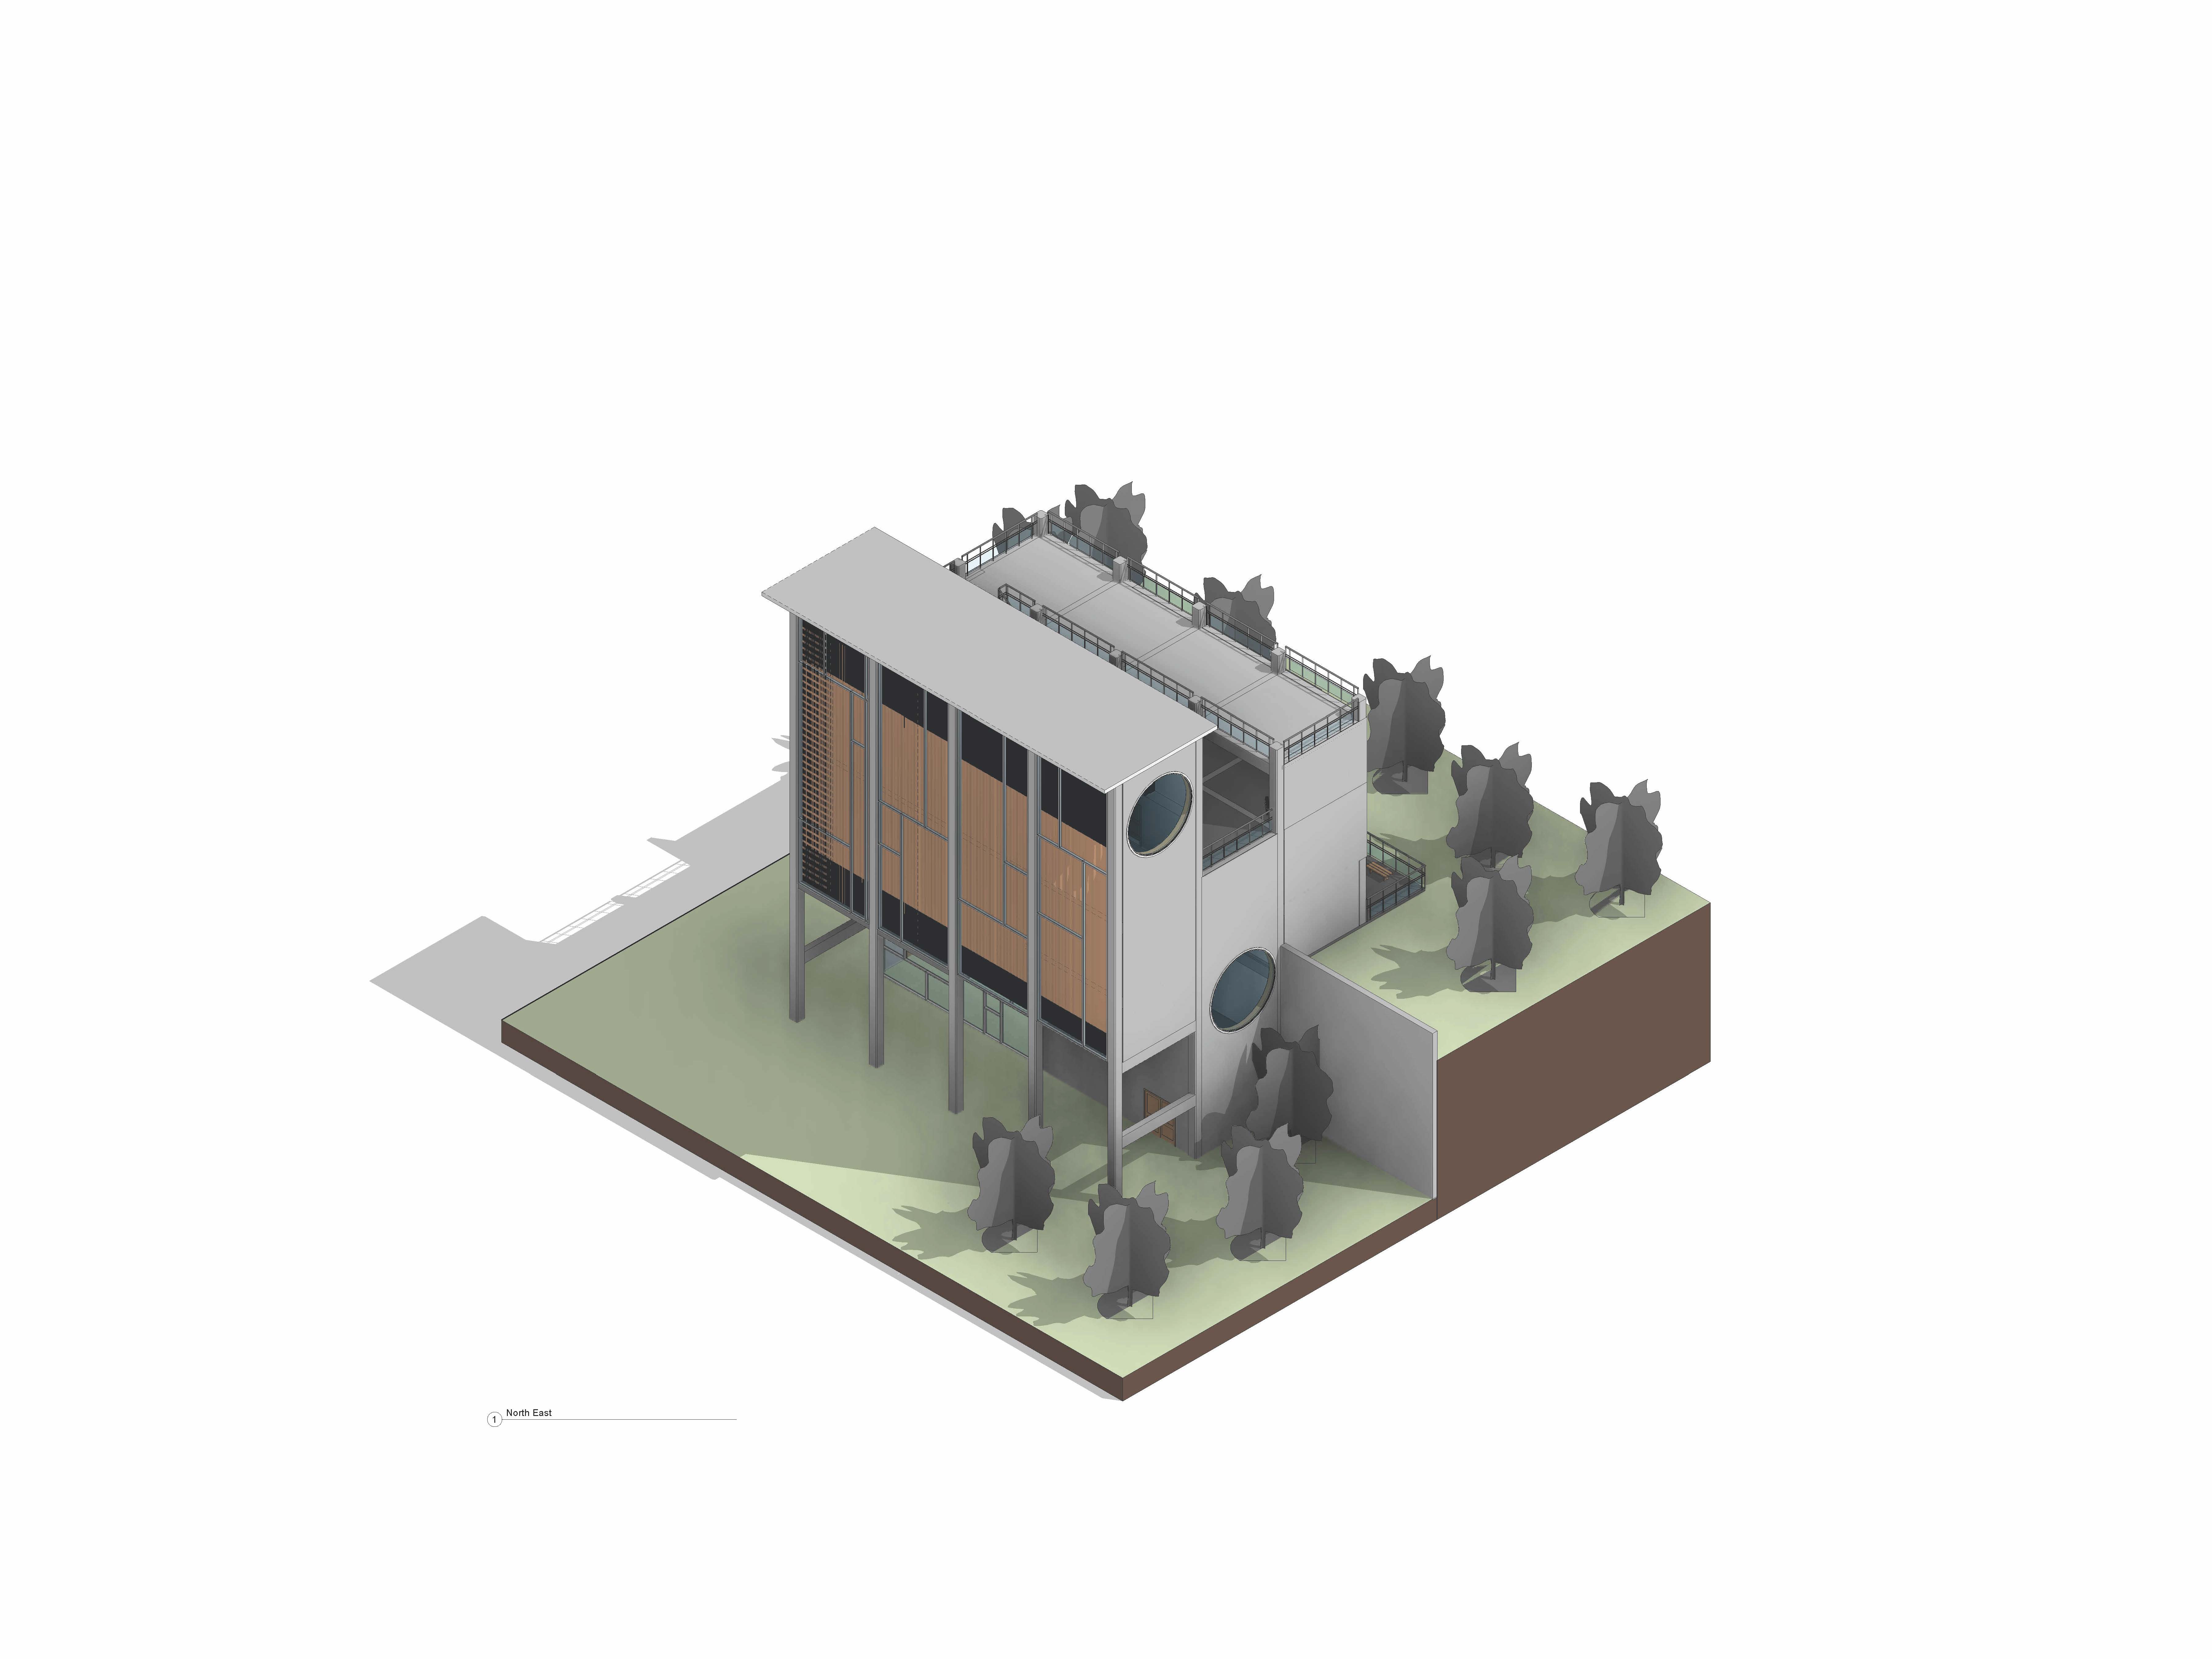
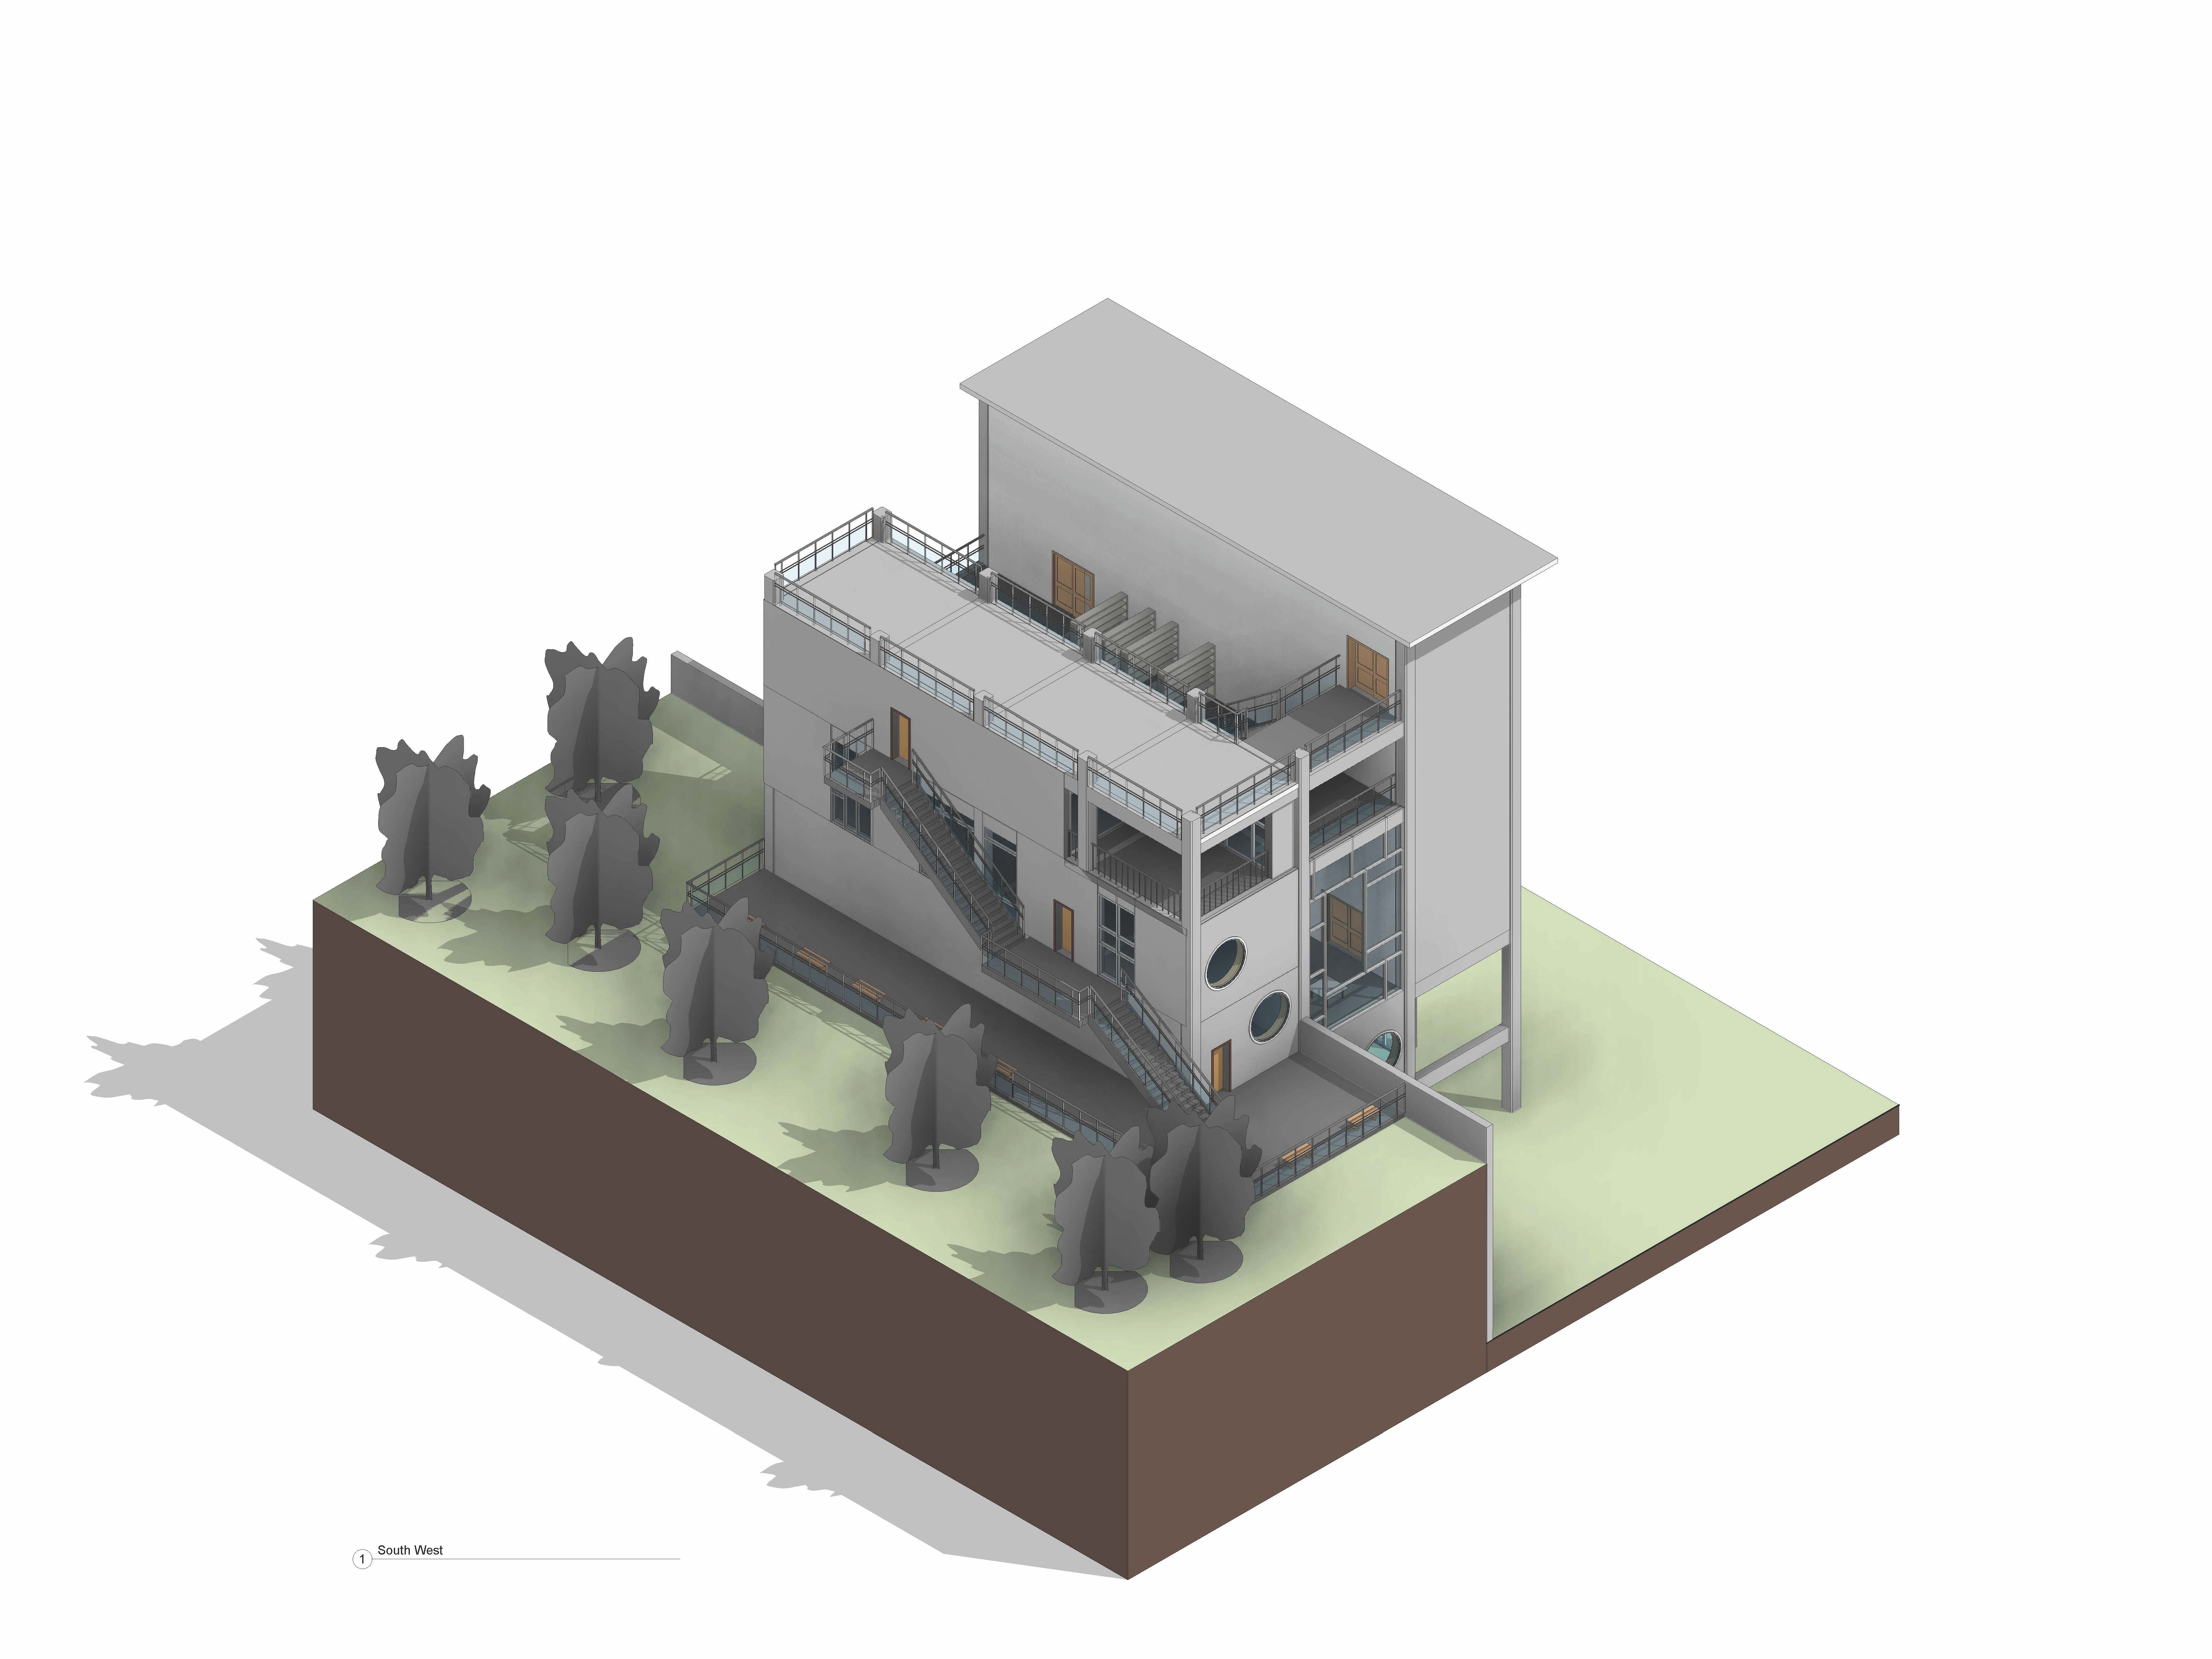
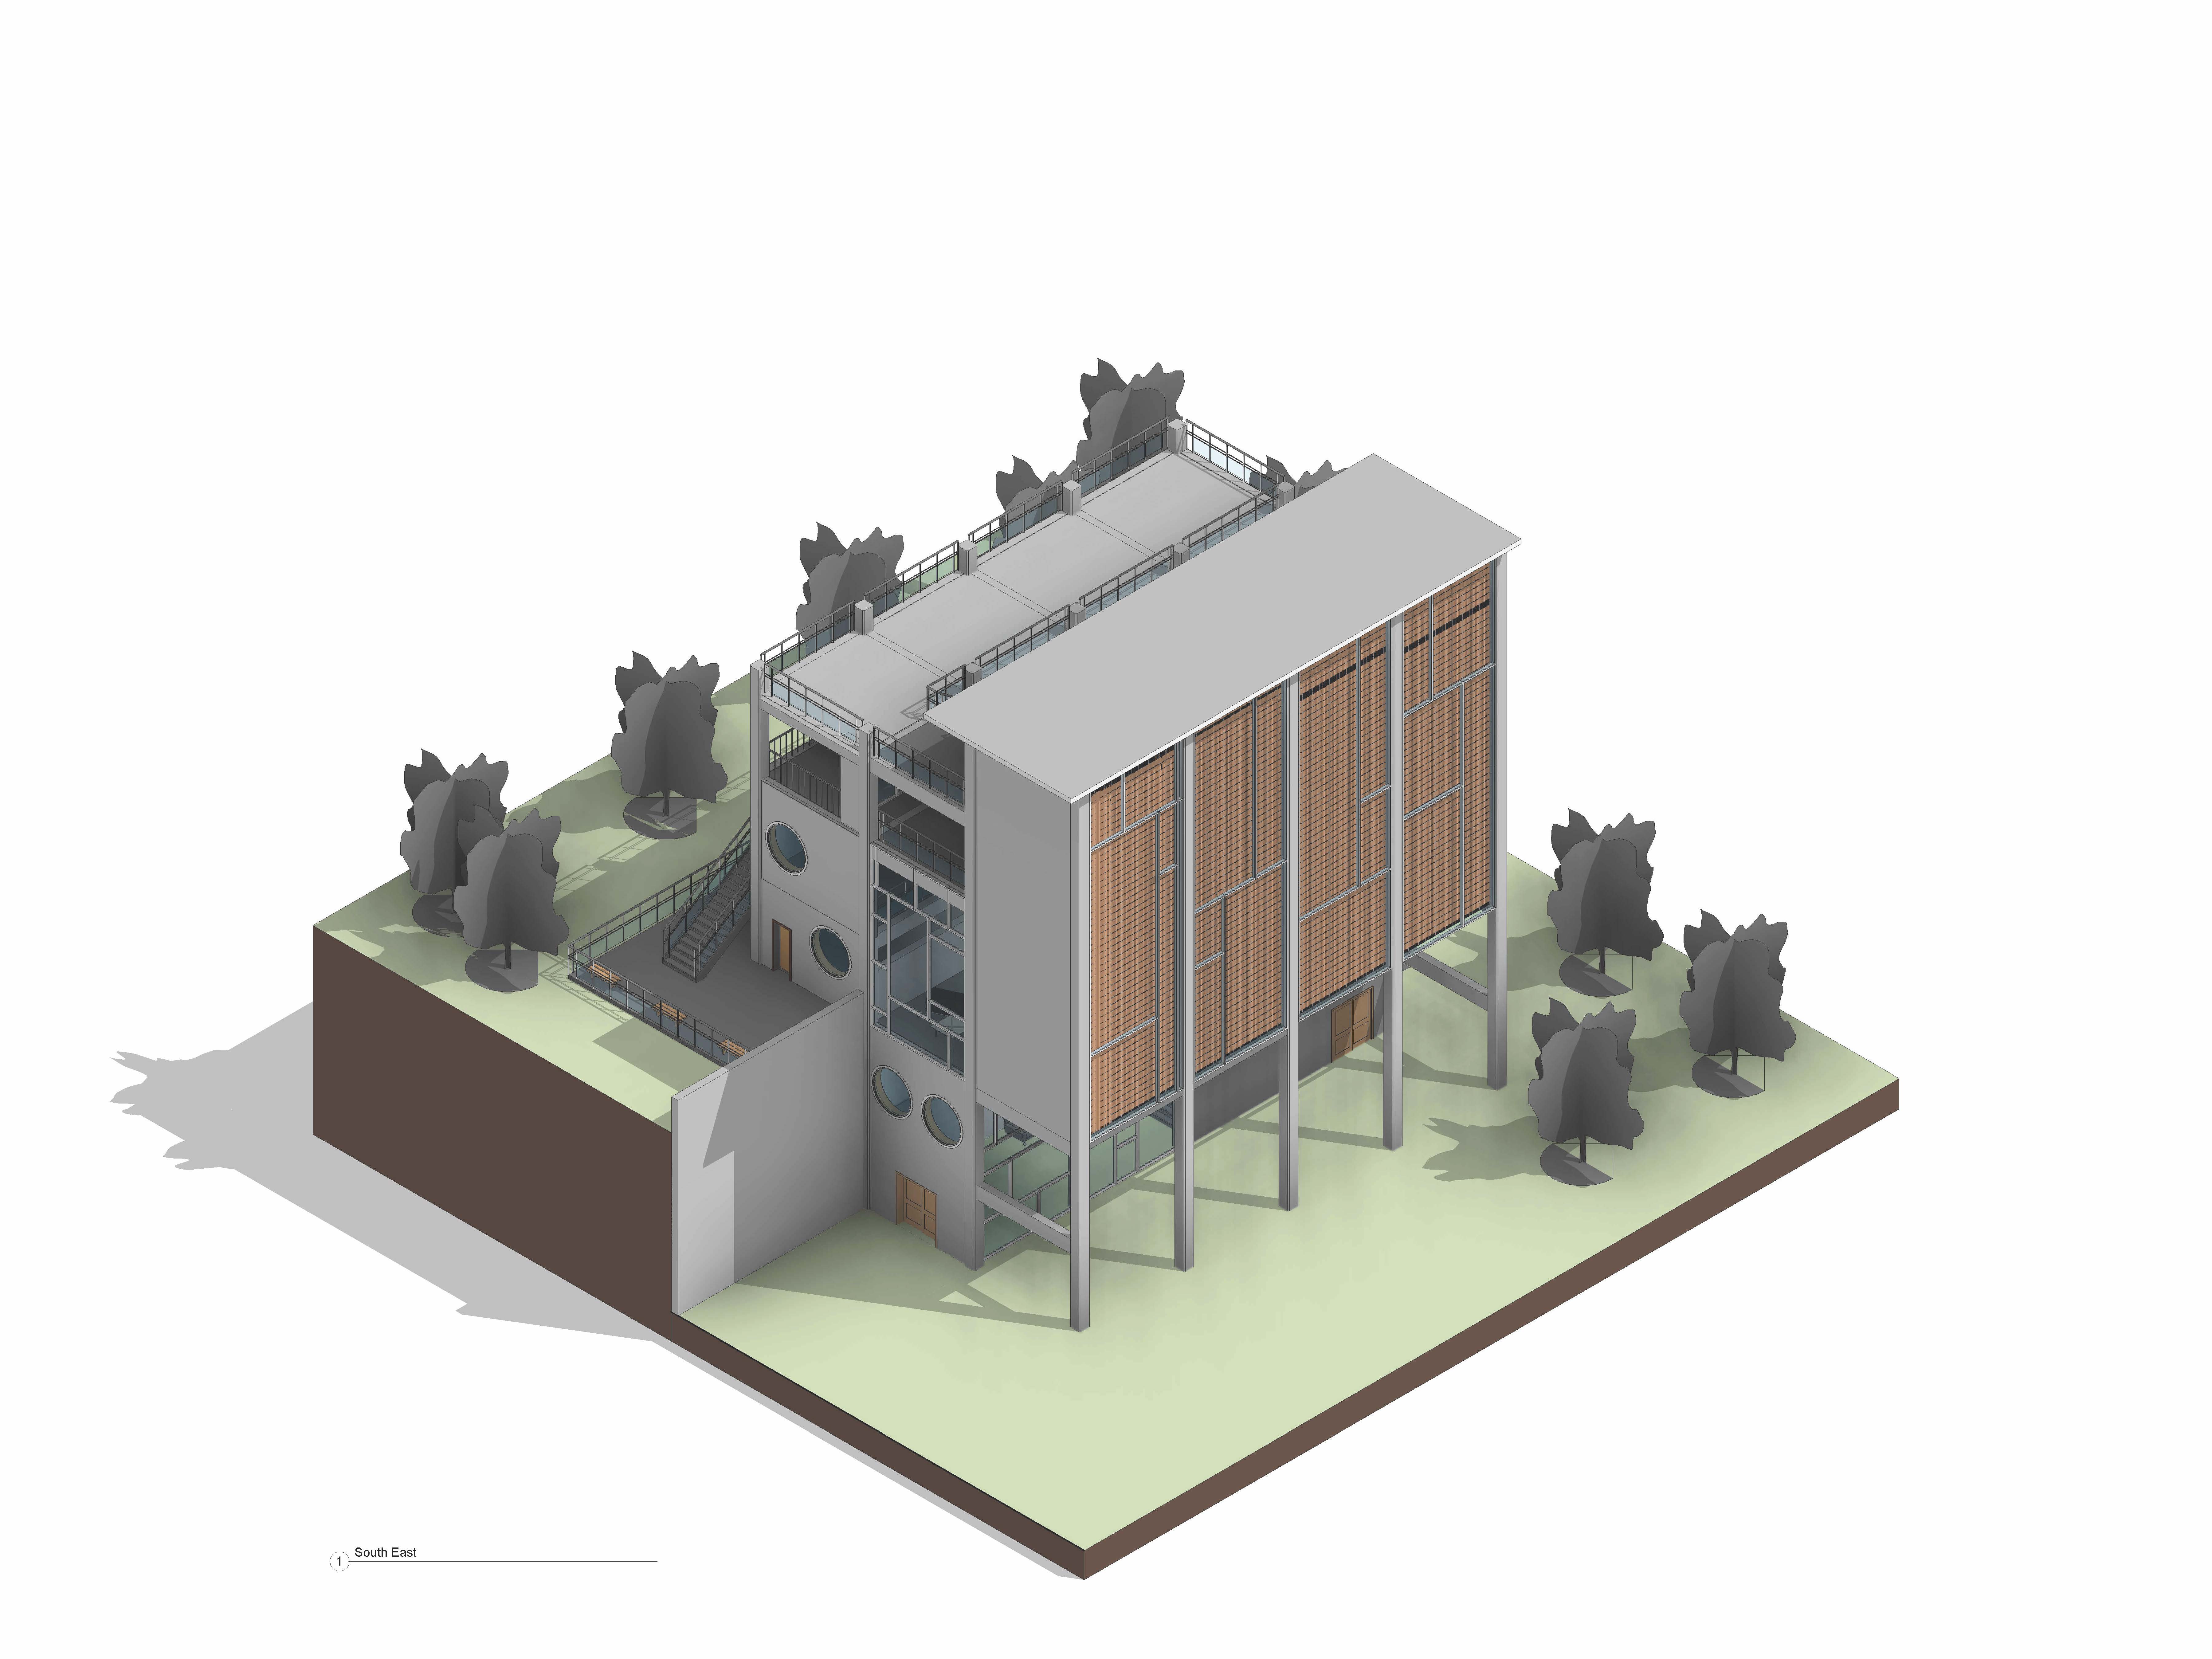
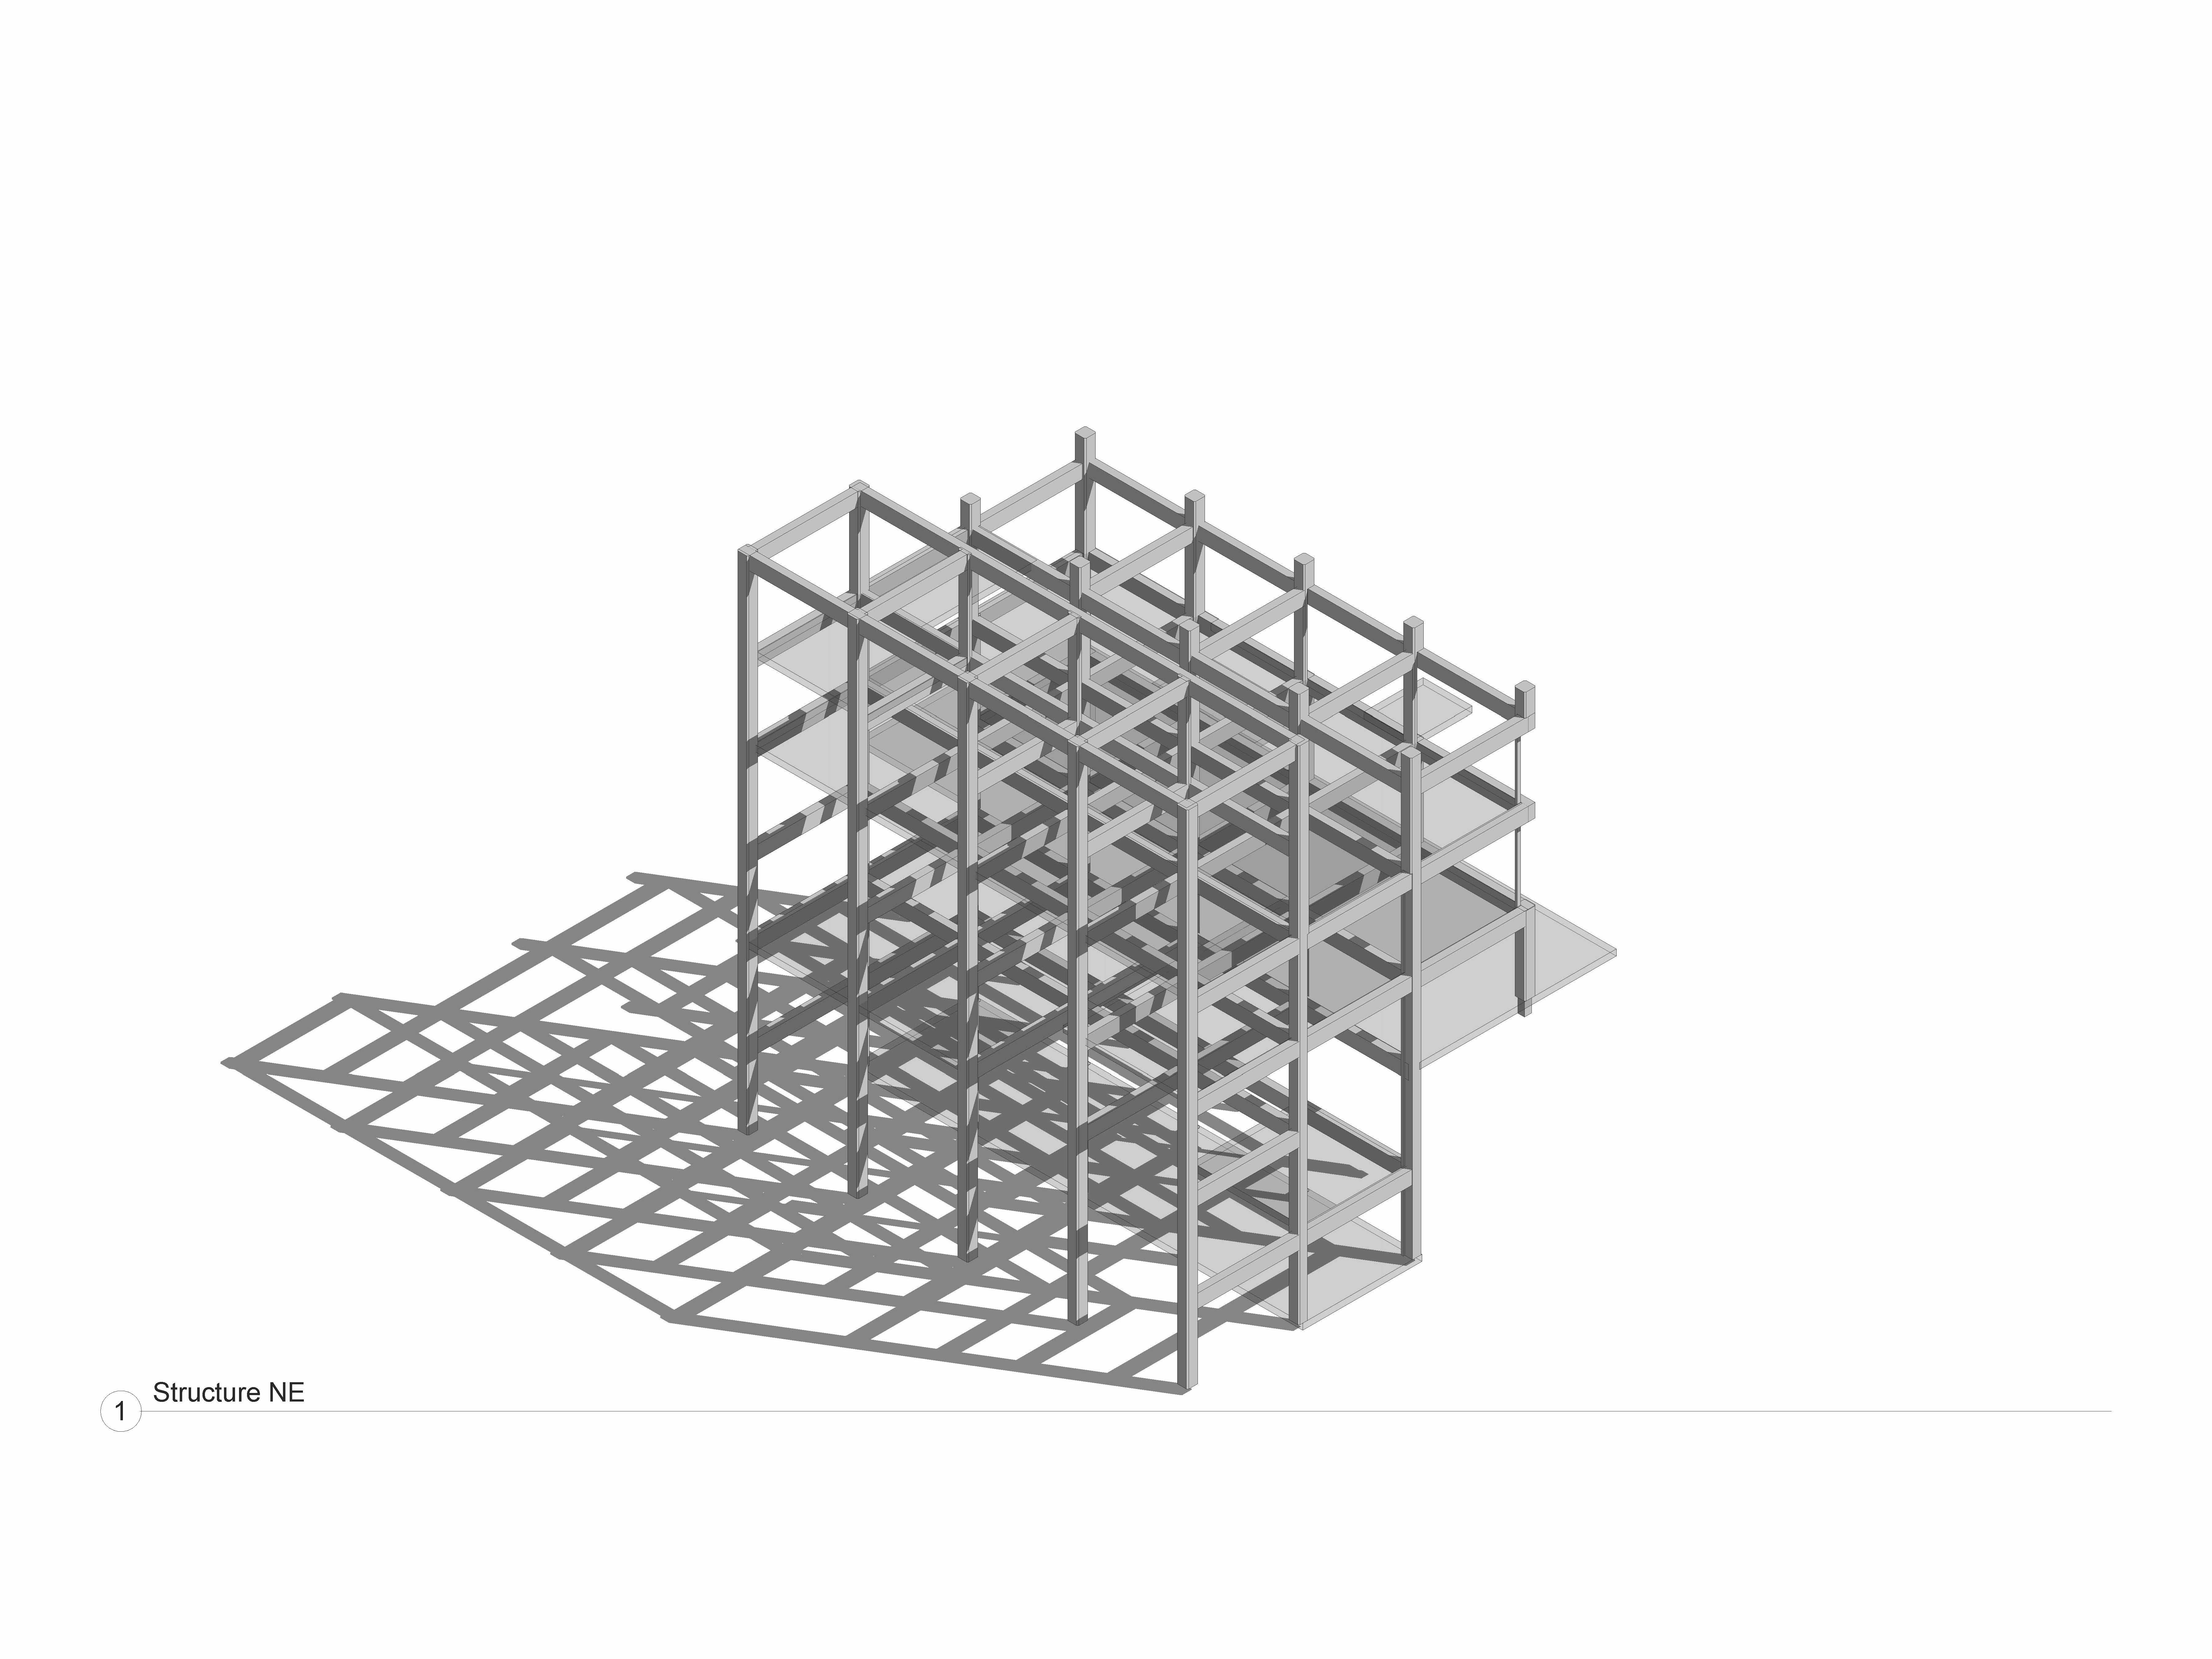
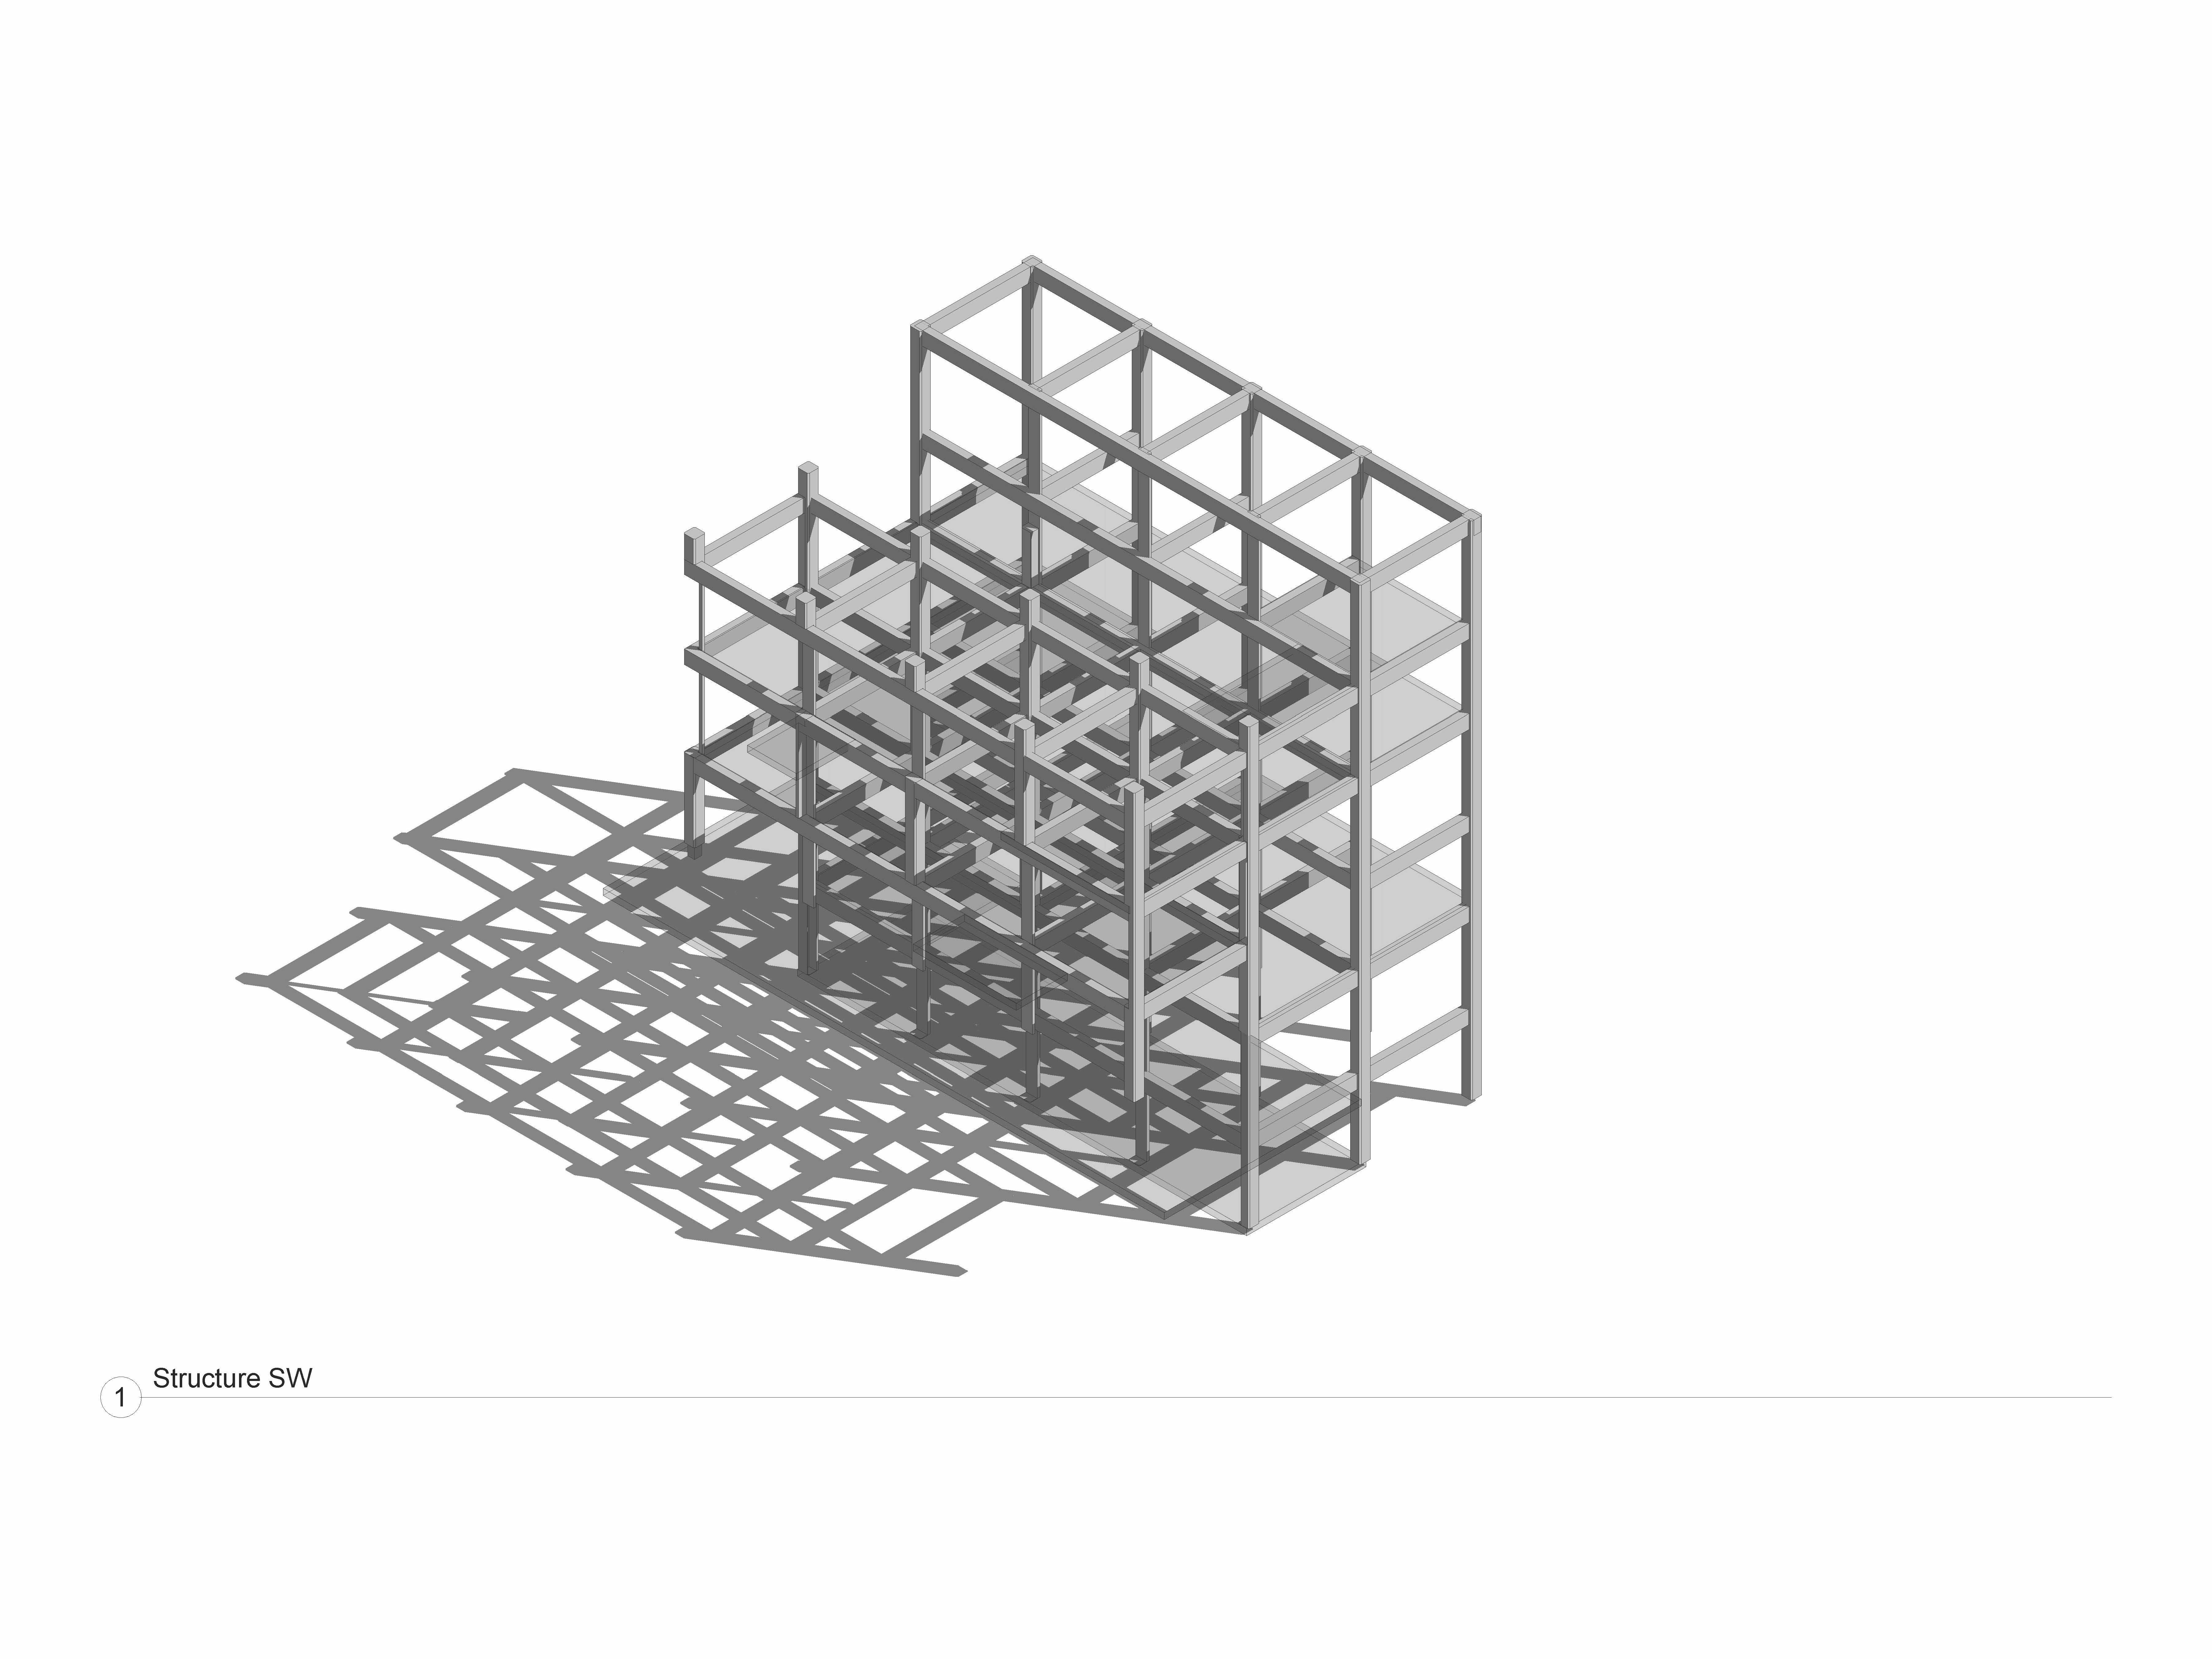
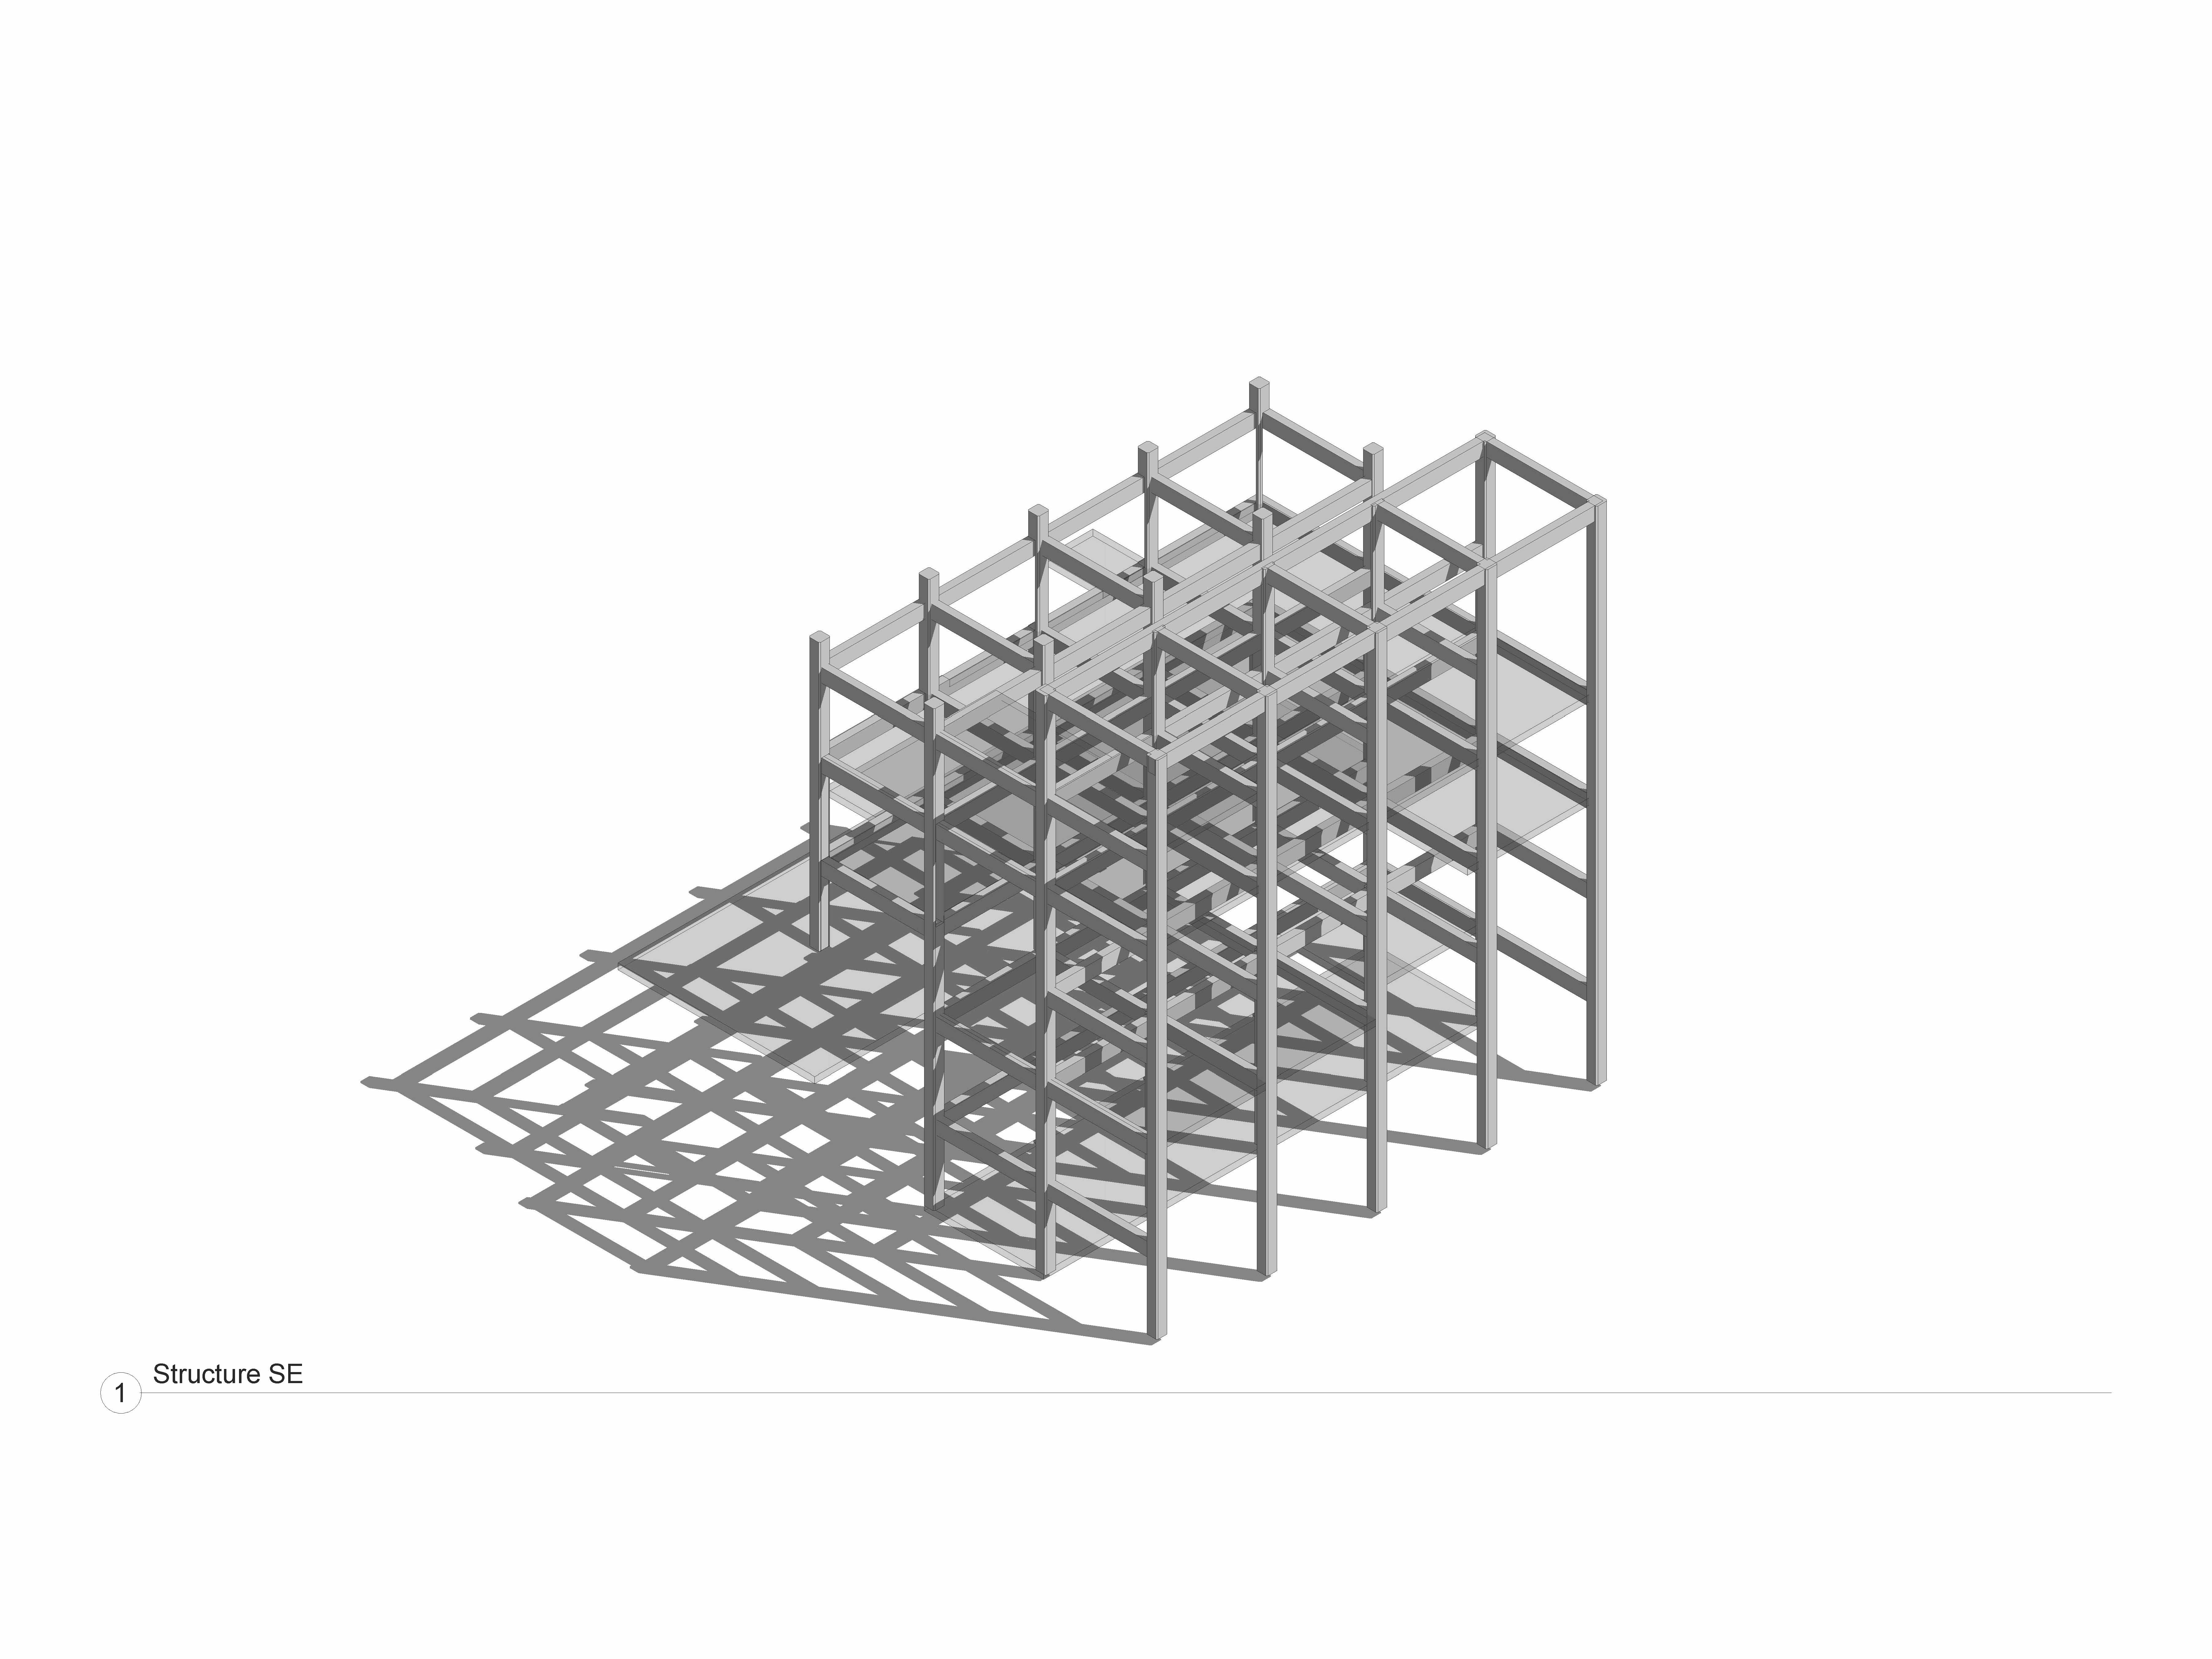
This architectural project was designed and modeled entirely during a specialized Revit training program. The documentation includes the overall project visuals, floor plans, cross-sections, and detailed structural component views, demonstrating proficiency in Building Information Modeling.

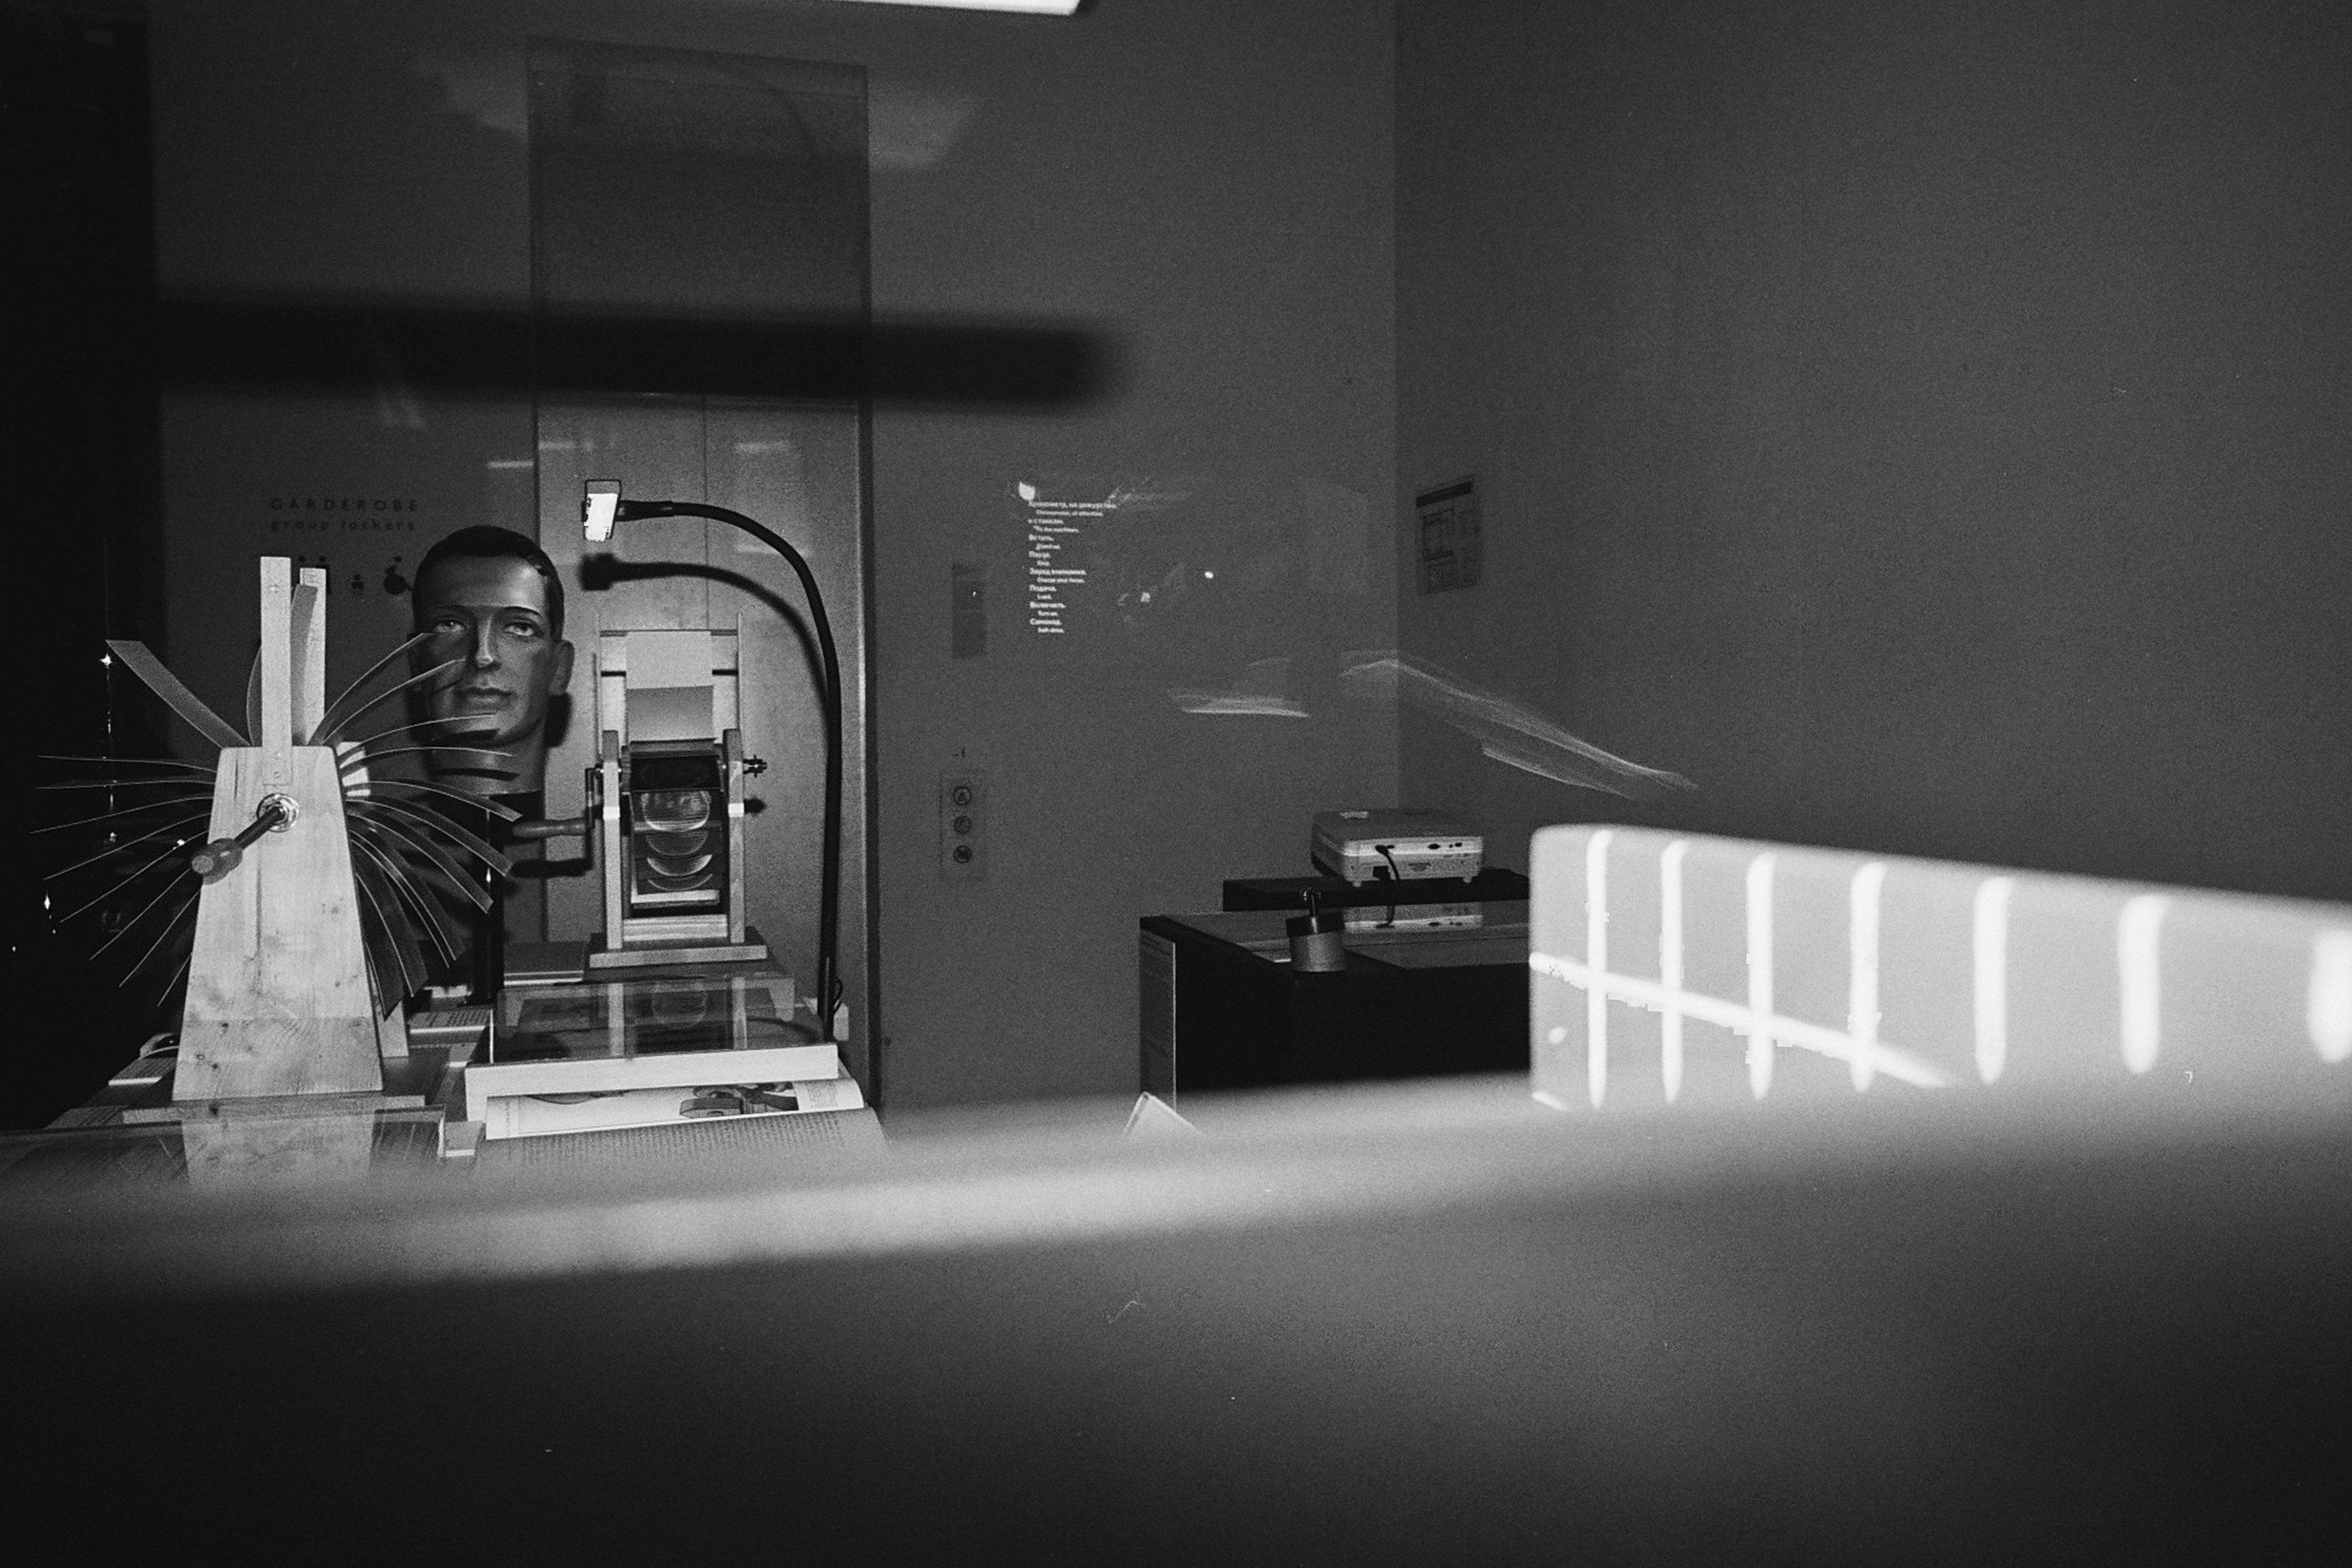
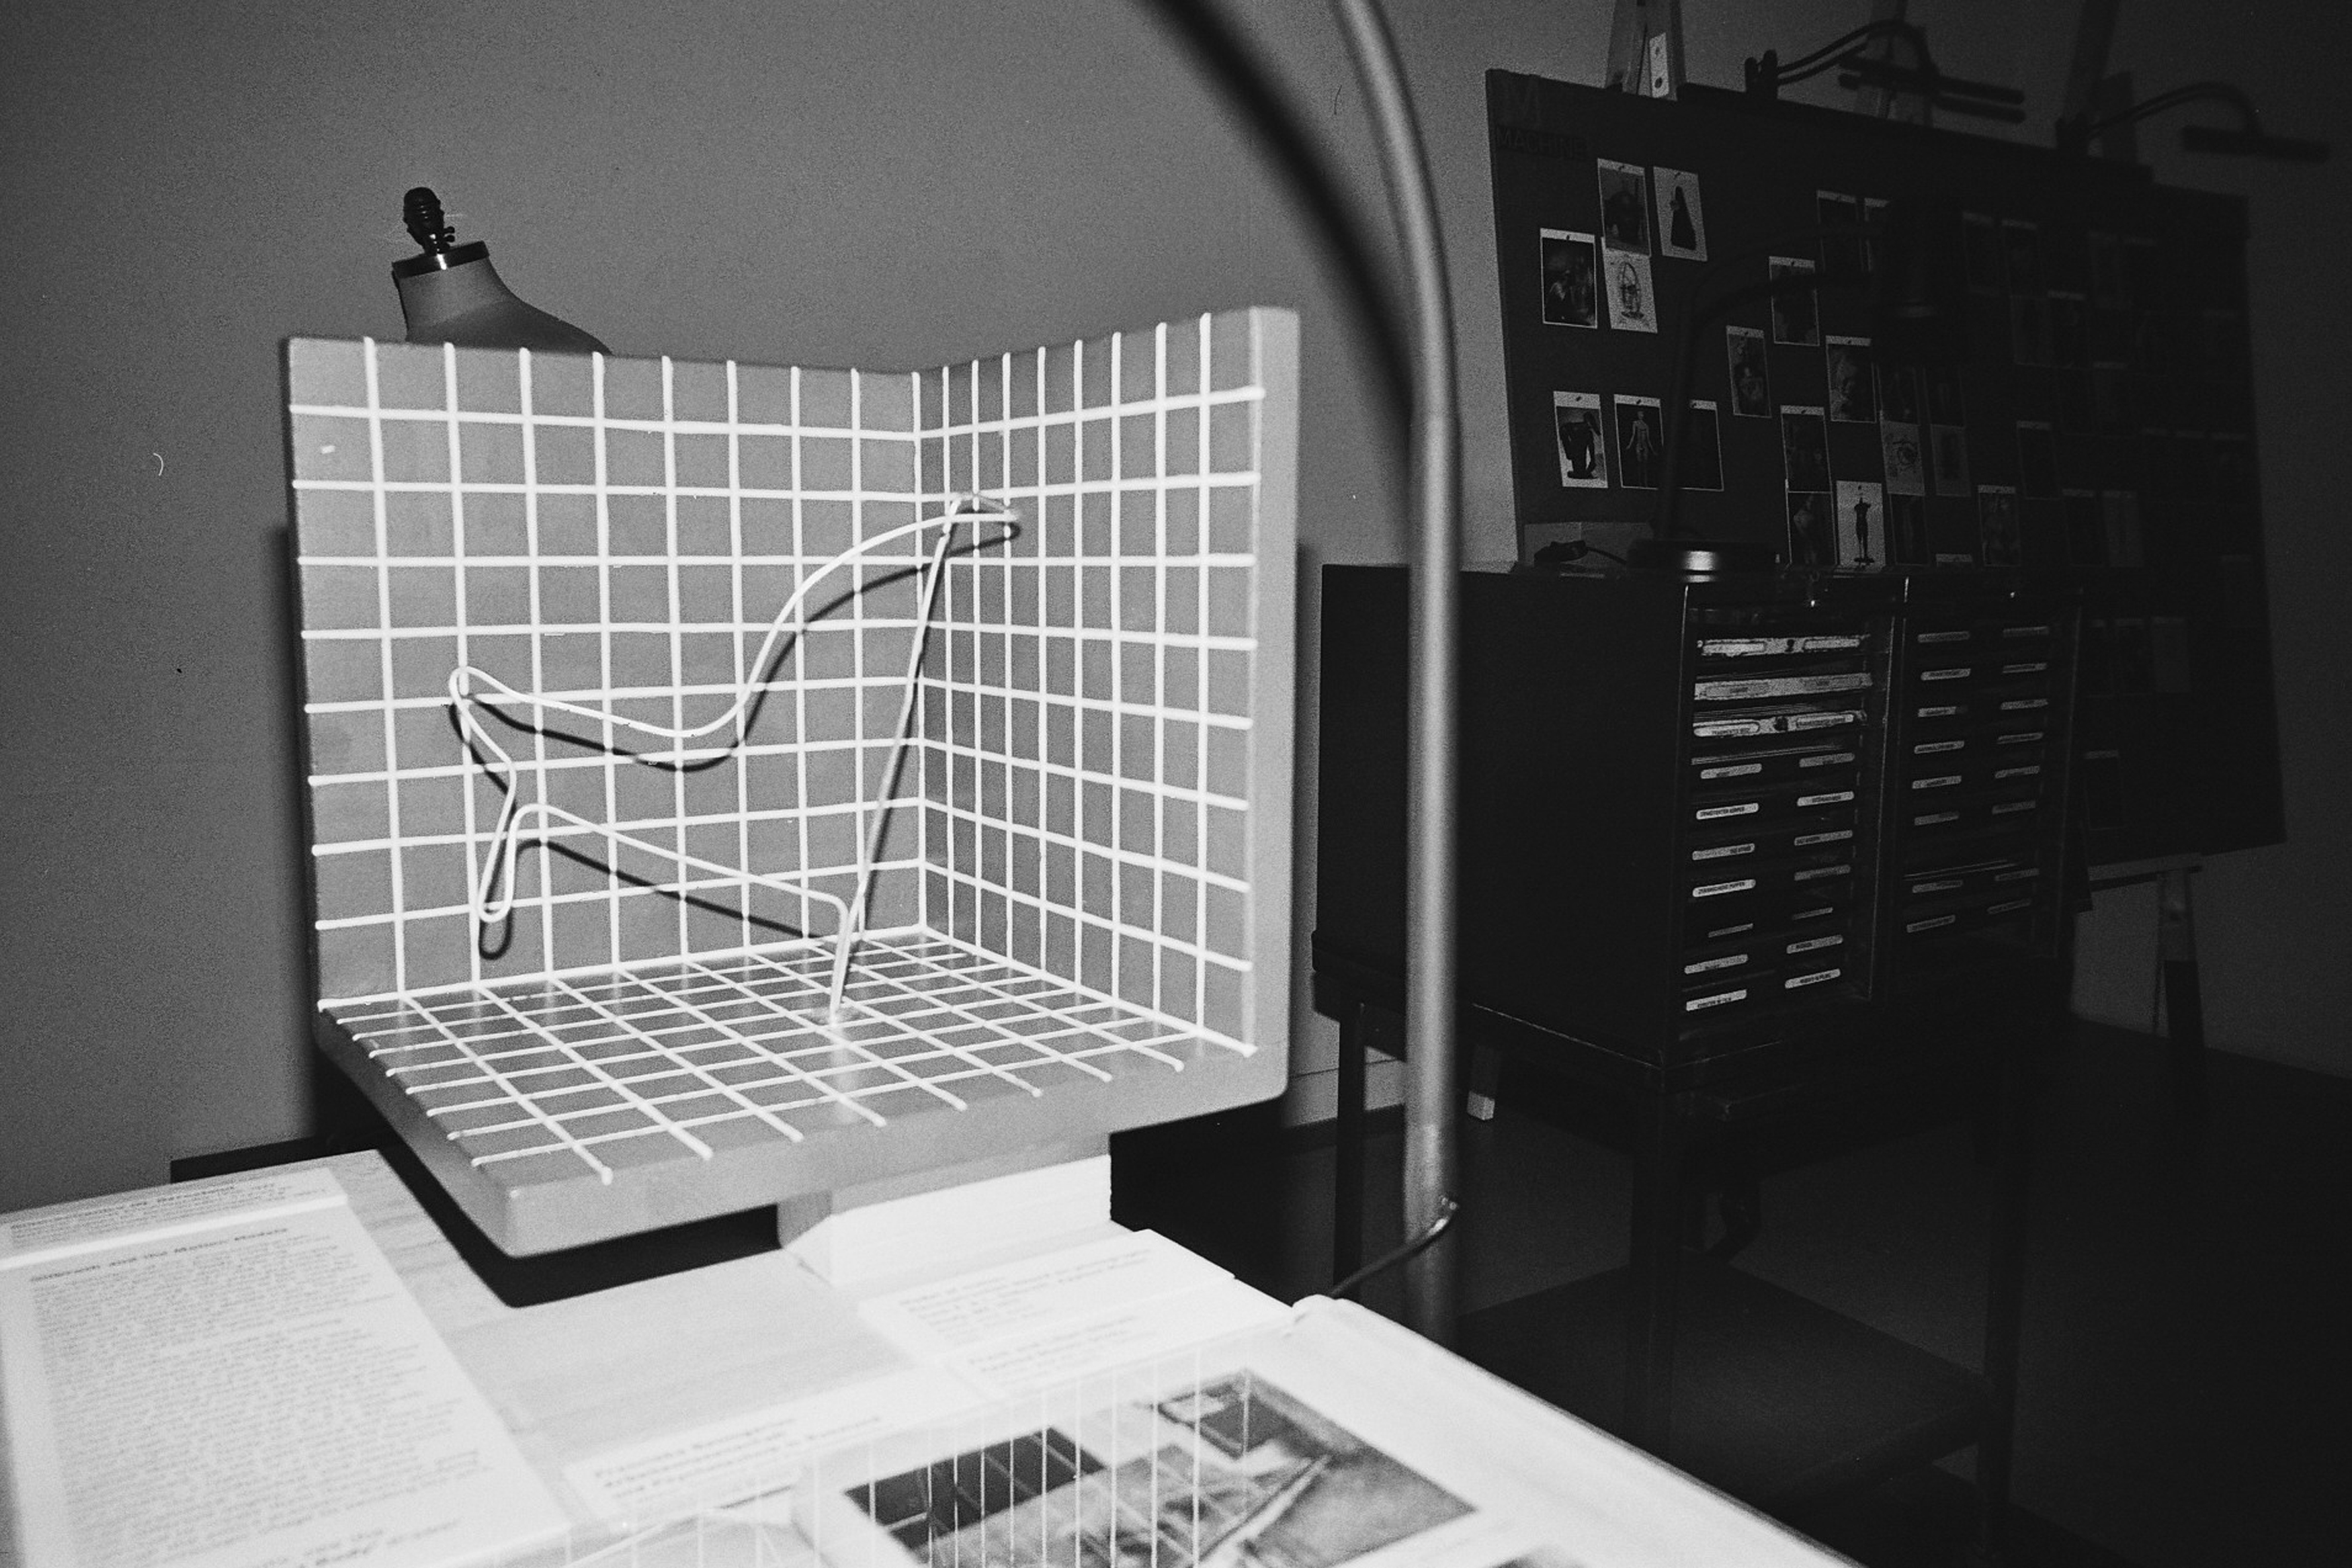
02. Exhibition Design: "Uncanny"
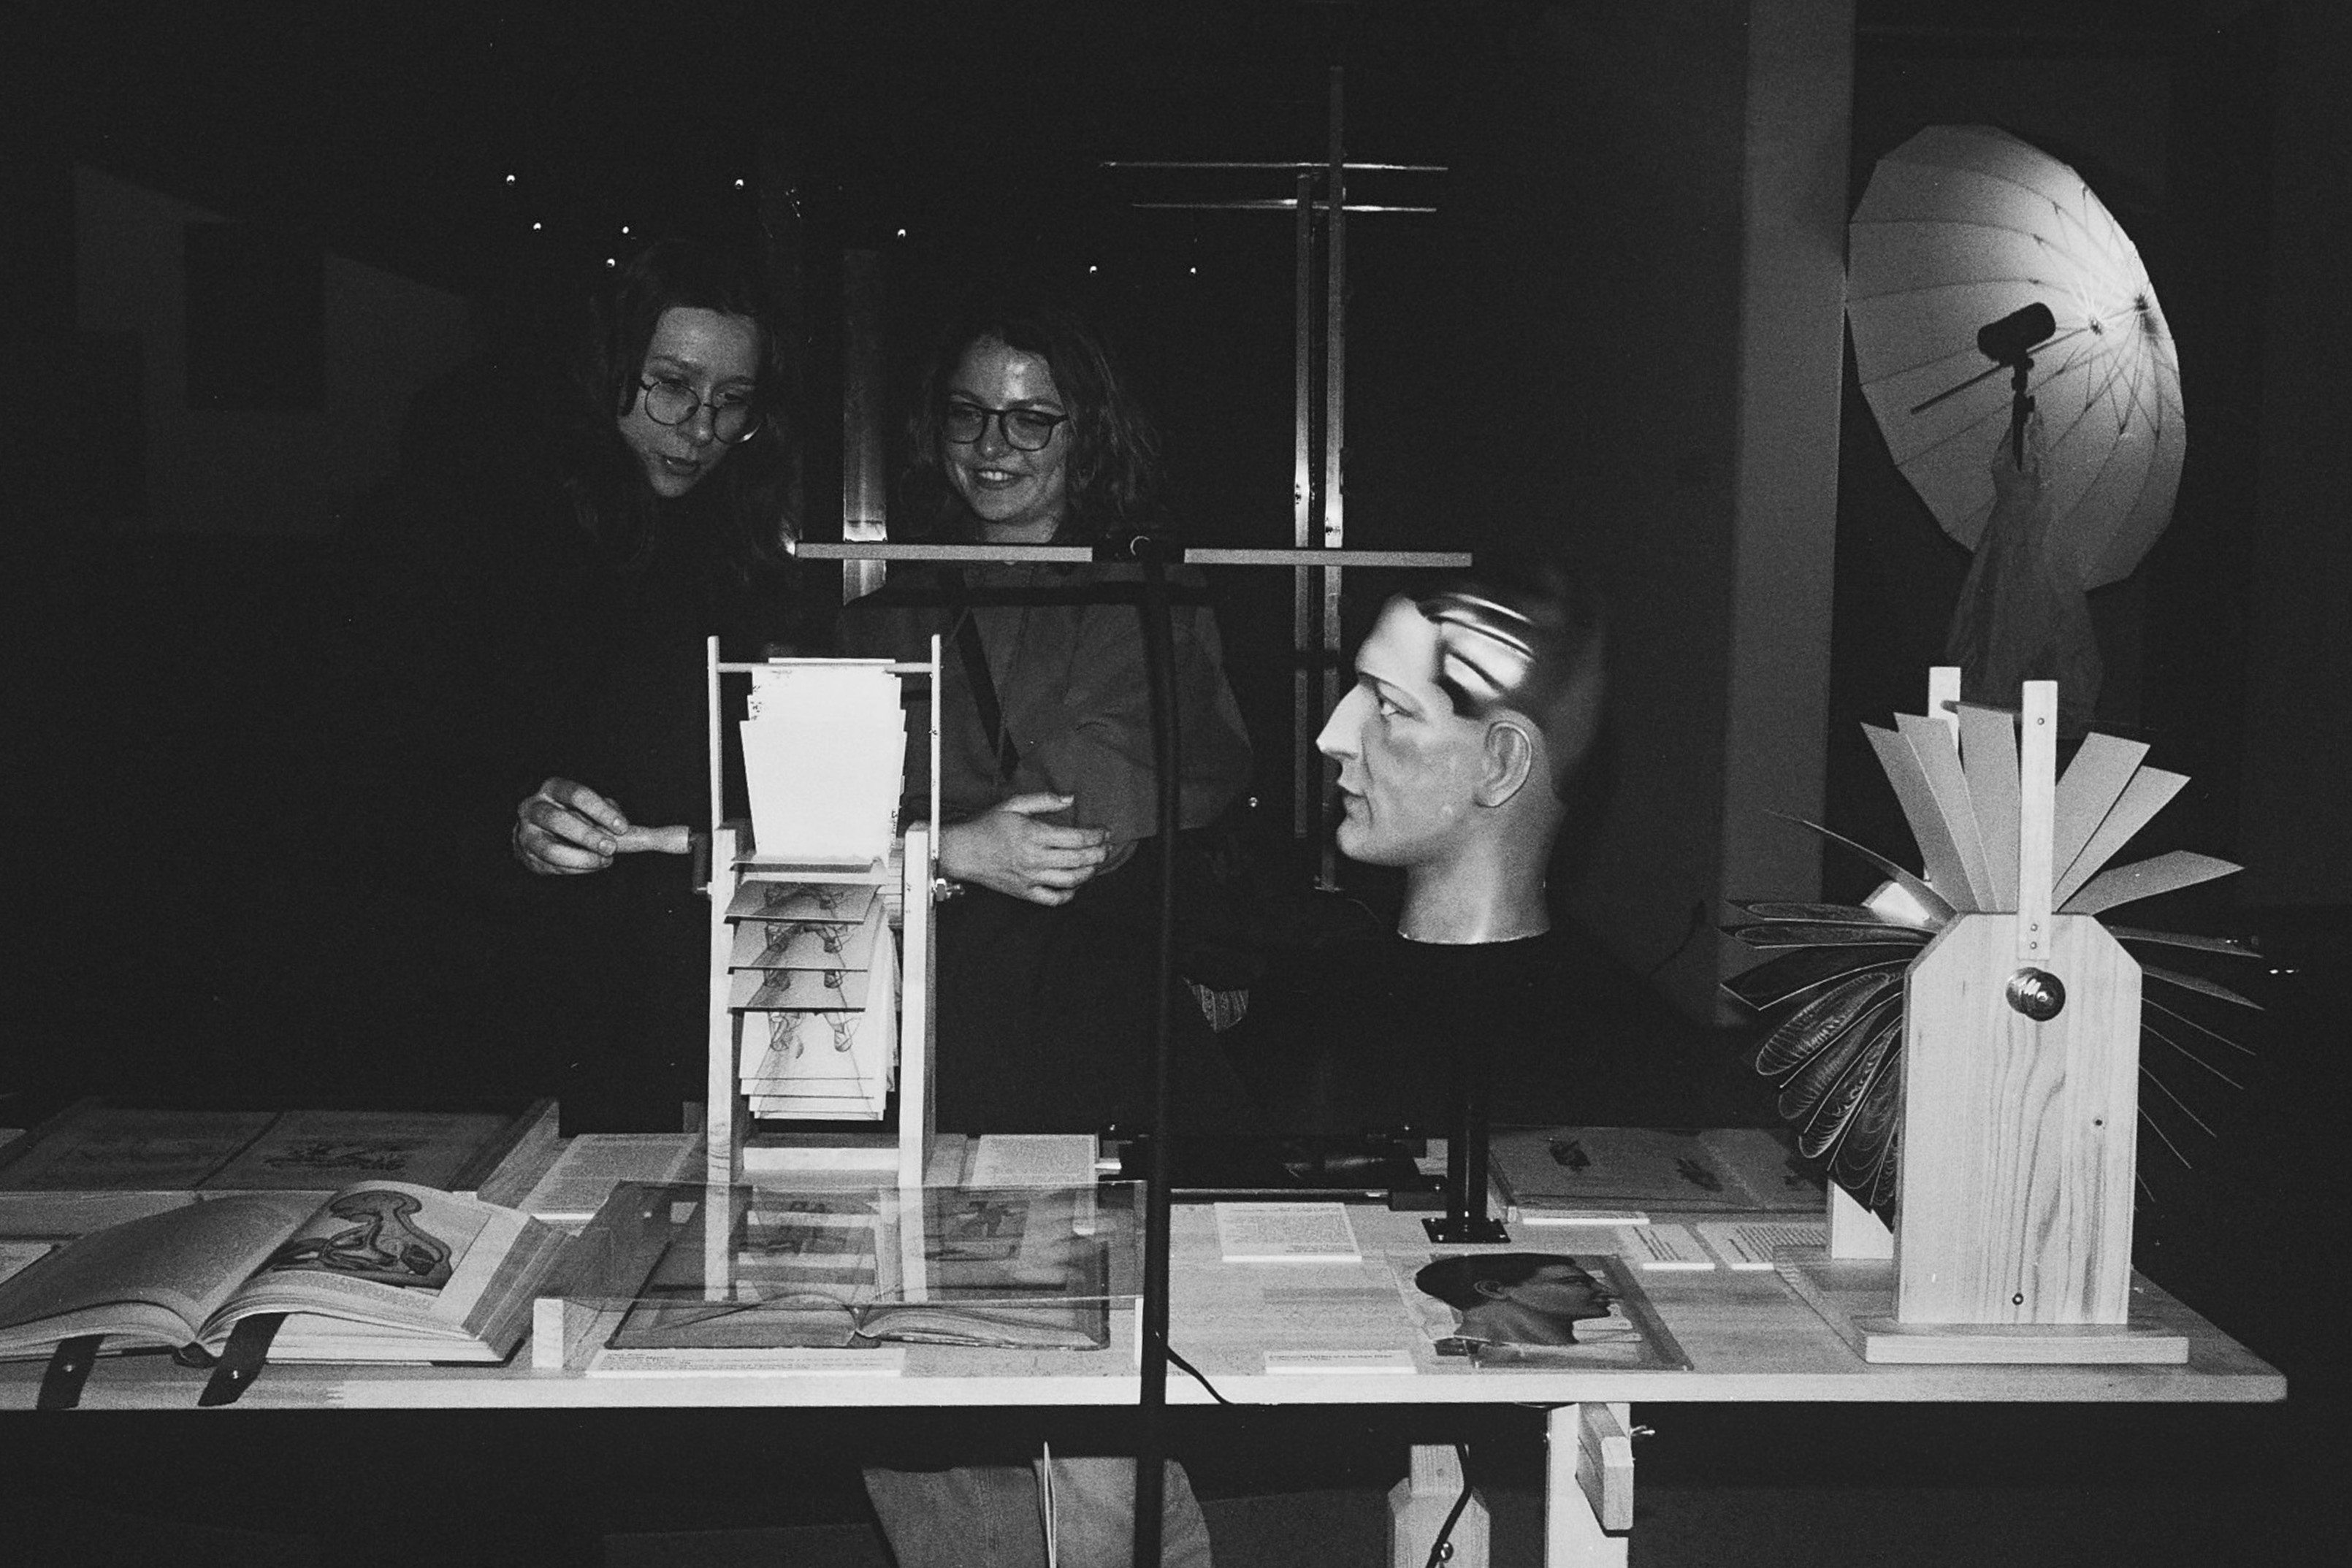
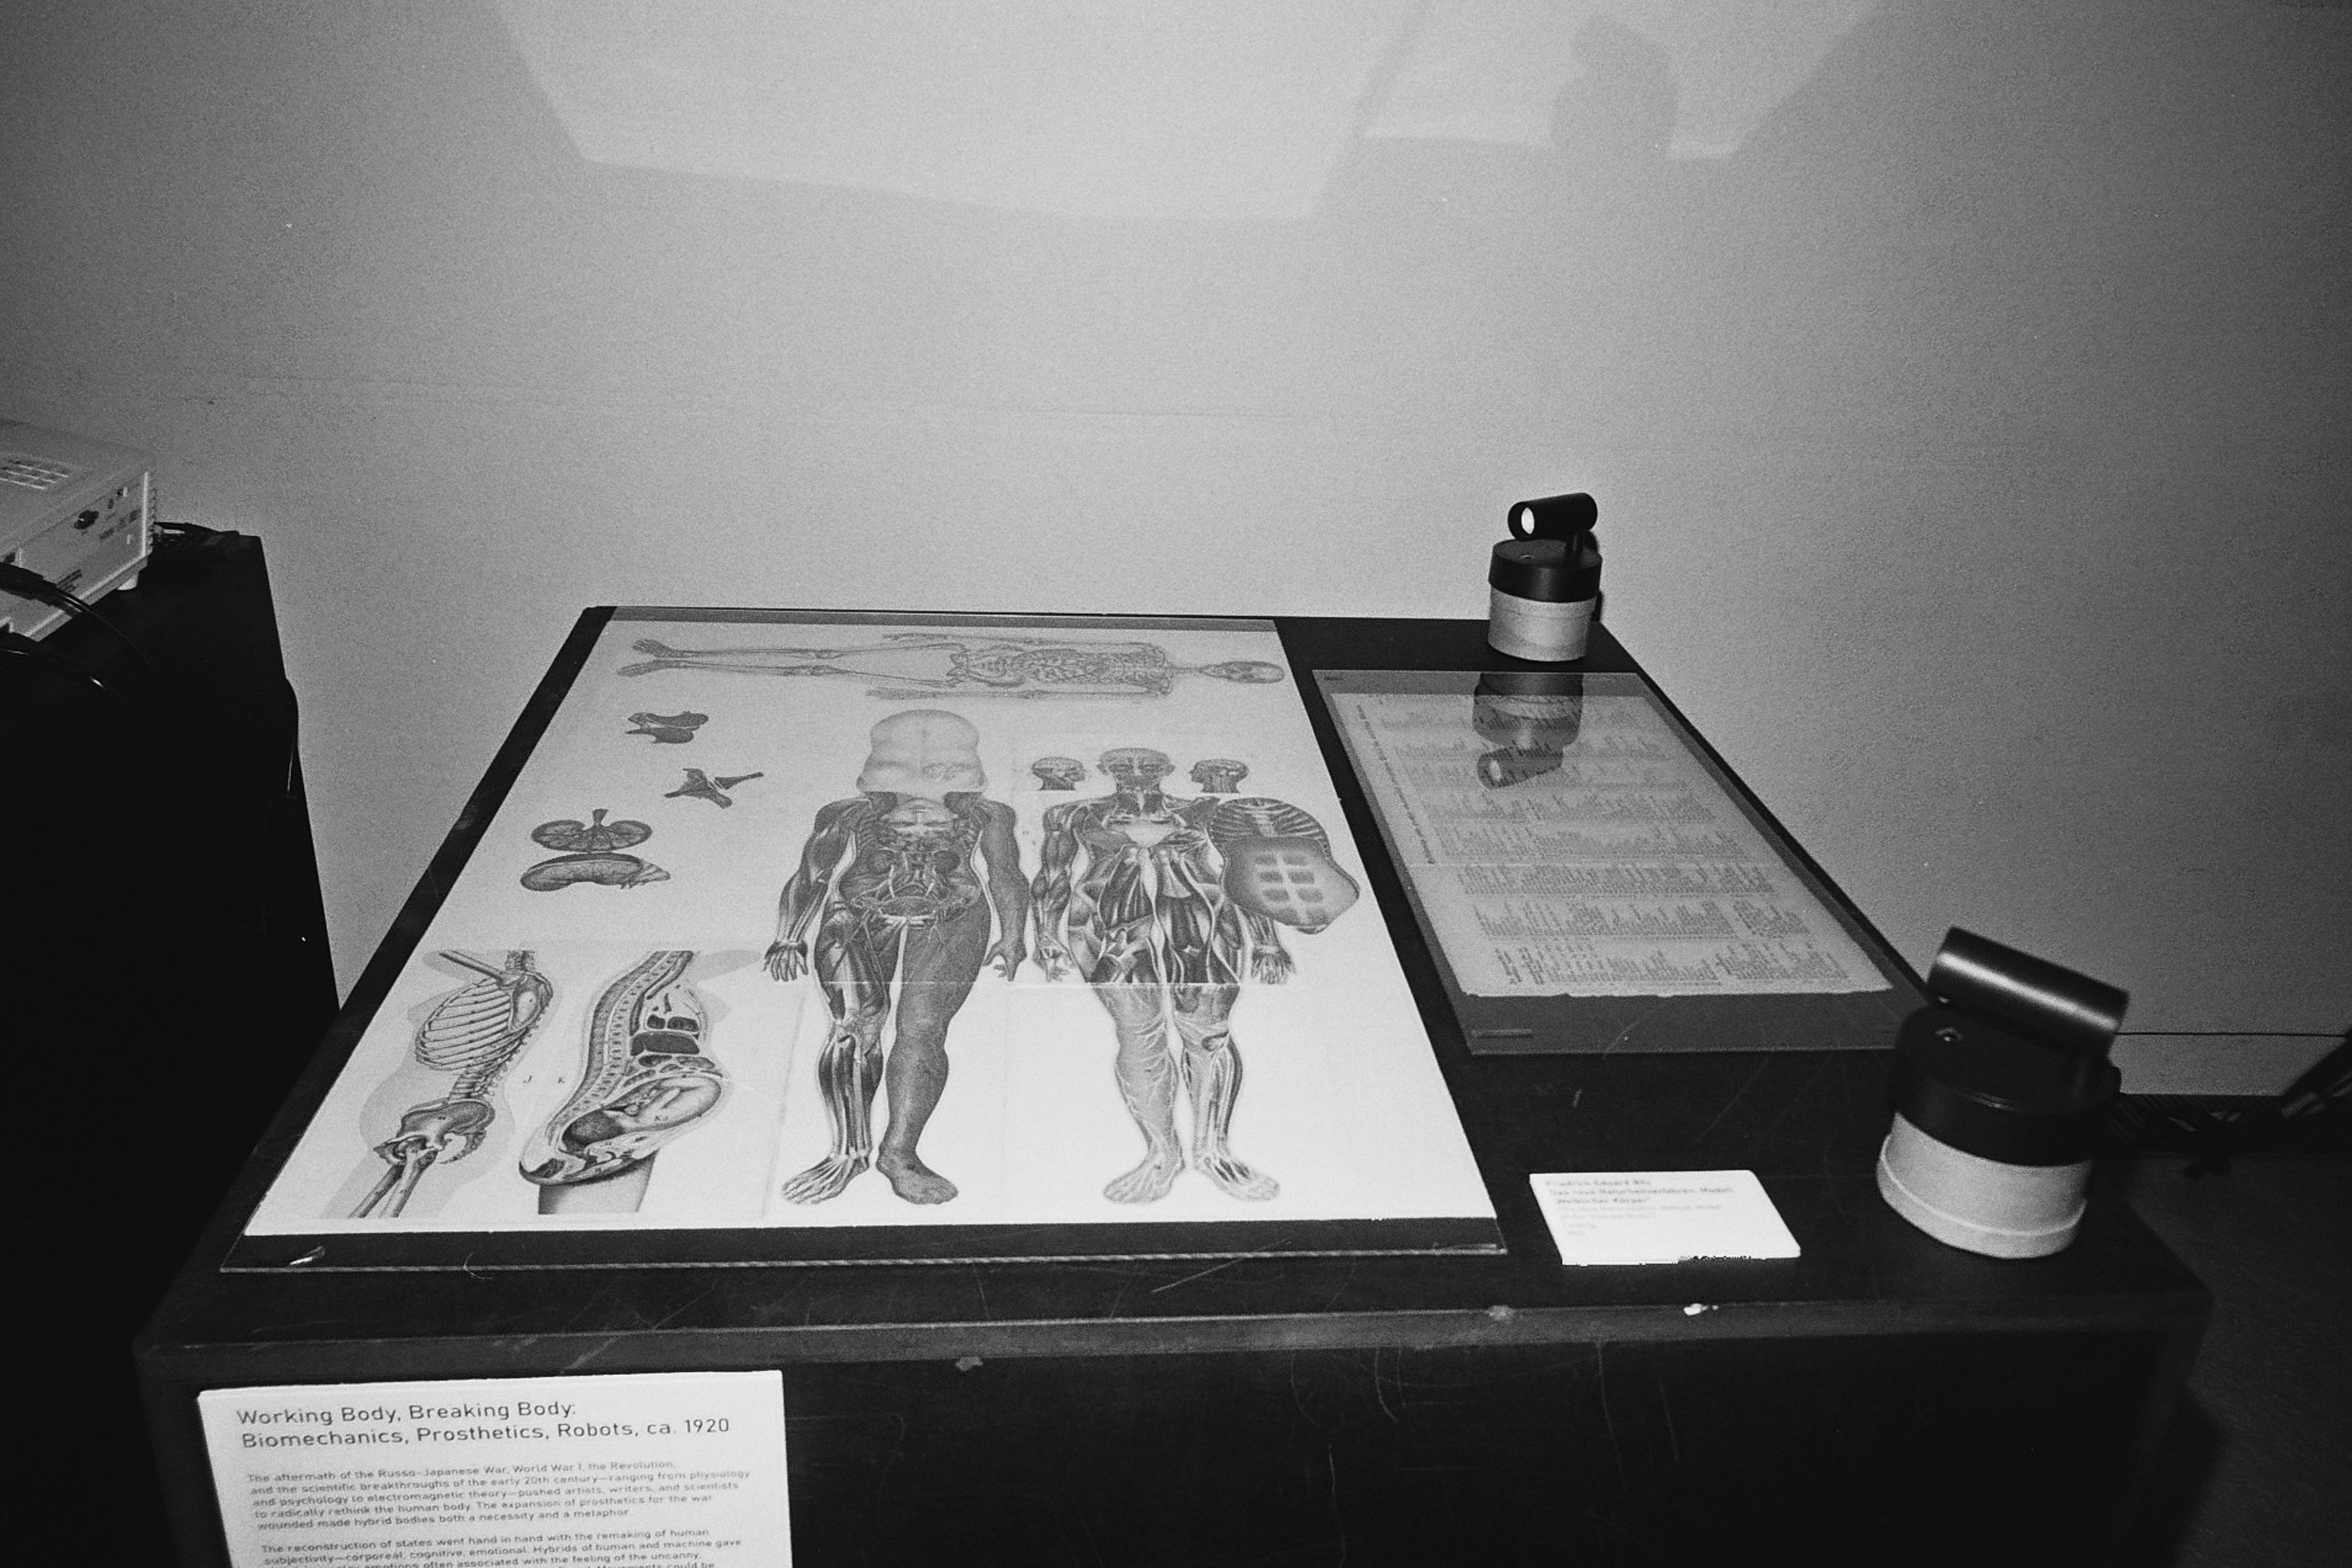
As part of the exhibition design team for the Soviet-era "Uncanny" exhibition at the Bauhaus Museum, my task involved preparing historical drawings by Tchelitchew for a mechanical mutoscope display.
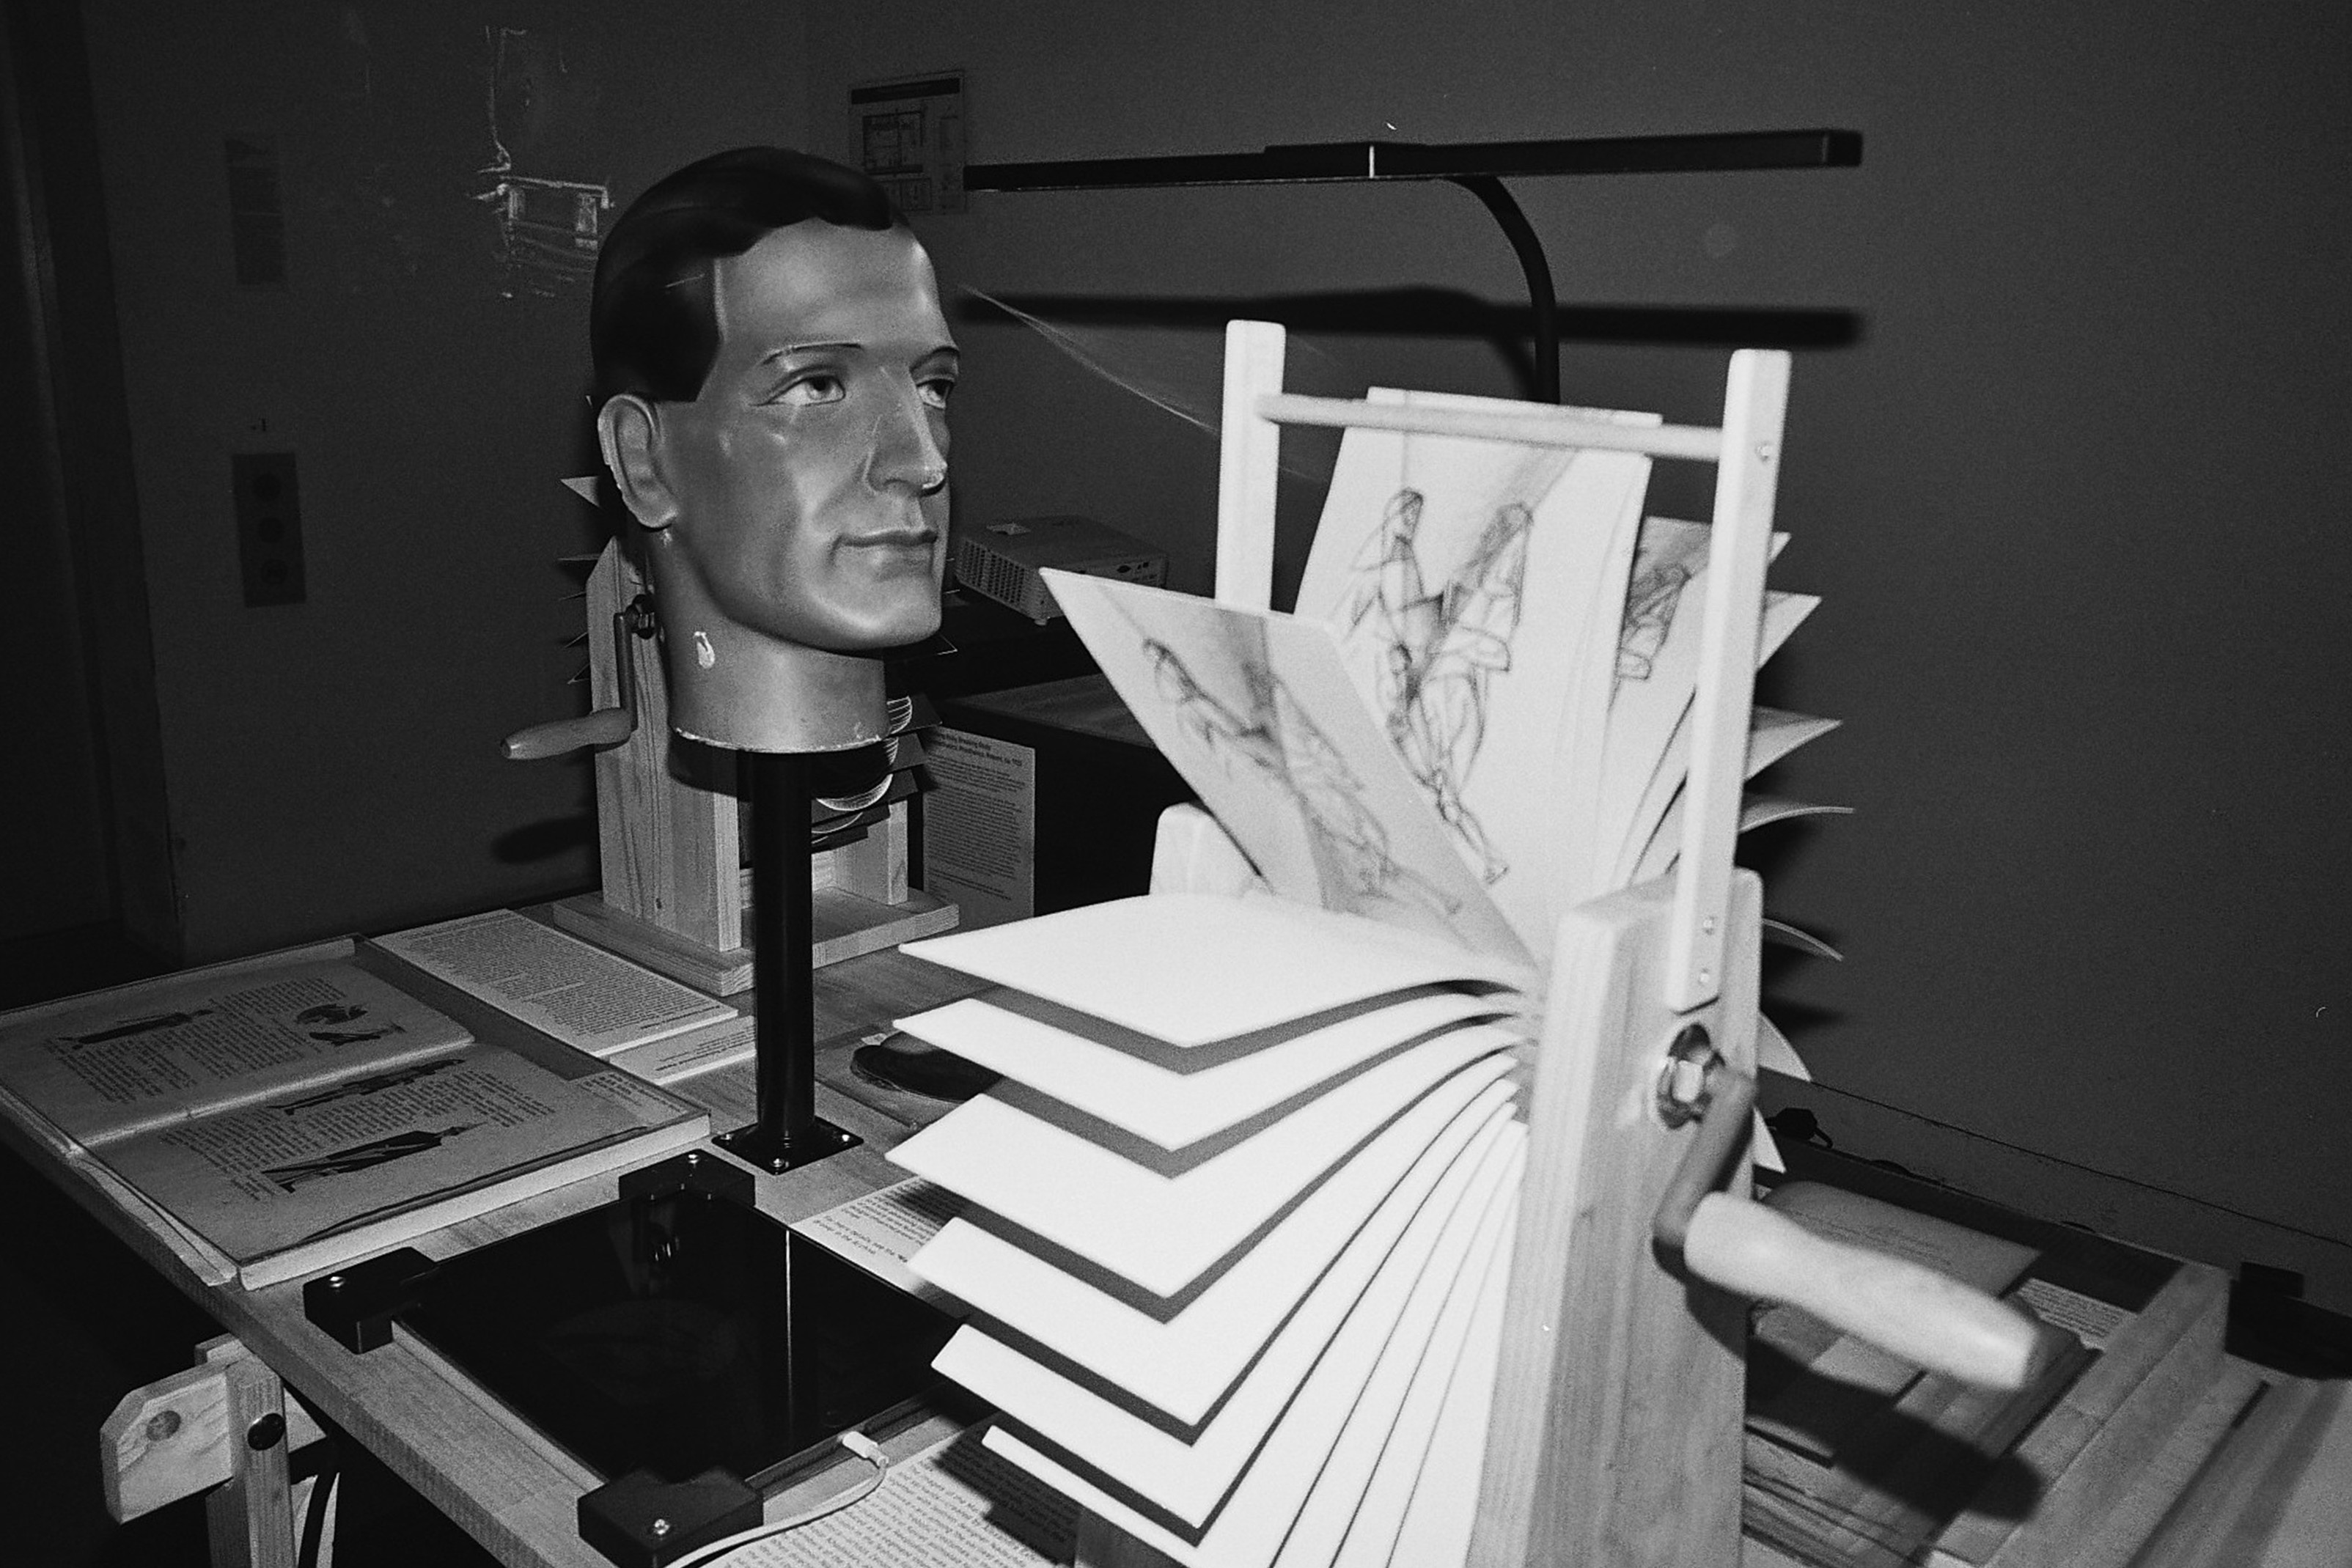
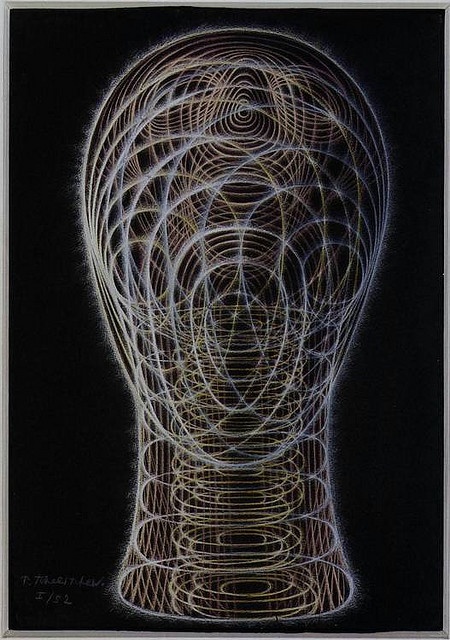
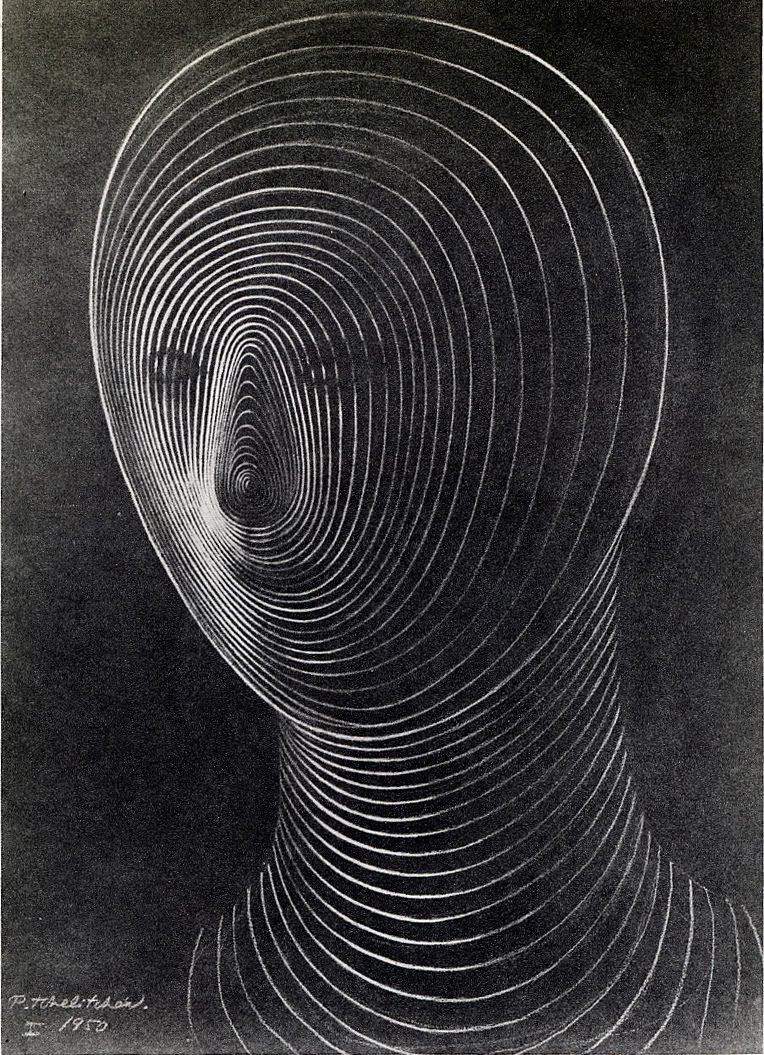

AI Upscale: Before & After
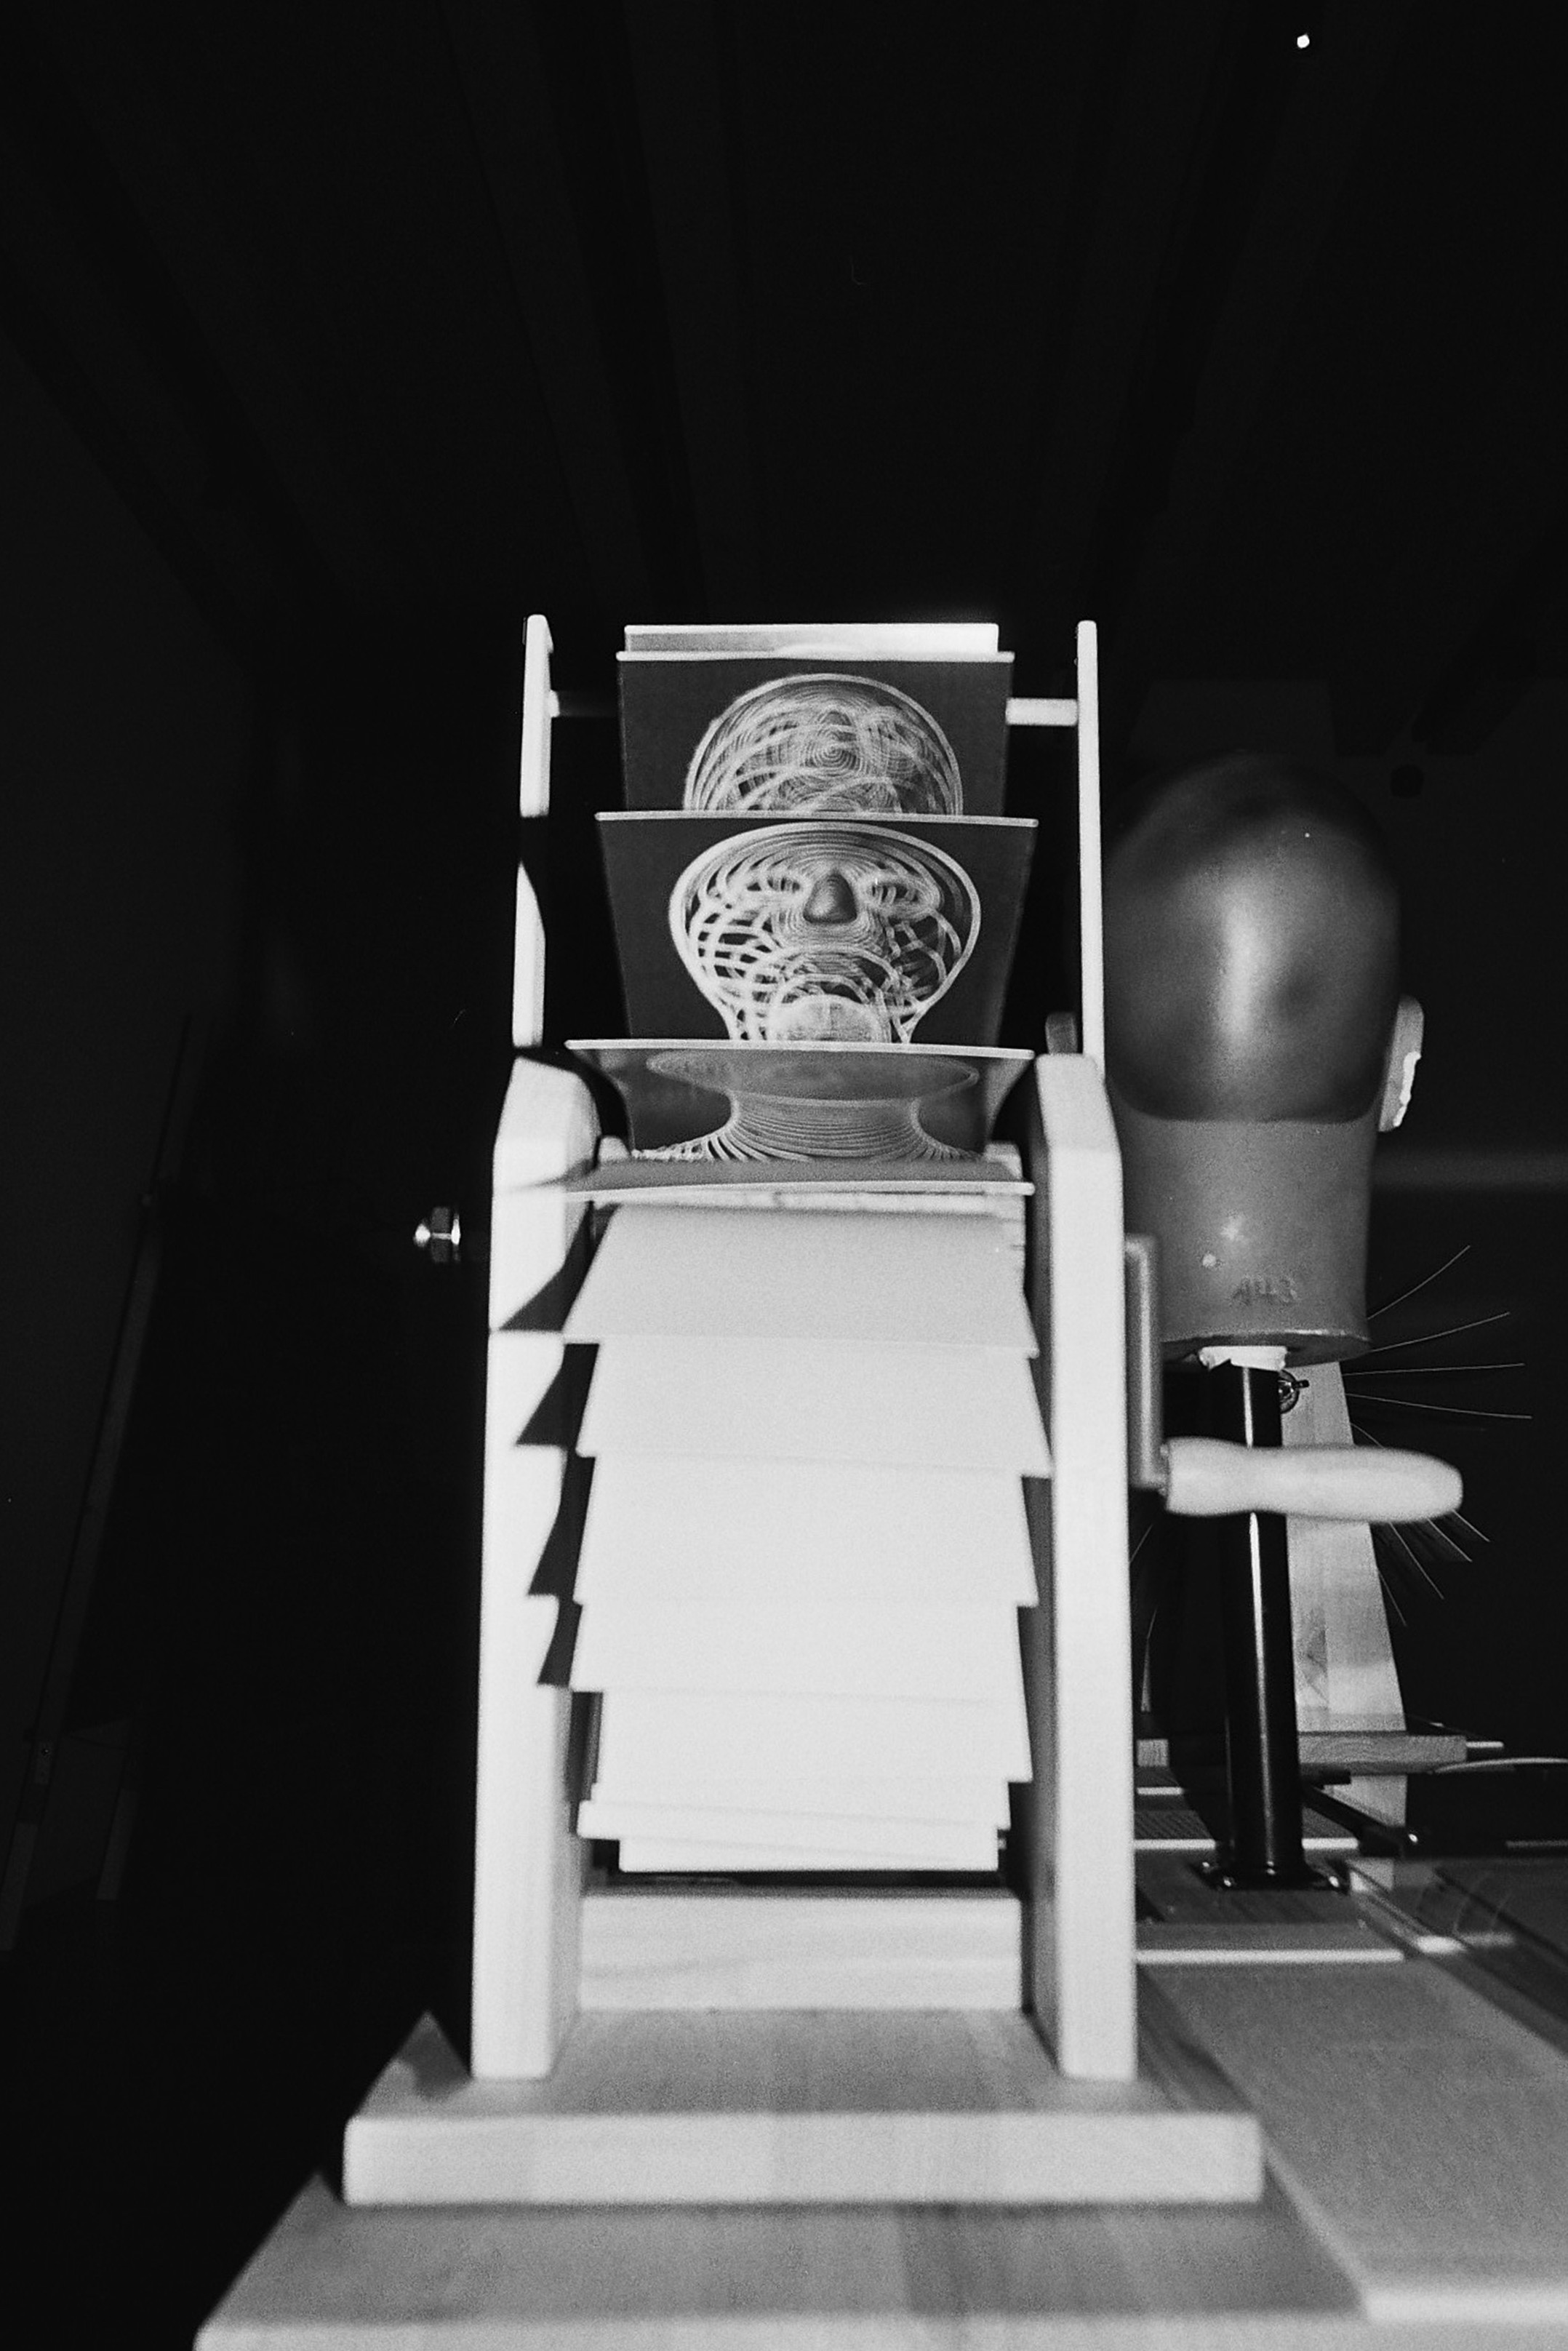
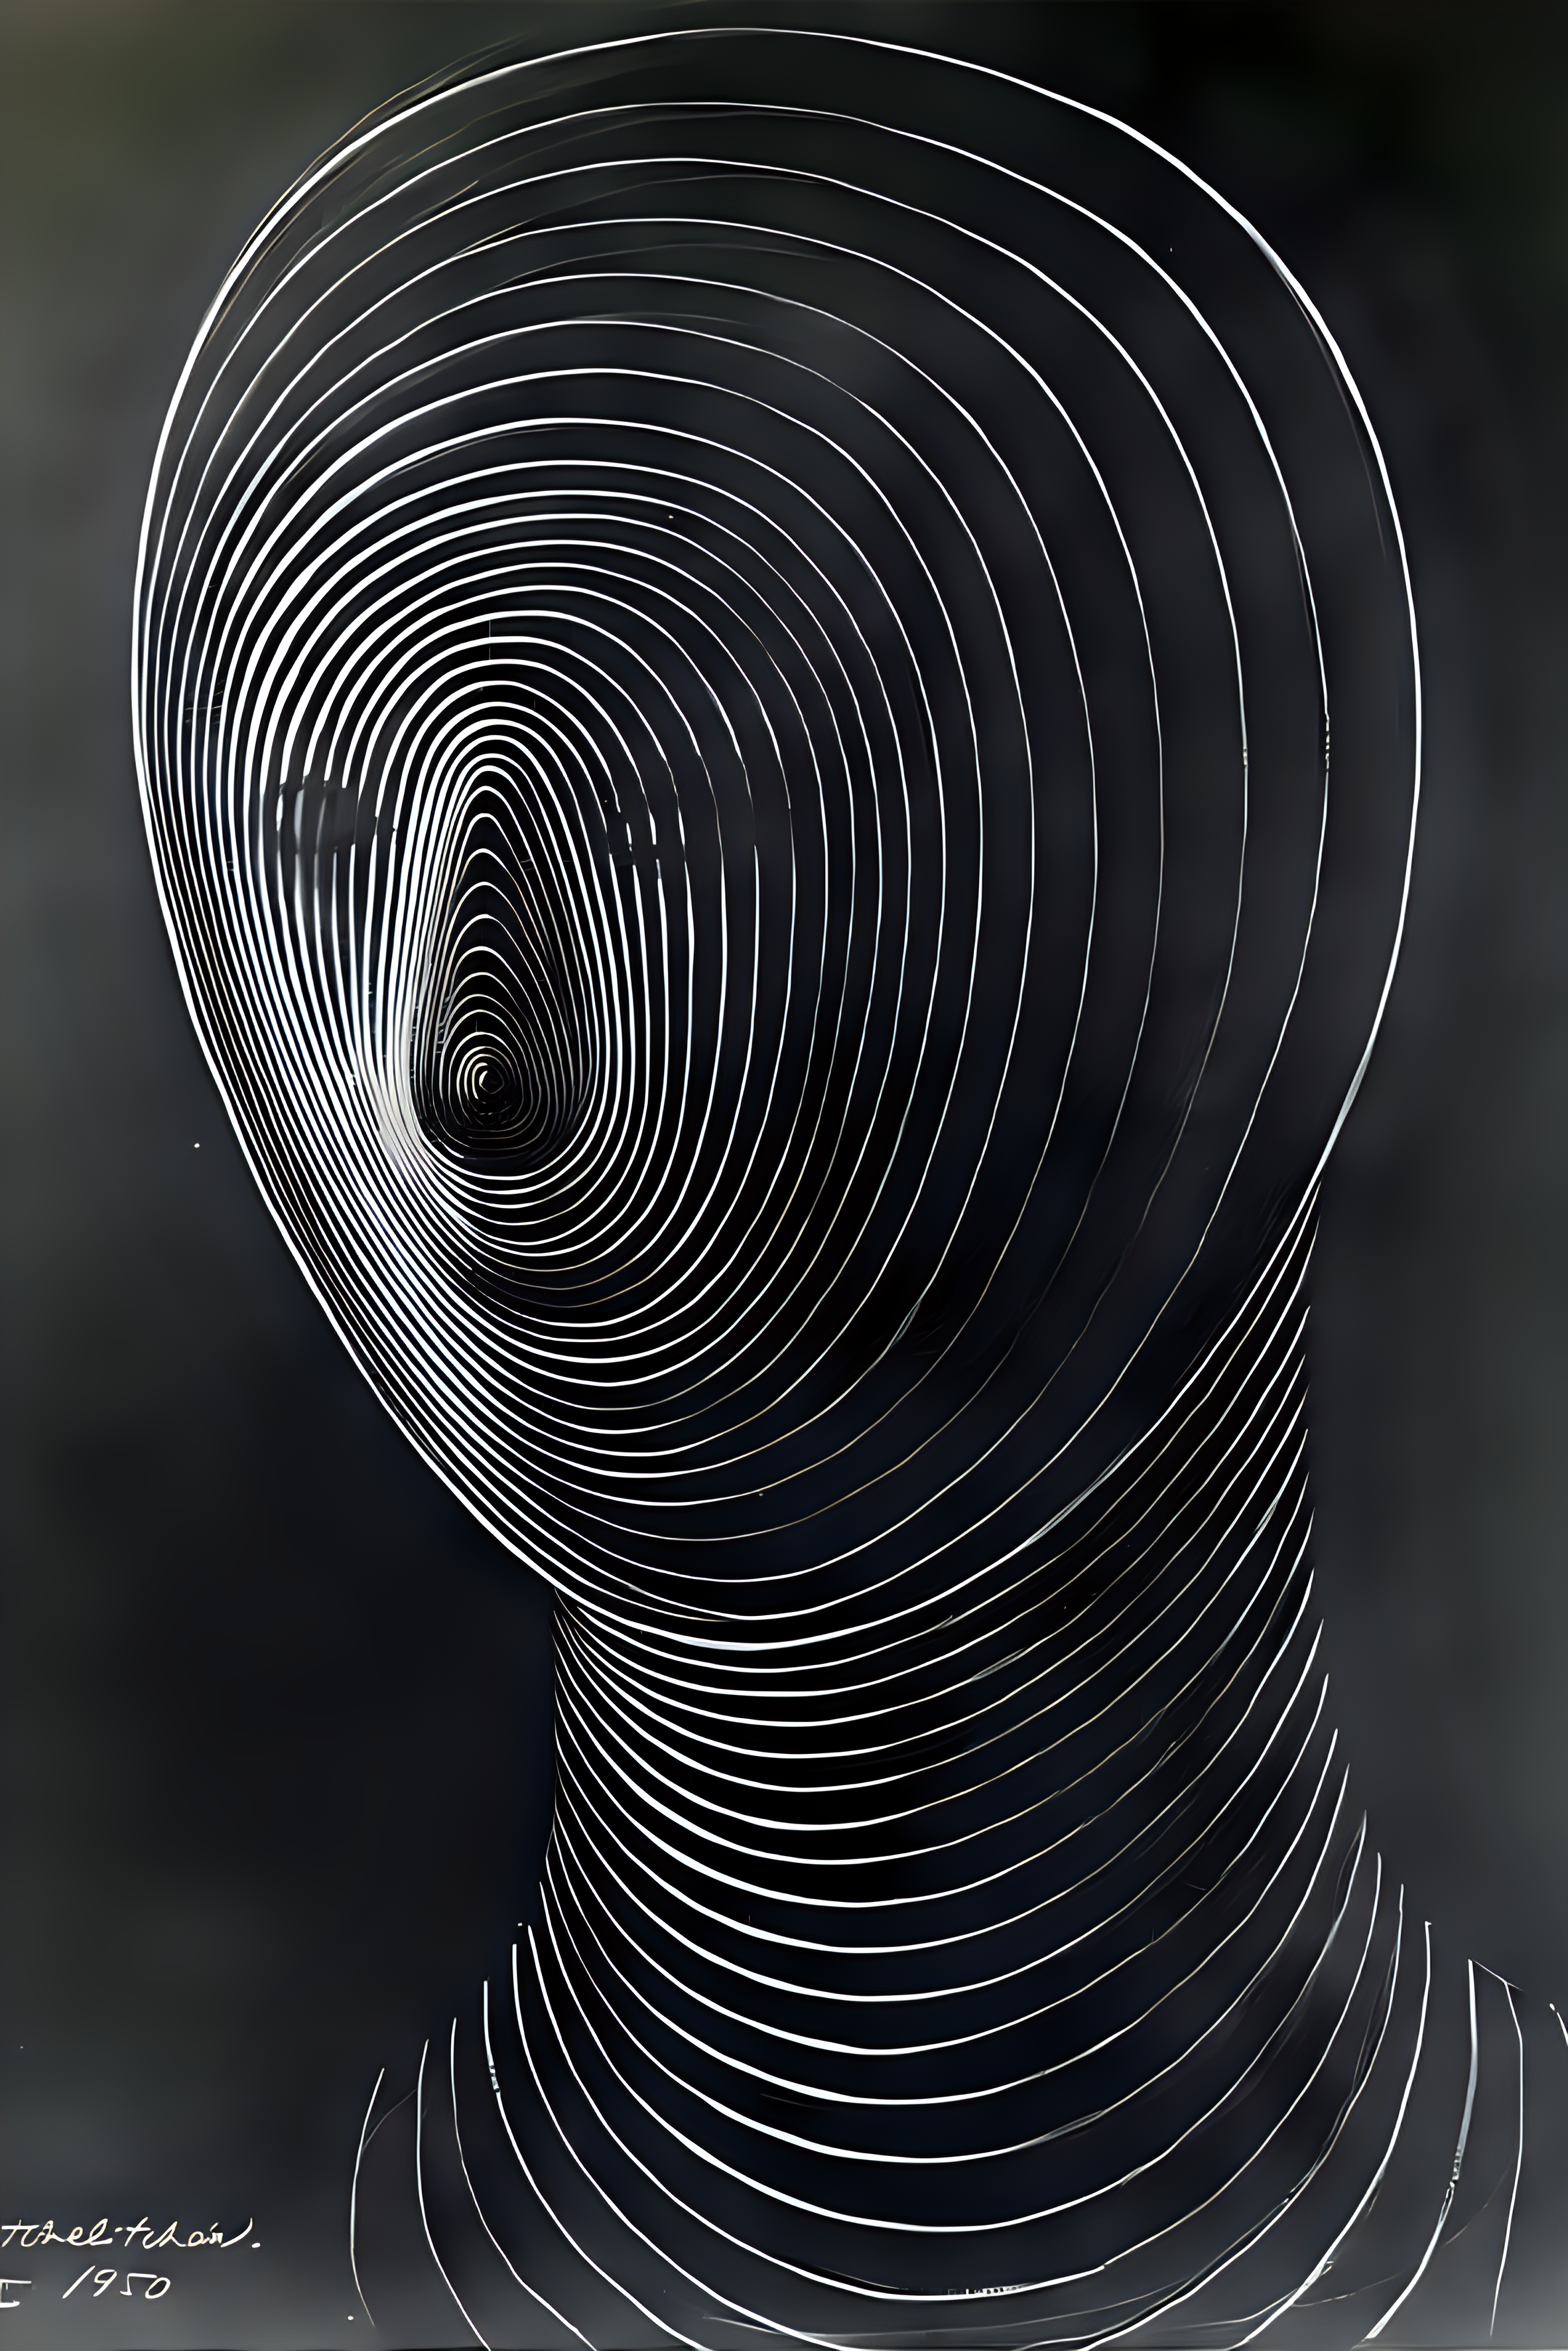
The original archival images were extremely low resolution. My task was to upscale these drawings using AI algorithms to preserve their artistic fidelity. Following the upscale, I utilized generative AI to create fluid, seamless visual transitions between the static frames. This ensured that when the mutoscope was cranked, viewers would experience a continuous and smooth animation loop.
AI-generated transition videos for the Mutoscope
03. Hardware Modification: Tattoo Machine
For an academic course, I undertook the challenge of modifying an Ultimaker 3D printer into a functional, automated tattoo machine. This required precise hardware modifications and custom toolpath programming.
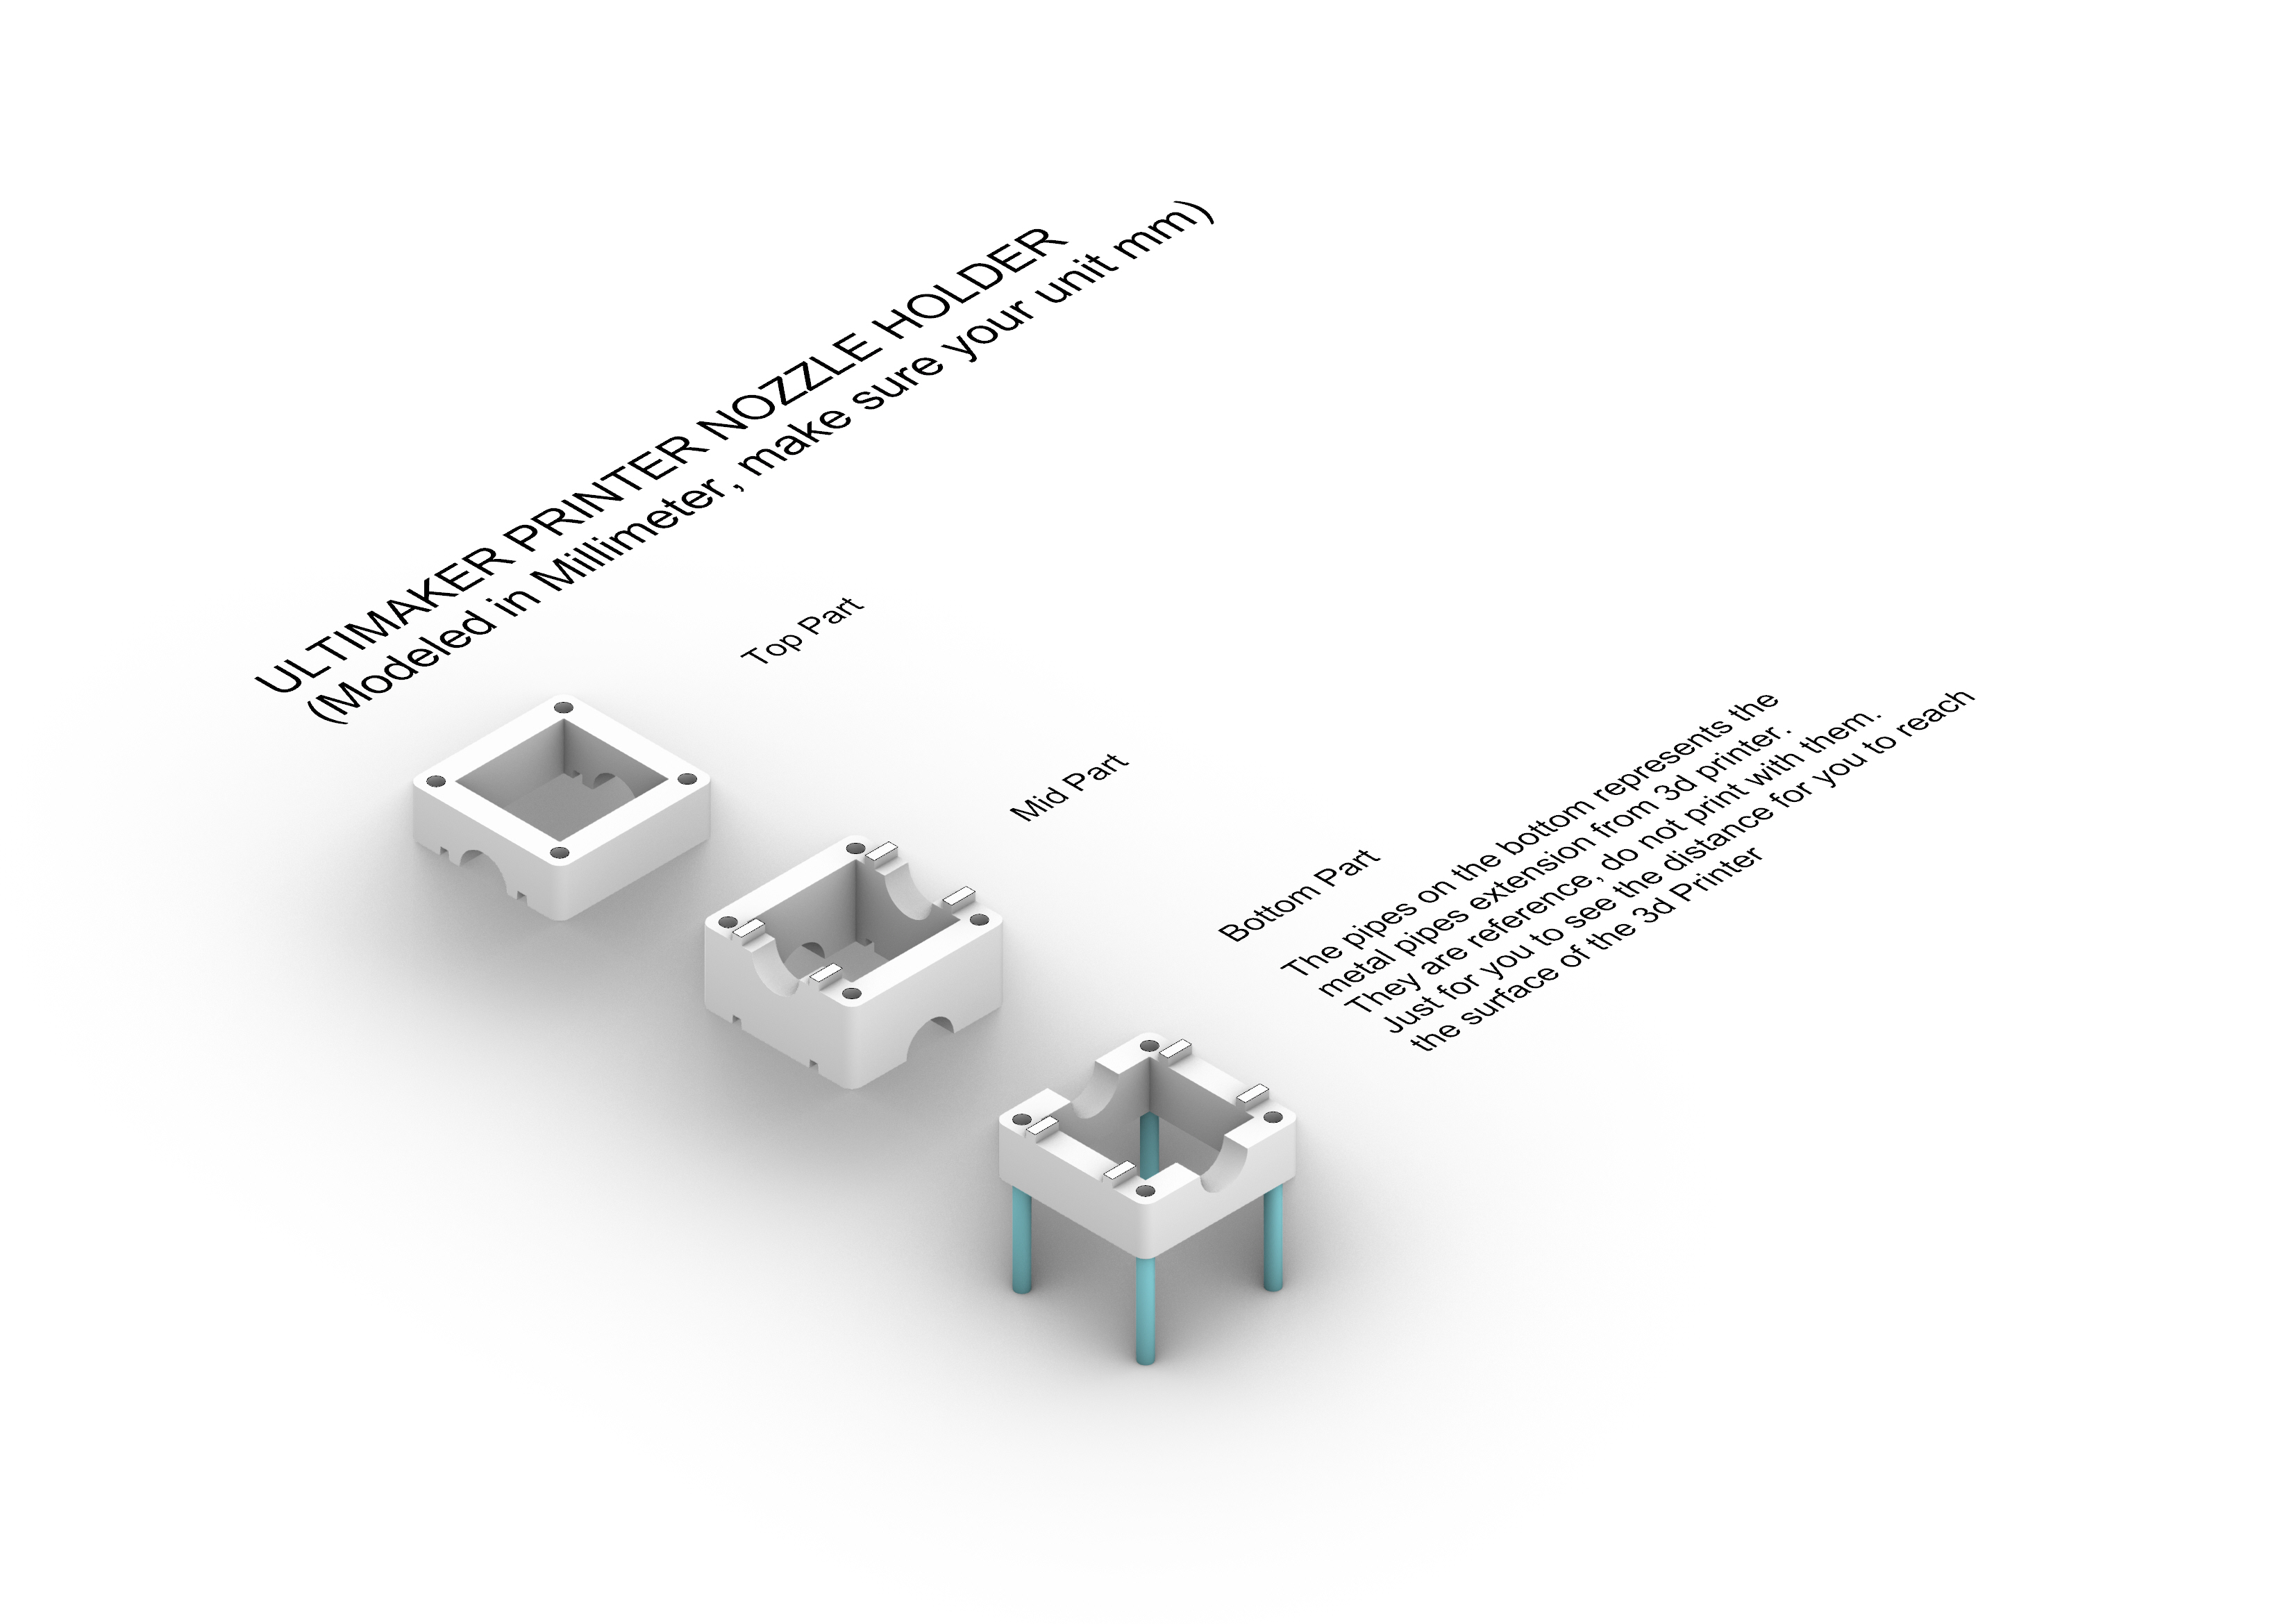
The first step involved reverse-engineering the printer's extruder head. I meticulously extracted and modeled the digital 3D replica of the original nozzle to serve as a precise foundation for the new attachments.
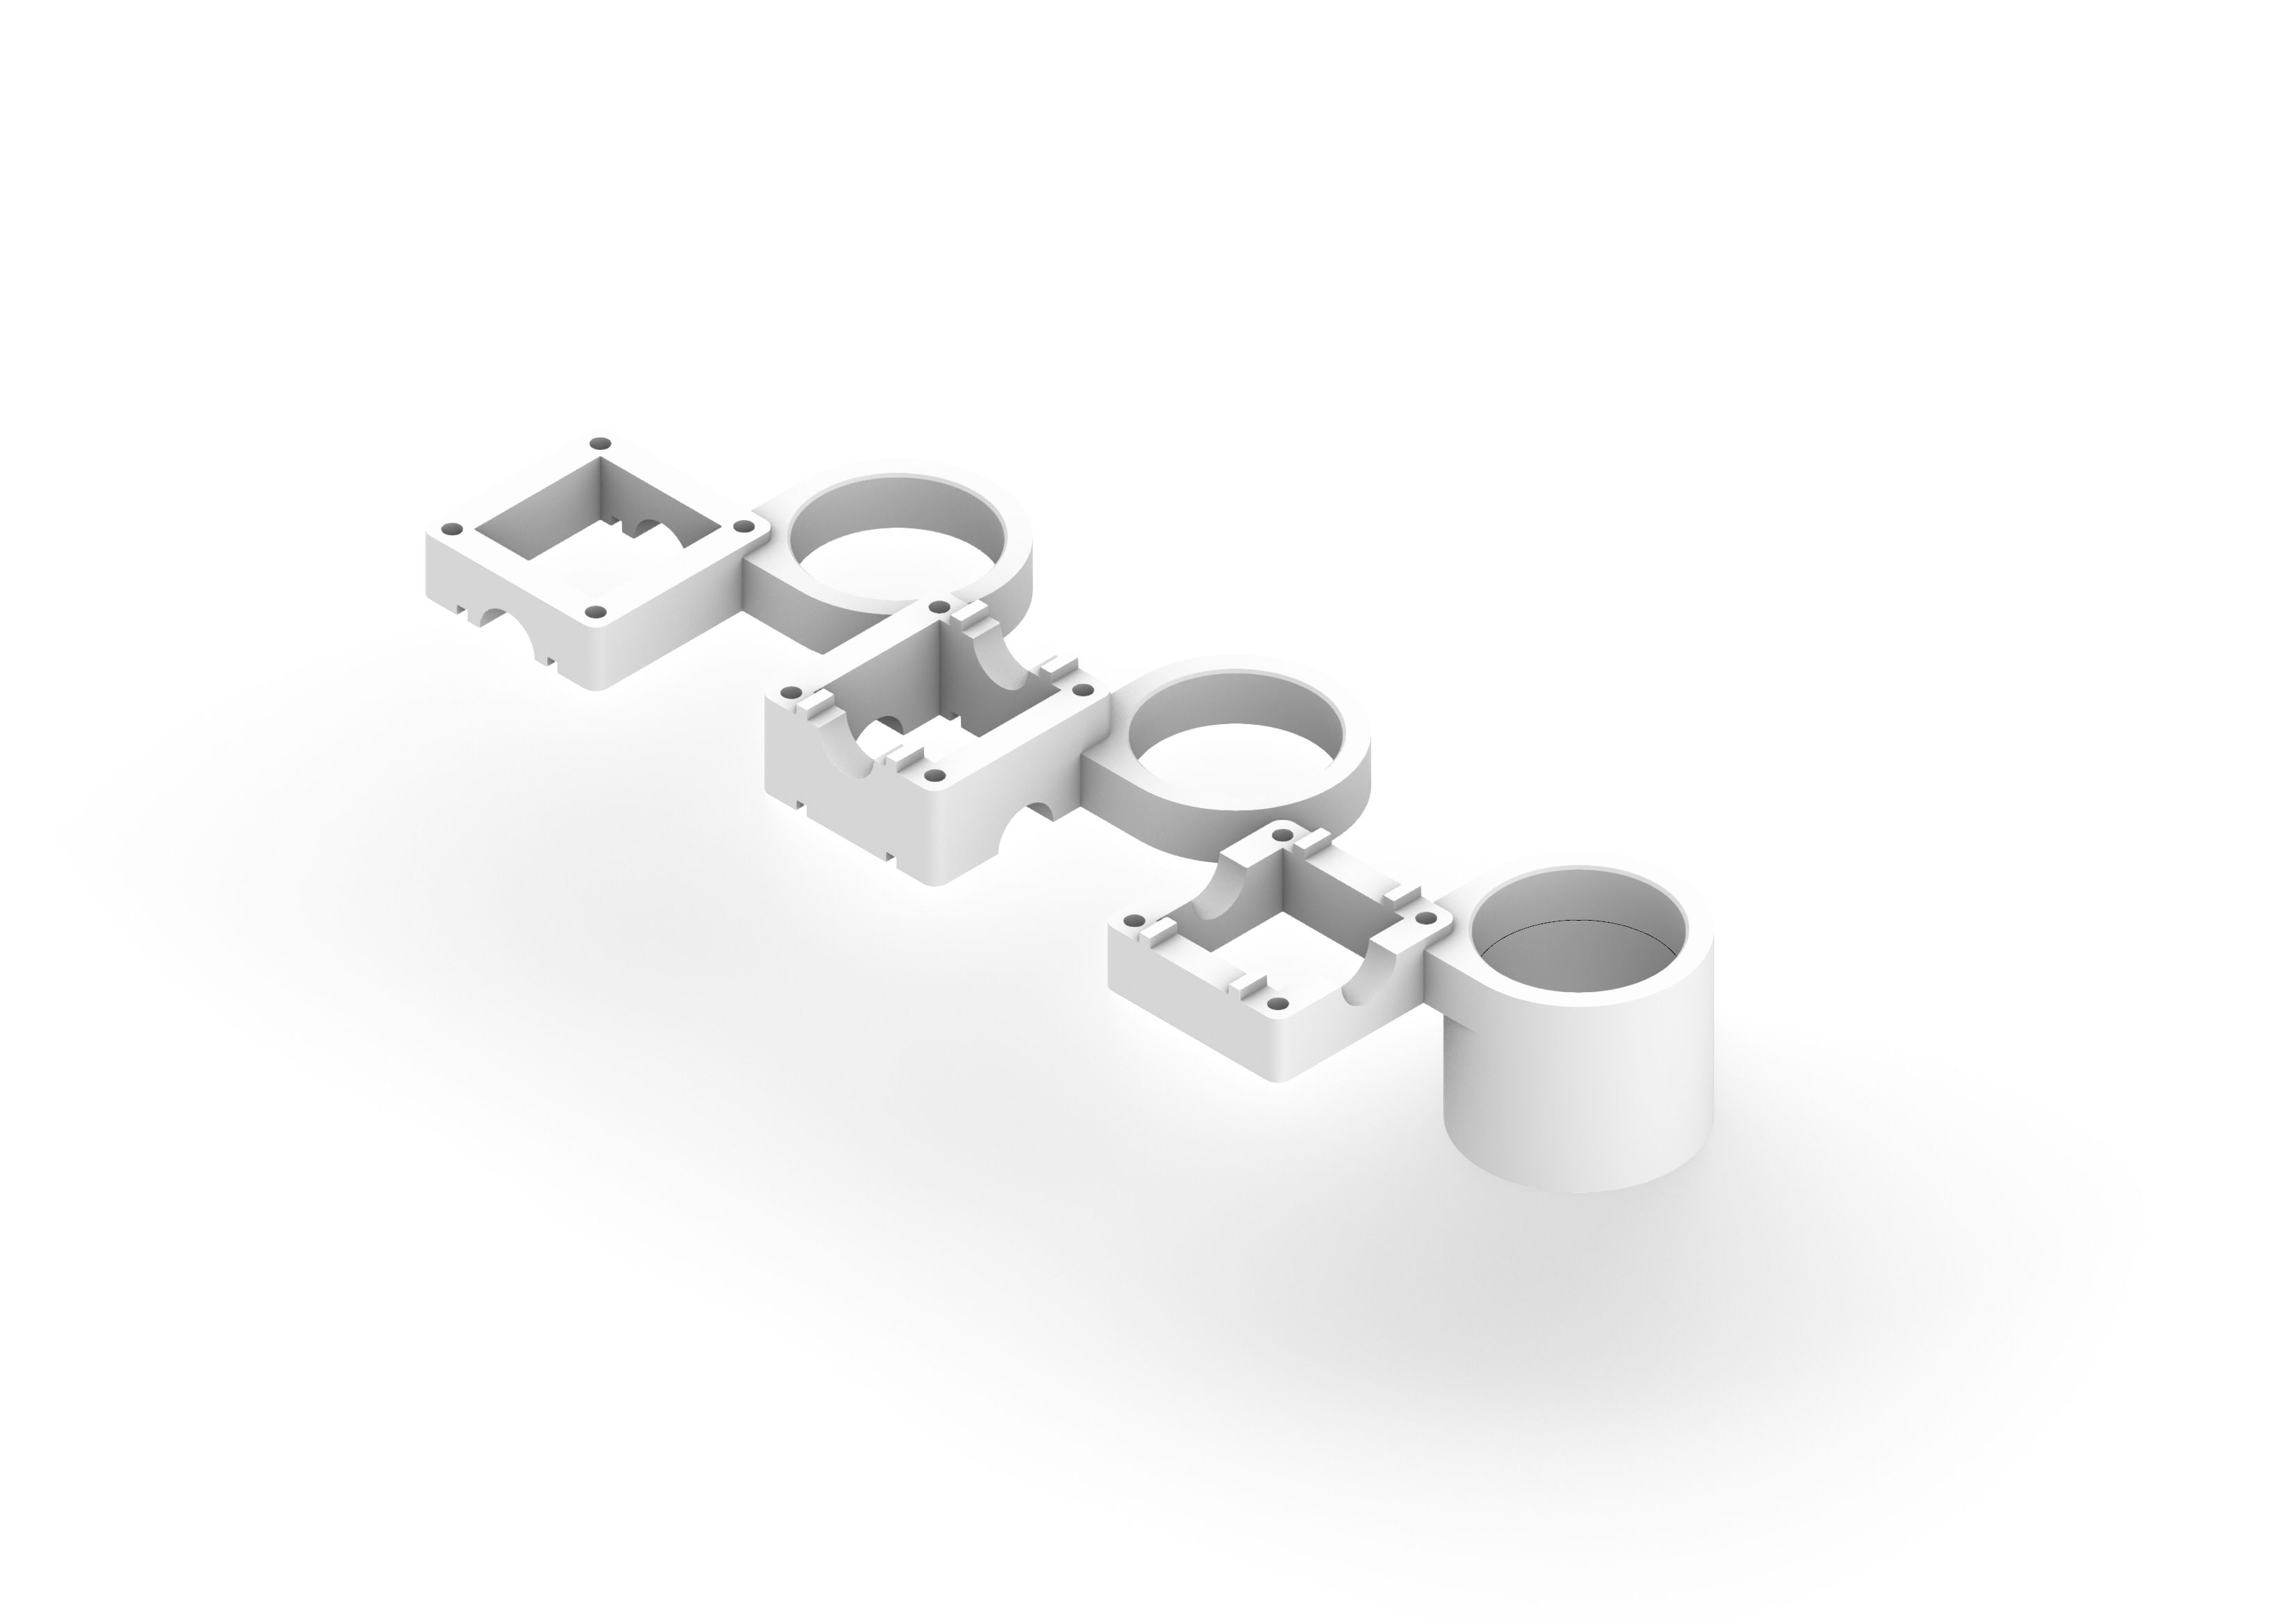
Using the digital model, I designed a custom mount tailored to securely hold a tattoo machine. This component was then physically 3D printed and attached directly to the existing print head mechanism.
During the initial prototype testing on fake skin, a significant issue arose: the fake skin was not stable and would drag under the friction of the tattoo needle, disrupting the programmed toolpaths.
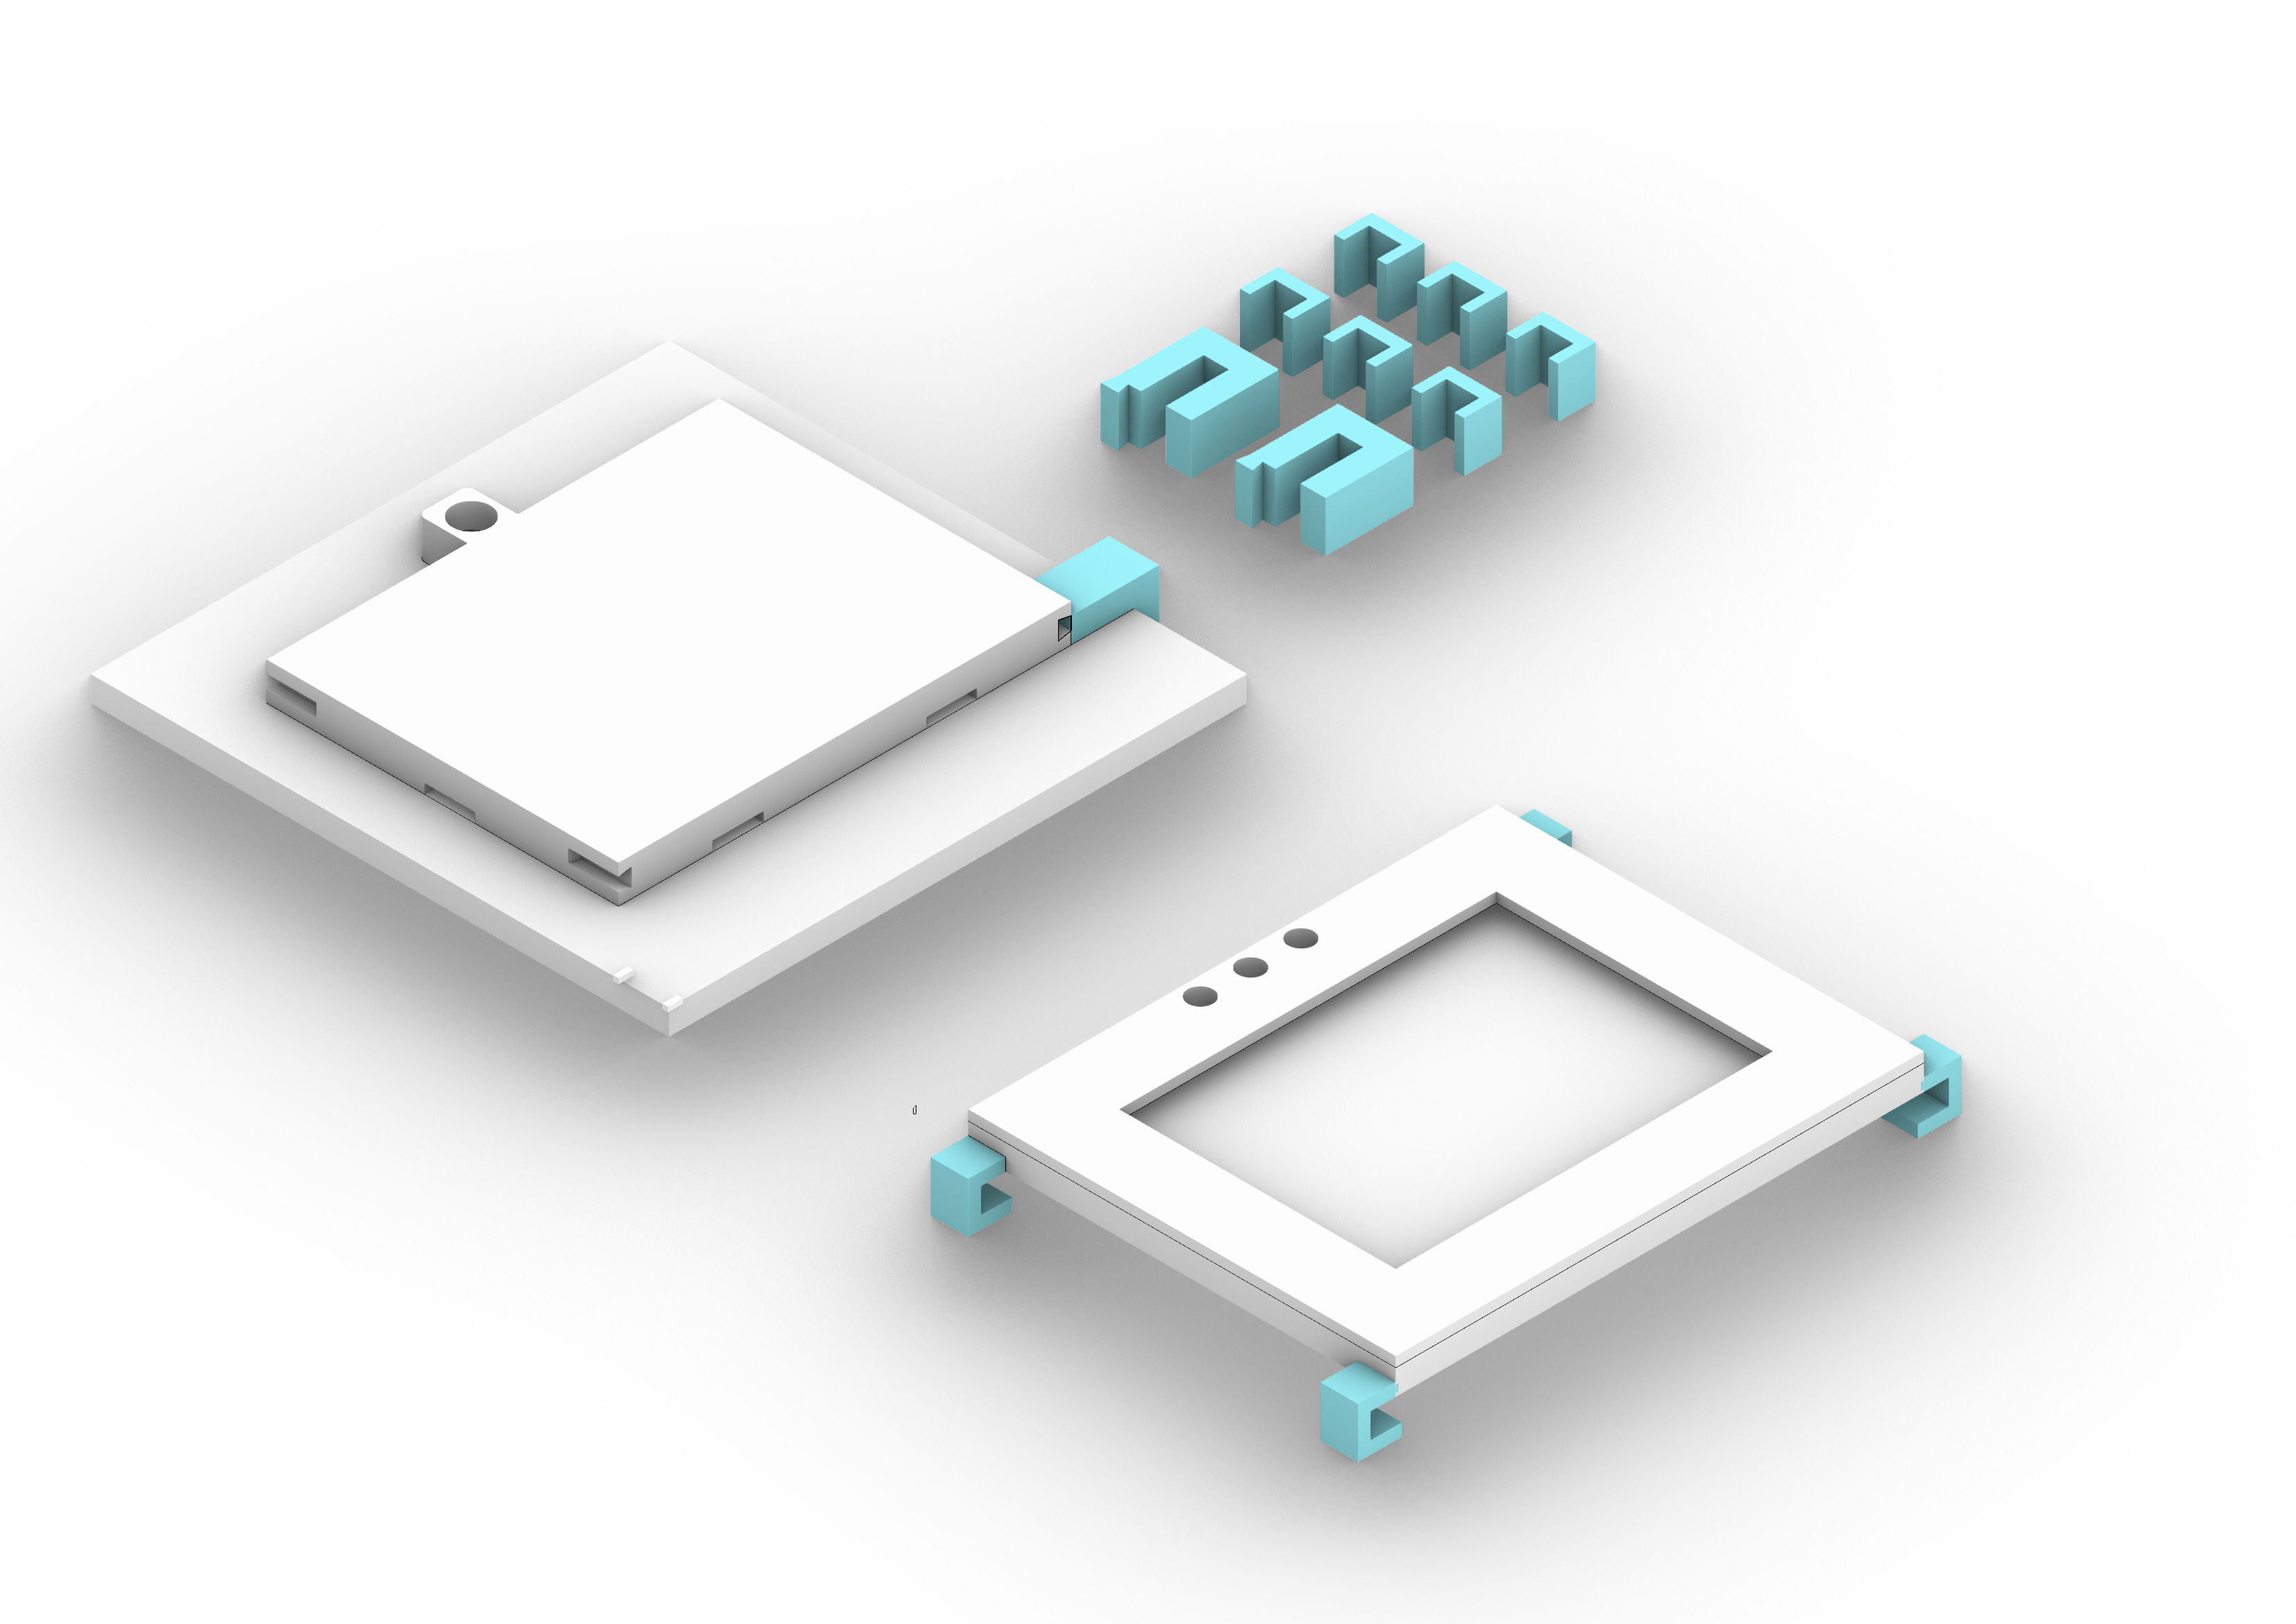
To resolve the stability issue, I designed a specialized base matching the machine surface dimensions to hold the skin firmly in place. Additionally, I integrated an ink dipping point into this base, allowing the machine to travel, dip the needle into the ink, and return to the drawing path seamlessly.